

How To Make A Fruit Tree

How friggin cute is this??!!!
Okay, I'm gonna be upfront with you here. This took some time. Two hours to be exact. But it was really, really EASY!
I made this for my 8 year old's school Christmas party. Jossy even helped me make it. She had the job of putting all the fruit on the toothpicks. She only told me 24 times how much fun it was :)
I've been seeing fruit trees like this one all over Pinterest for a few years, but never attempted (until now) to make one. I'm not sure why, but it intimidated me. I honestly didn't think it was going to turn out nice. I mean for the most part I'm a pretty crafty bitch but for some reason this scared me off. But I wanted to do something super cute for the party so I figured if I can push two human beings out of my hoohah, then I sure as hell can make a fruit tree. And guess what? I was right!
When I was setting up this tree in Jossy's classroom, all the kids were oohing and aahing over this tree! I kept hearing things like, "Whoa, look at that cool fruit tree!" and "Did you see what Jossy's mommy made?" I'll tell you what, all of a sudden those two hours were overwhelmingly worth it. I was tickled to death at how much these kiddies loved the fruit tree.
It also made me feel so good that amongst the sea of sugar-laden cookies, muffins, donuts, and punch, my giant healthy tree was the one thing the kids were most excited about.

They ate it all up too! Who would've thought all those kids would care less about all the goodies and go straight for the fruit!
Awesomeness.
The other parents at the party loved it as much as the kids. And Jossy's teacher loved it so much that she asked if she could have the bare tree so she could use it to make one of her own for her family! So I left her with a fruitless tree covered with half toothpicks. She was ecstatic.
So yes, if you are bringing this to one party but have others to go to, don't throw away your barren tree! You can use it again!
~
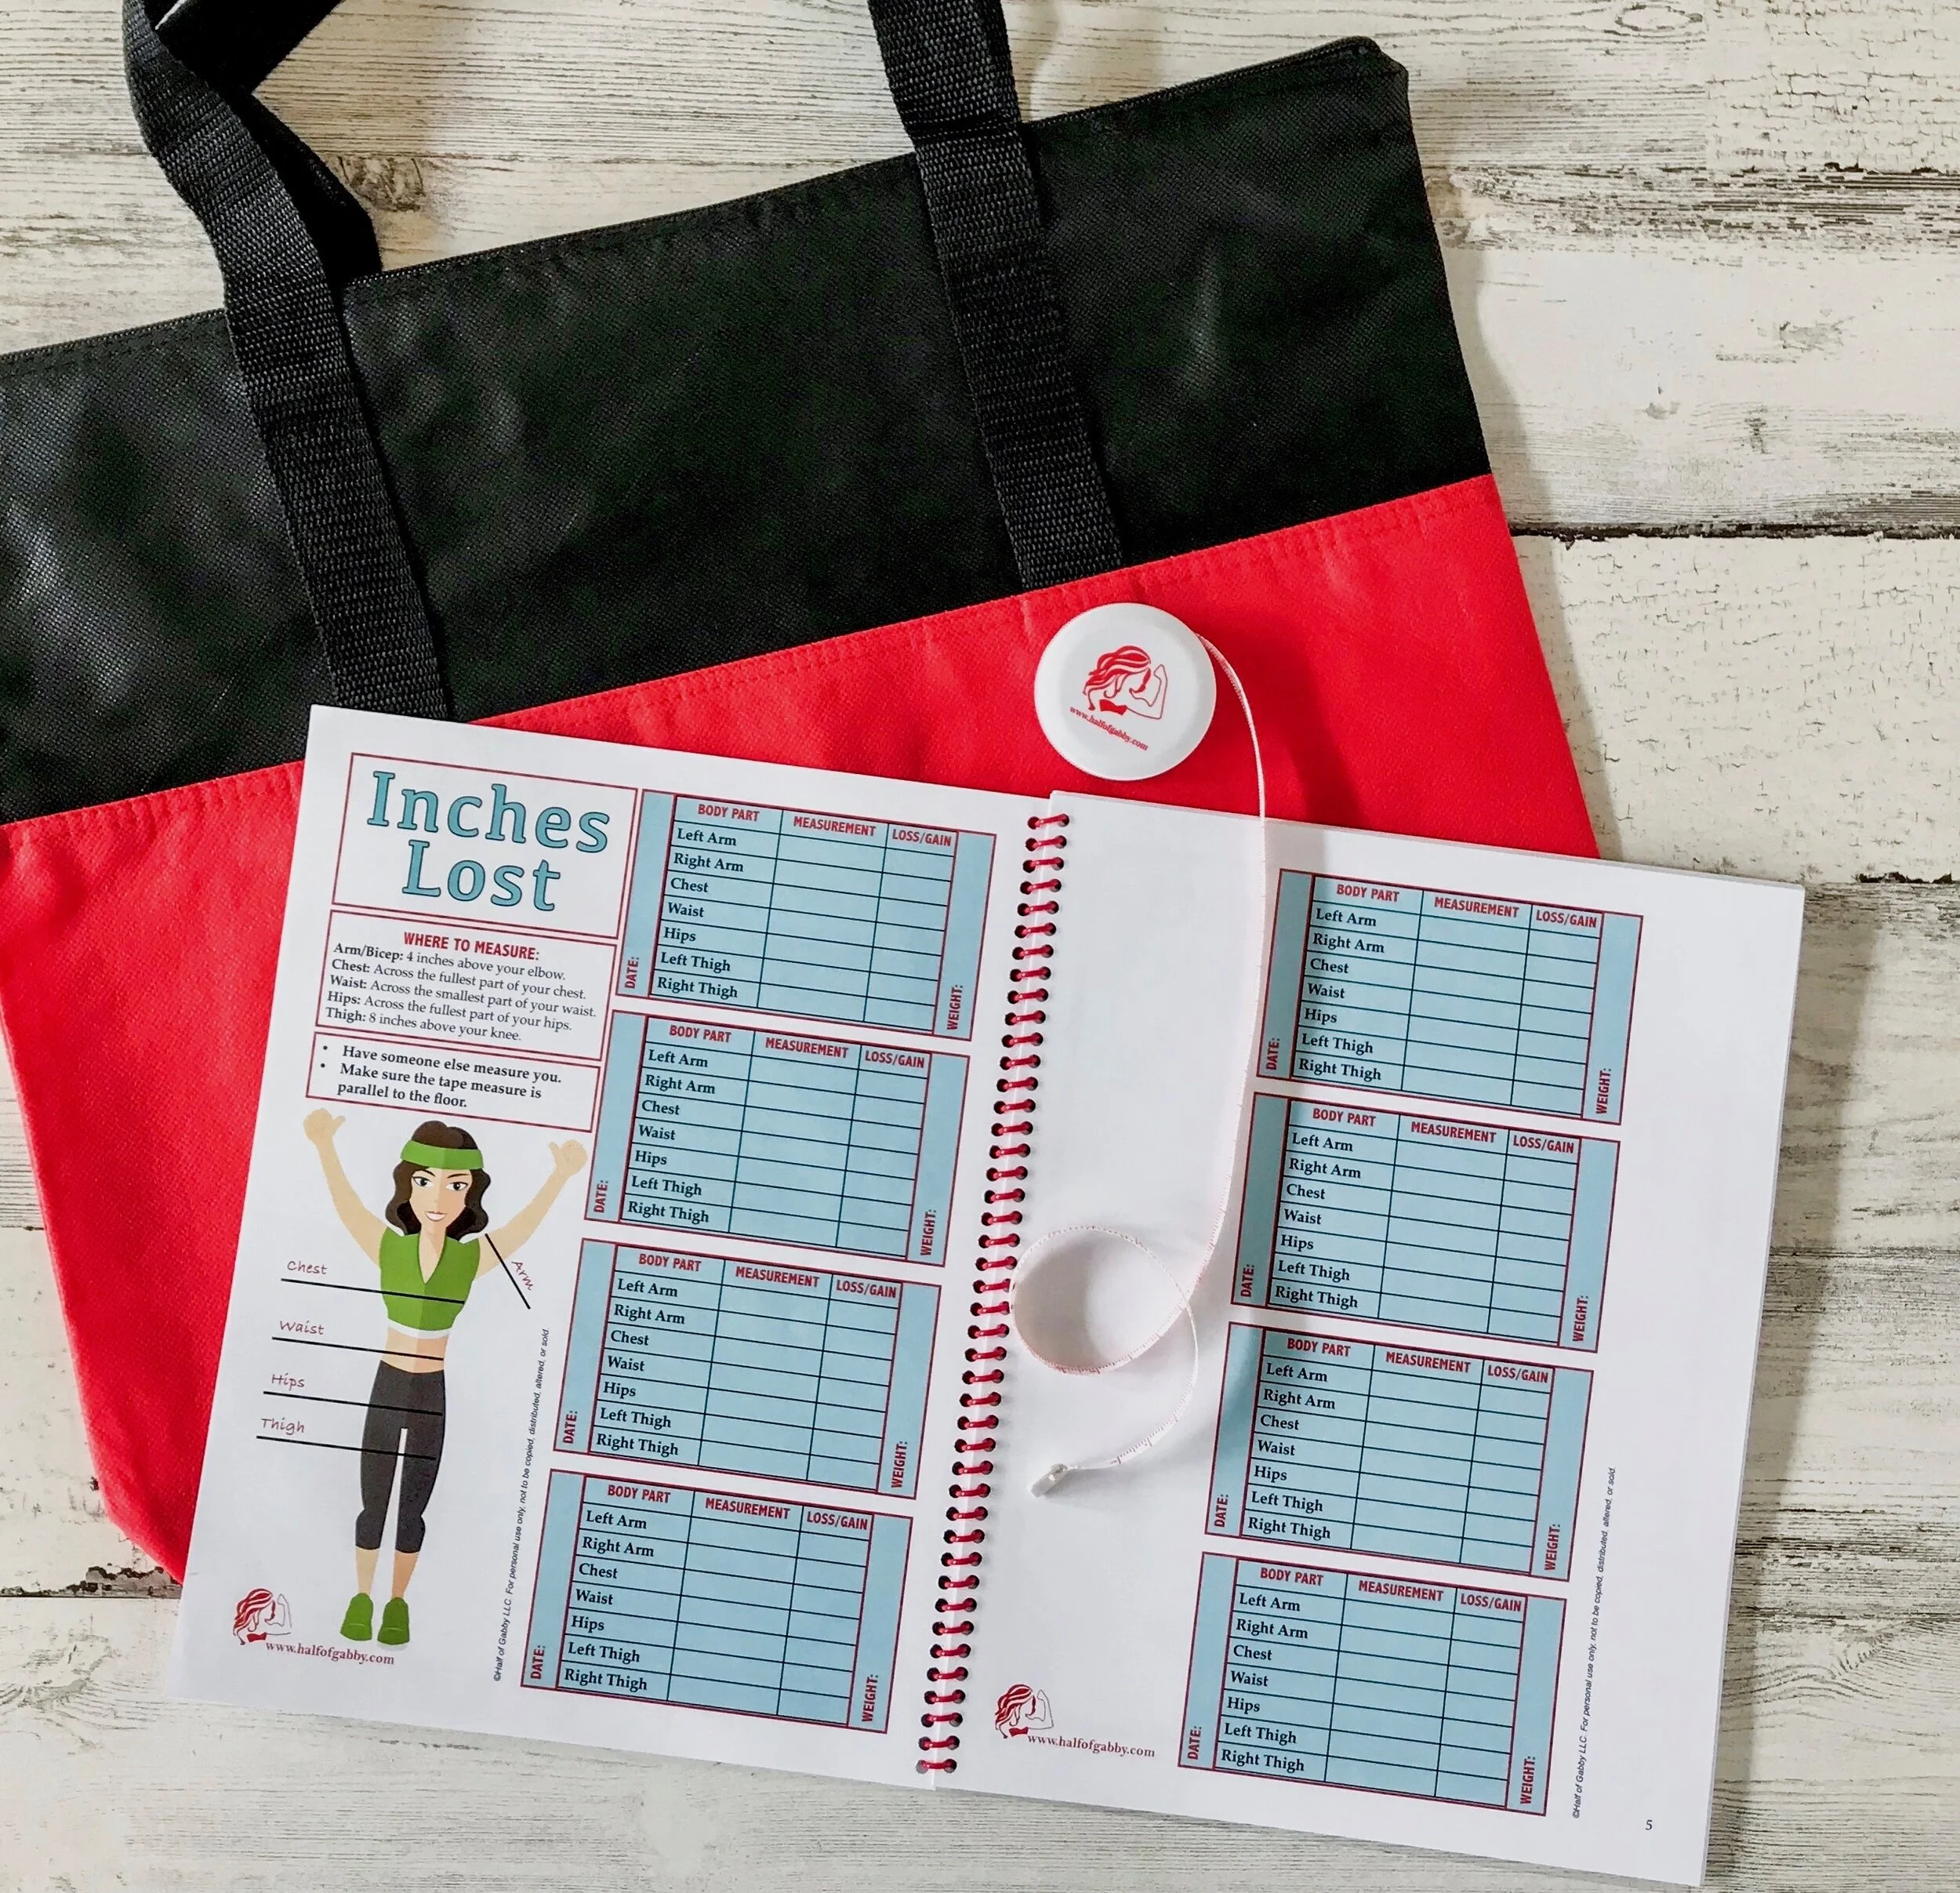
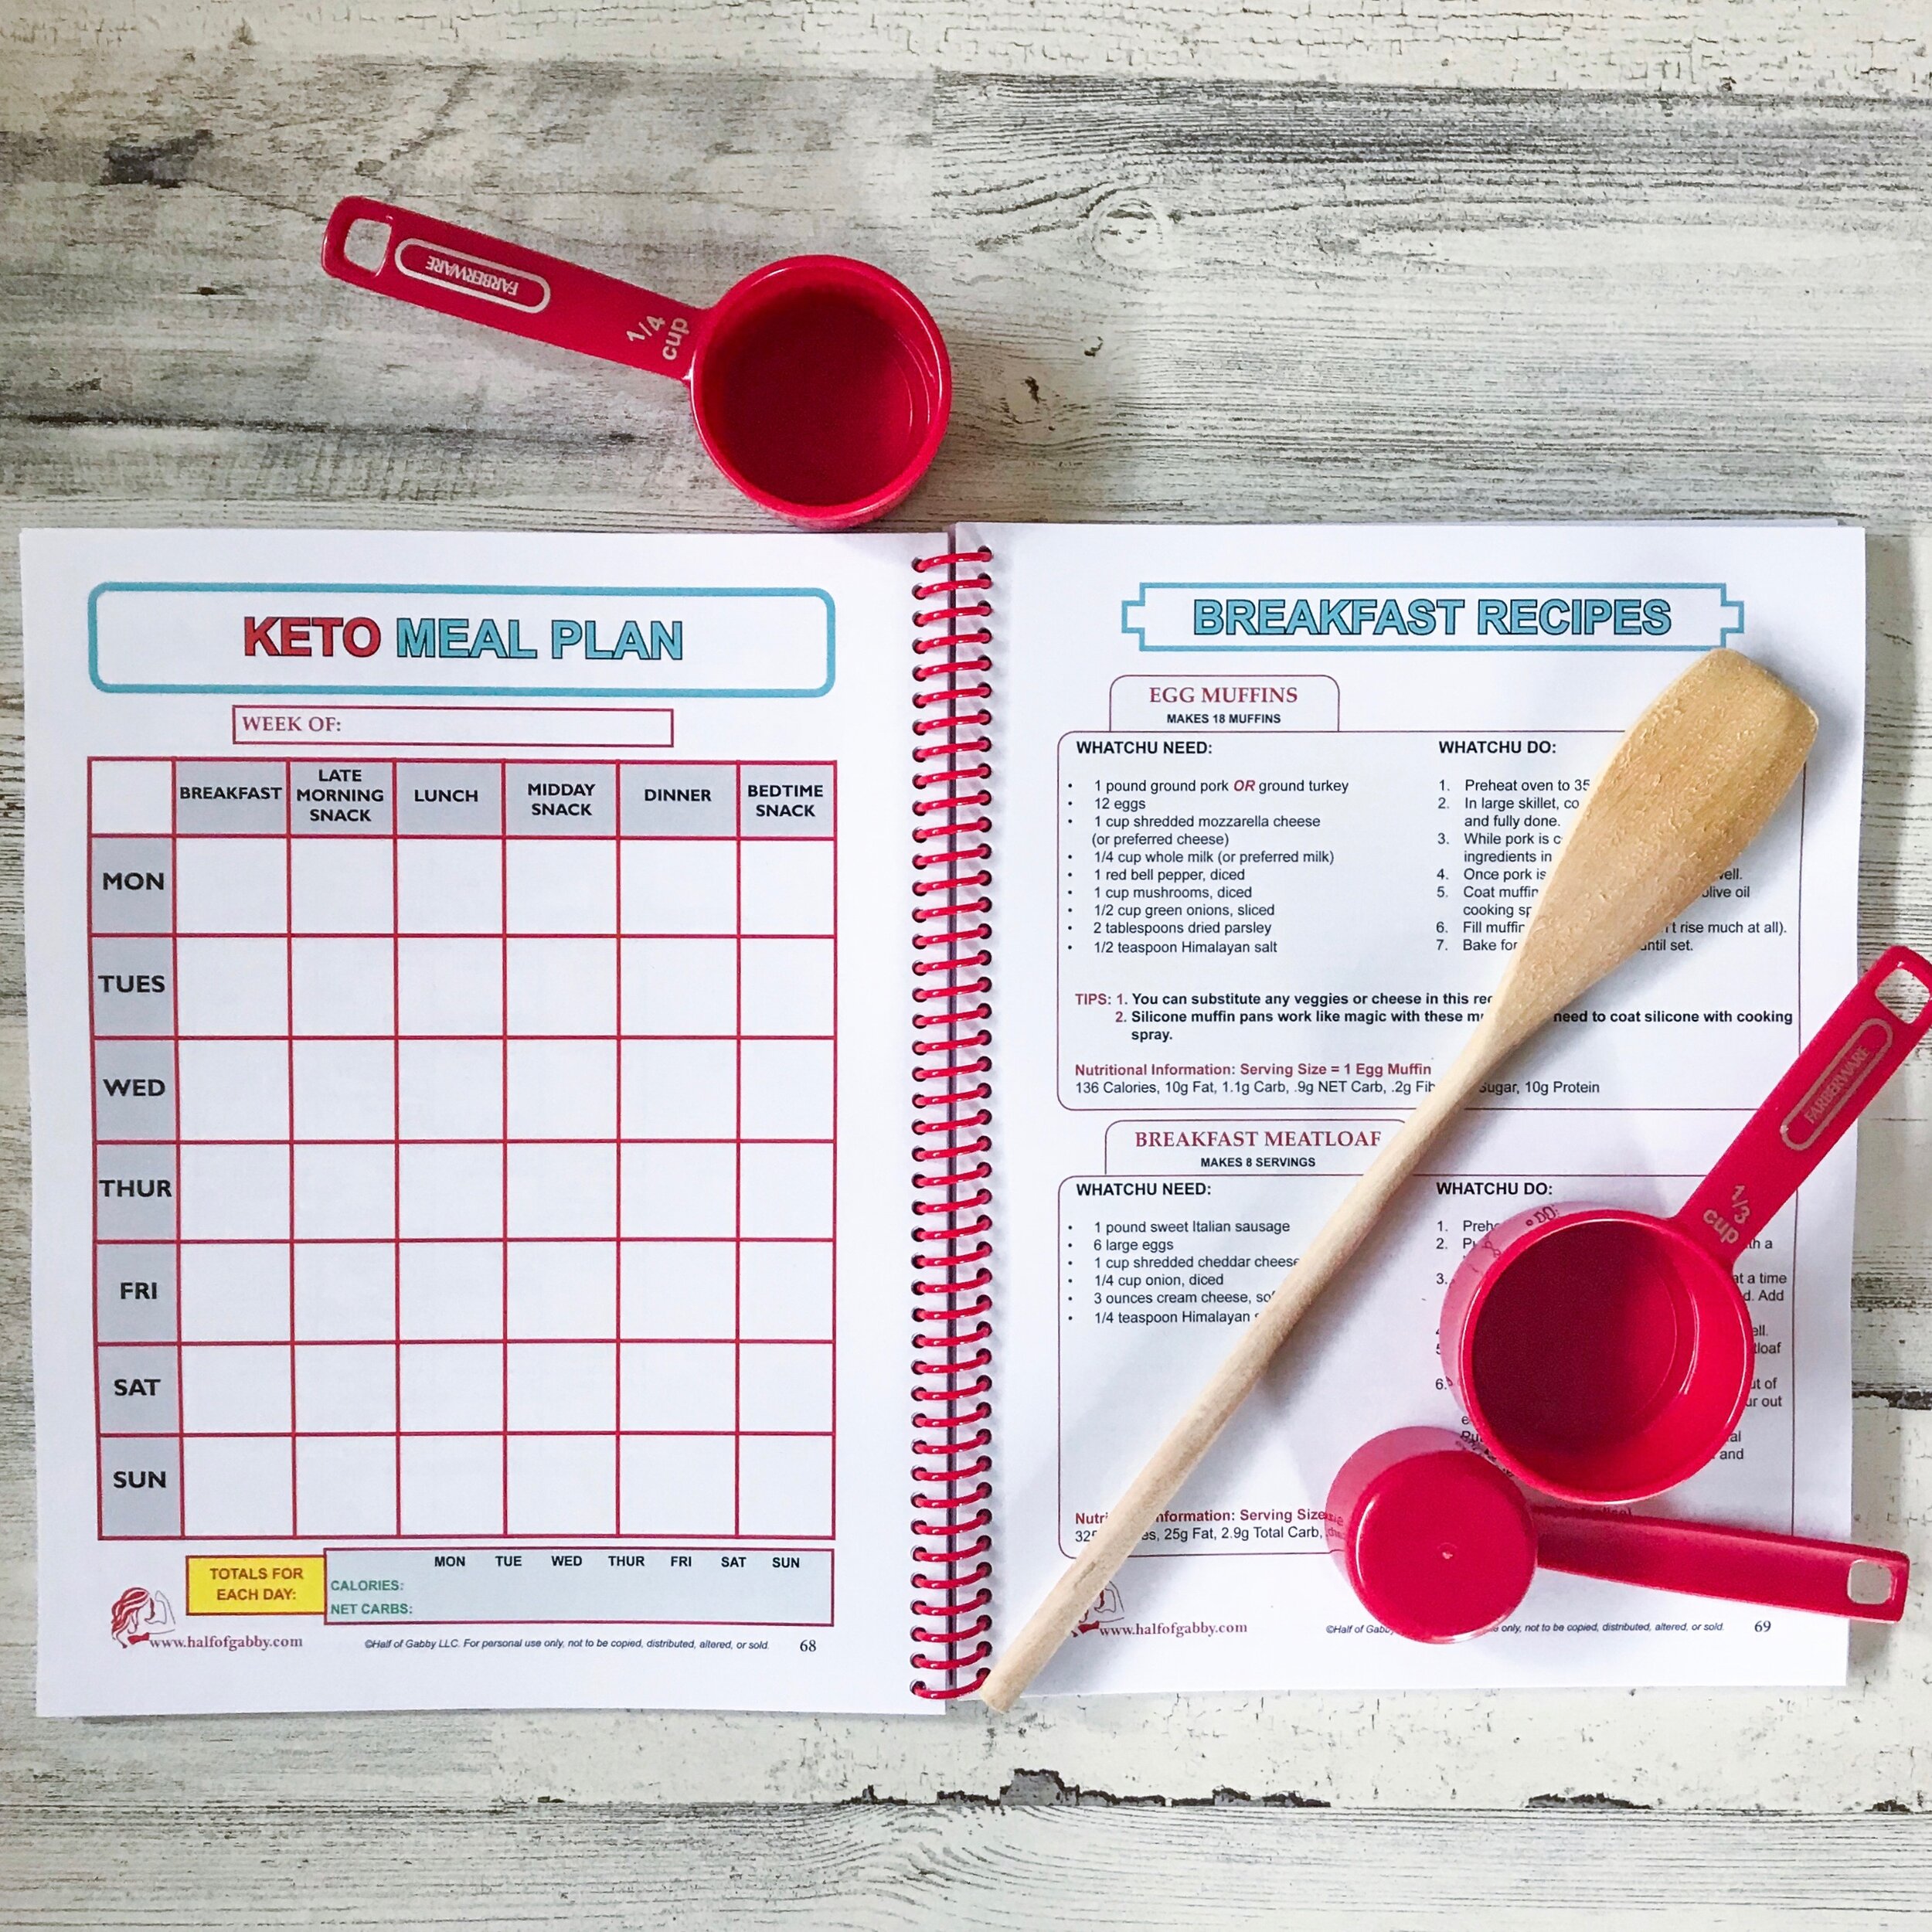
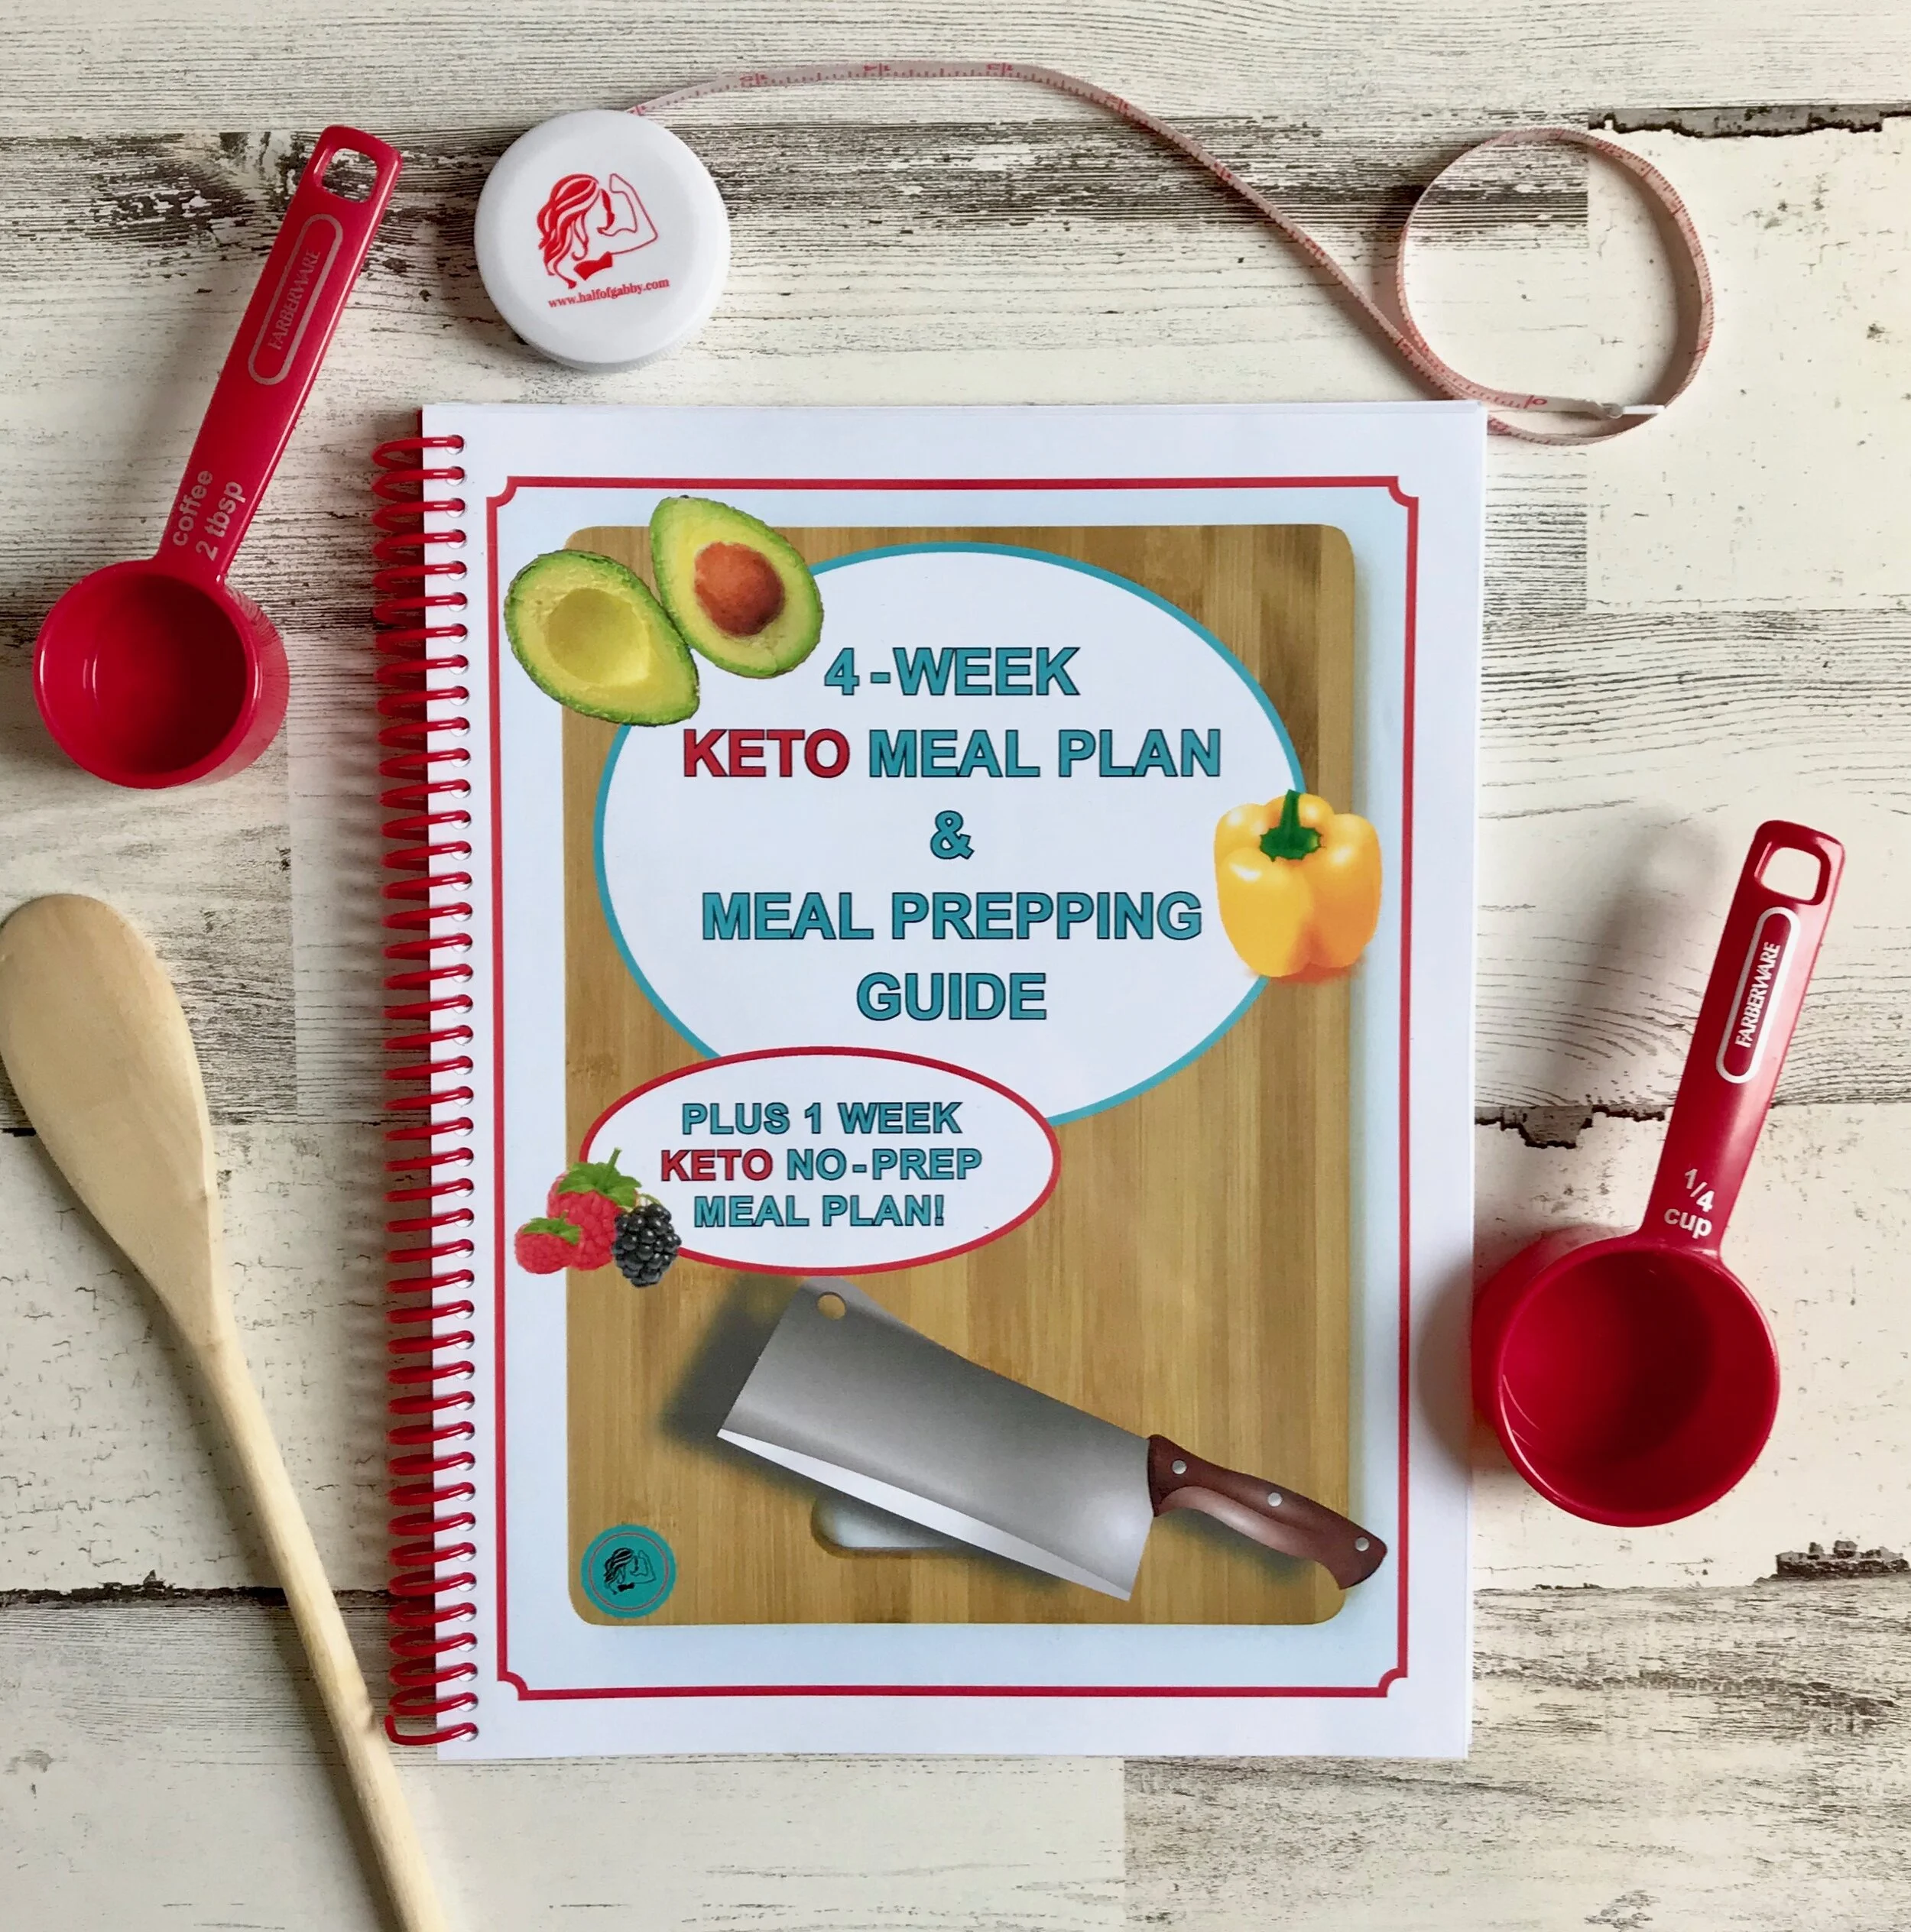
Do you need help with meal prepping or need a healthy meal plan?
TRY MY
4 Week KETO Meal Plan & Meal Prepping Guide
I HAVE EVERYTHING ALREADY FIGURED OUT FOR YOU!


~
How To Make This Fantastic Fruit Tree:
Whatchu Need:
2 heads of cabbage
Toothpicks
Saran Wrap
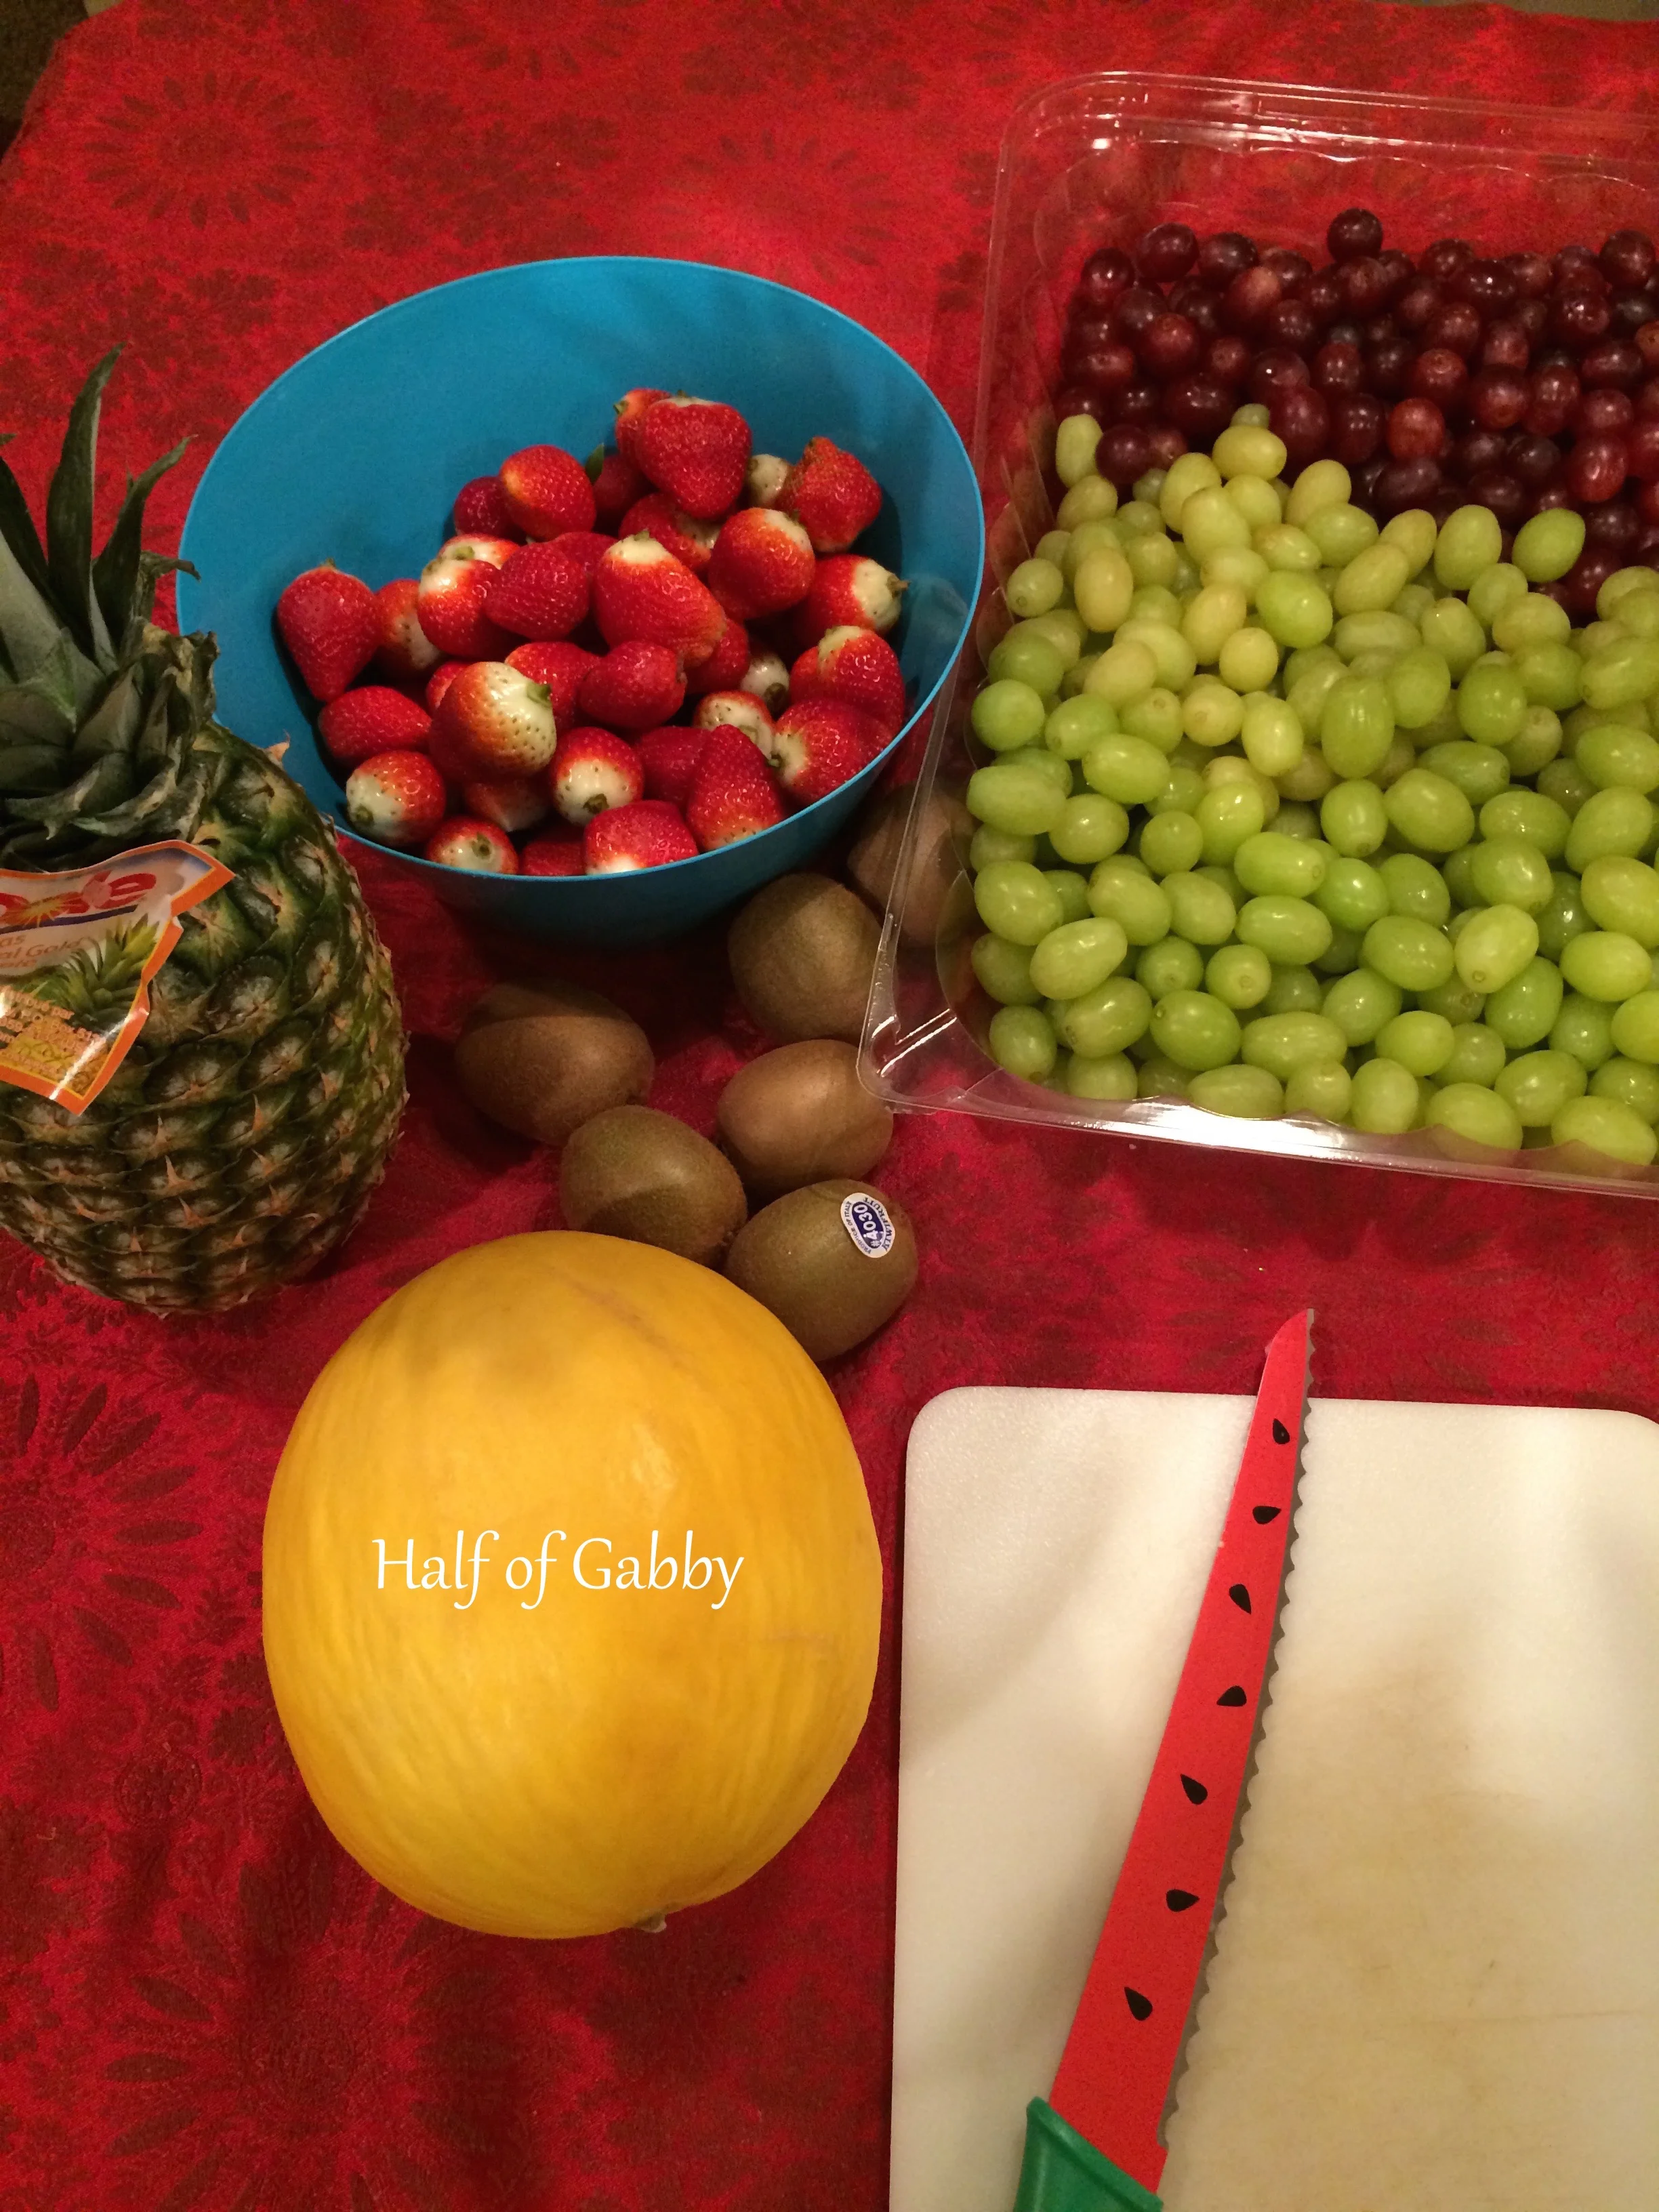
Your choice of fruits. I used:
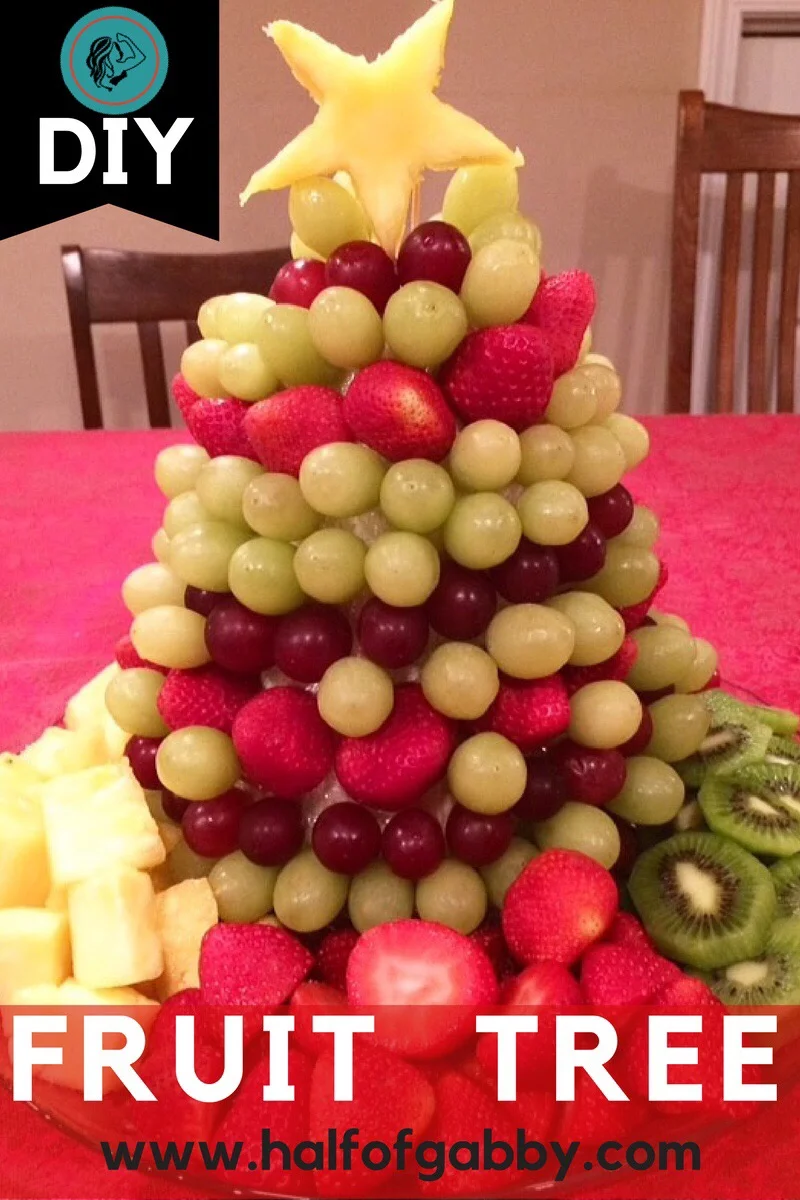
Grapes (Green AND Red. The green will be the tree and the red will be the garland.)
Strawberries
Pineapple
Kiwi
Whatchu Do:
1. Slice the very top and bottom off of one of the cabbage heads. This is so that the bottom will sit flat on a platter and the top will be a flat surface for the second head of cabbage to sit on top of.
2. Slice the very bottom of the 2nd cabbage head to allow it to sit flat on top of the base cabbage head (the 1st cabbage head). Then start slicing the head down all around the sides to try to form a pyramid shape out of the cabbage head. Start by taking just a little off. You can always cut more. You don't want to overshoot it.
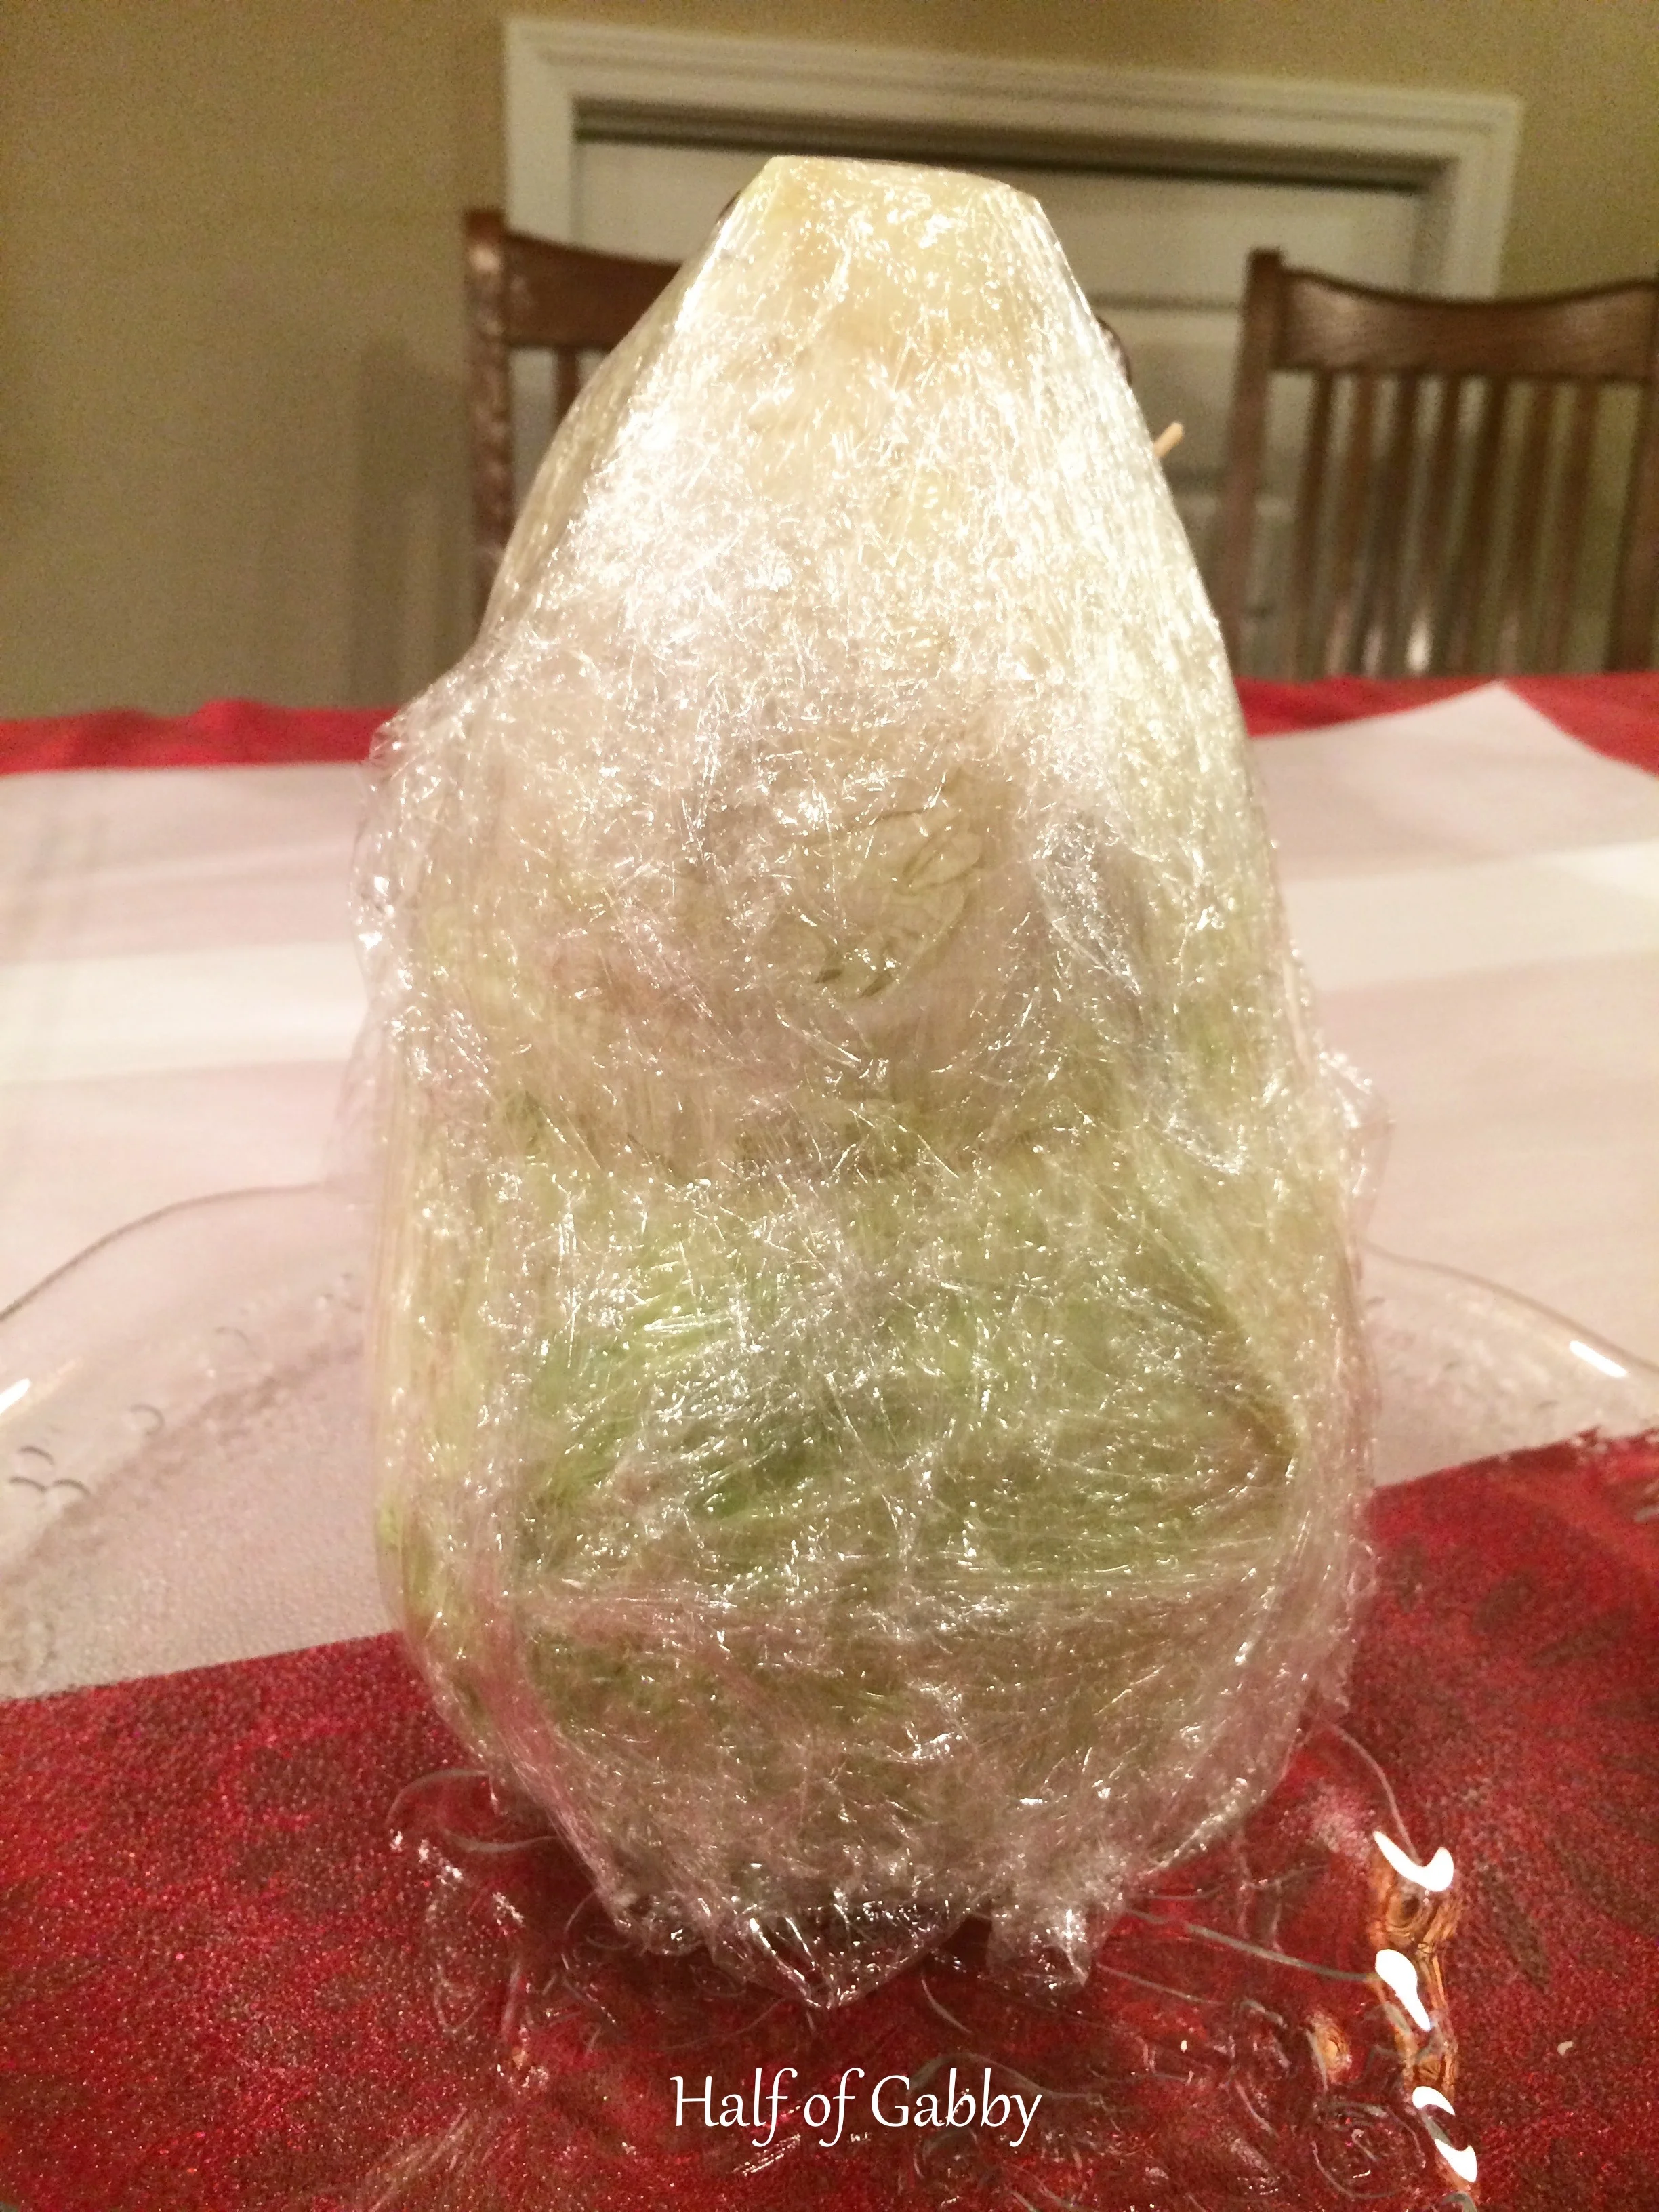
3. After you have your cabbage heads cut, wrap that sucker with a ton of saran. This does two things: It covers up the cabbage smell (ew) and it also secures the heads together.
It doesn't have to be perfect. You can clearly see mine isn't. You just need the general shape. Once you put the fruit on, it'll look much more like a tree shape!
4. After you get your tree base done. Wash and dry all your fruit and lay it all in front of you. Prep work is golden. You don't want to be scrambling around for everything. Get your work station set up so that your task goes smoothly.
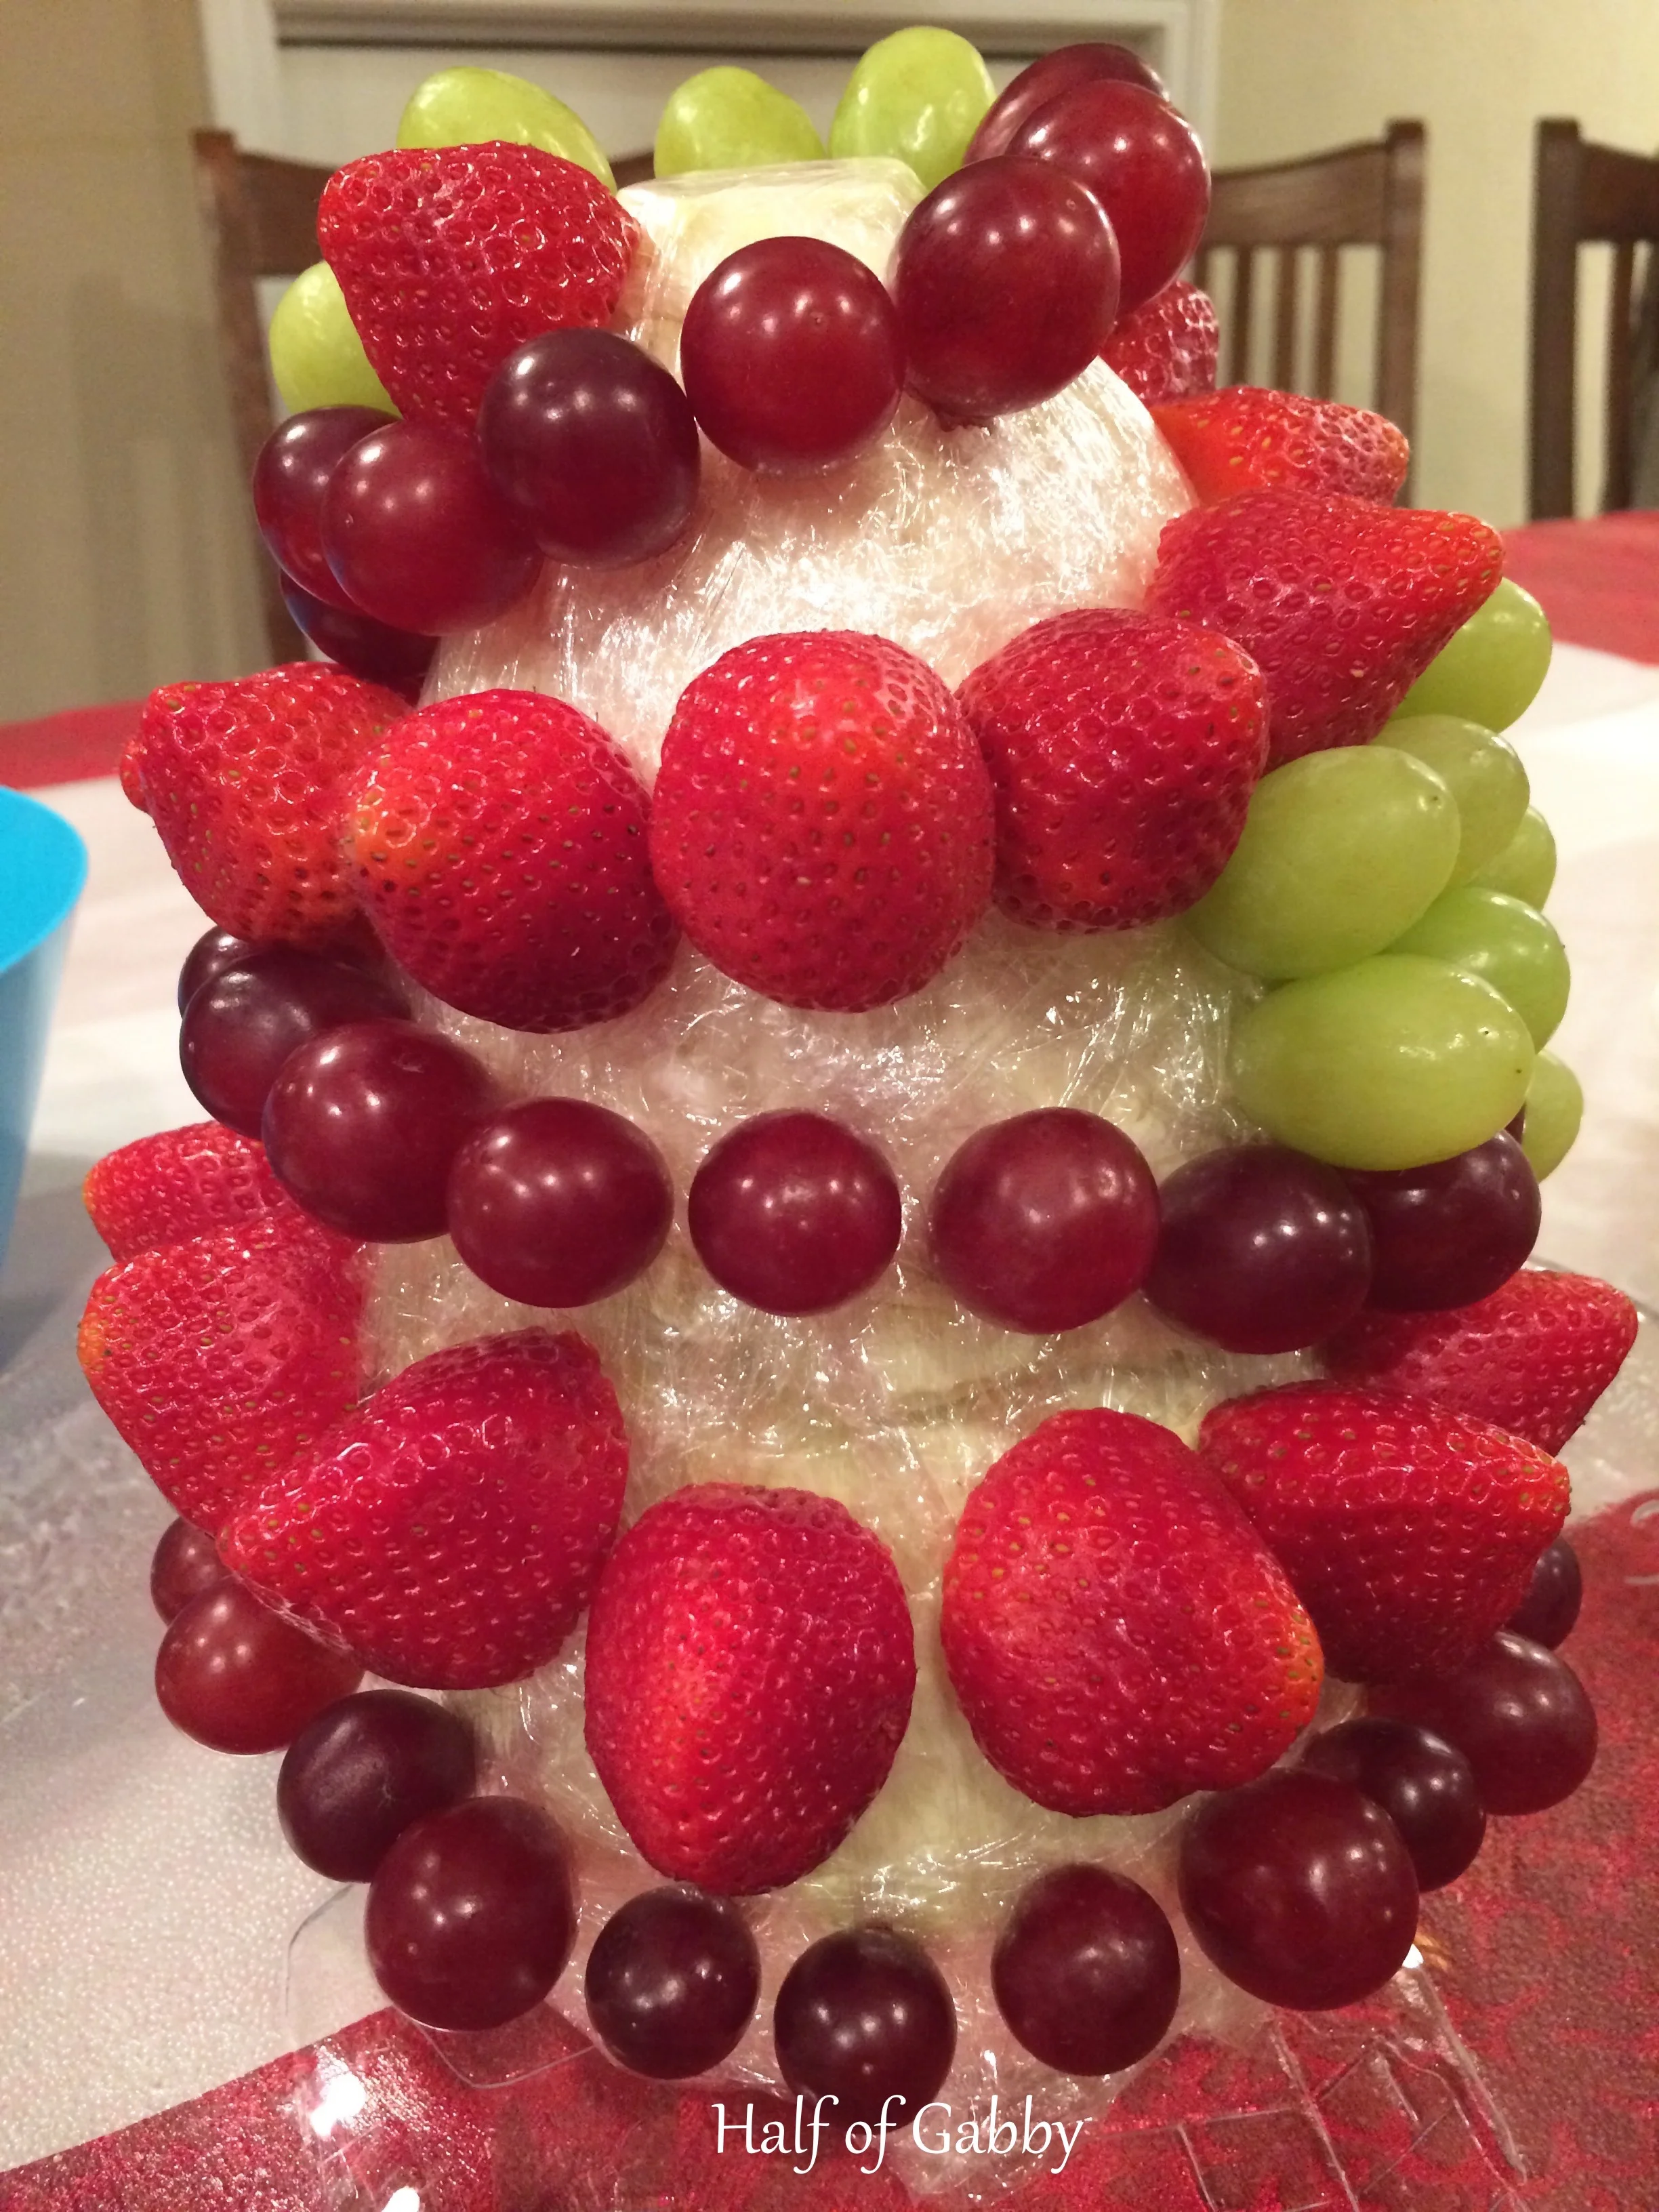
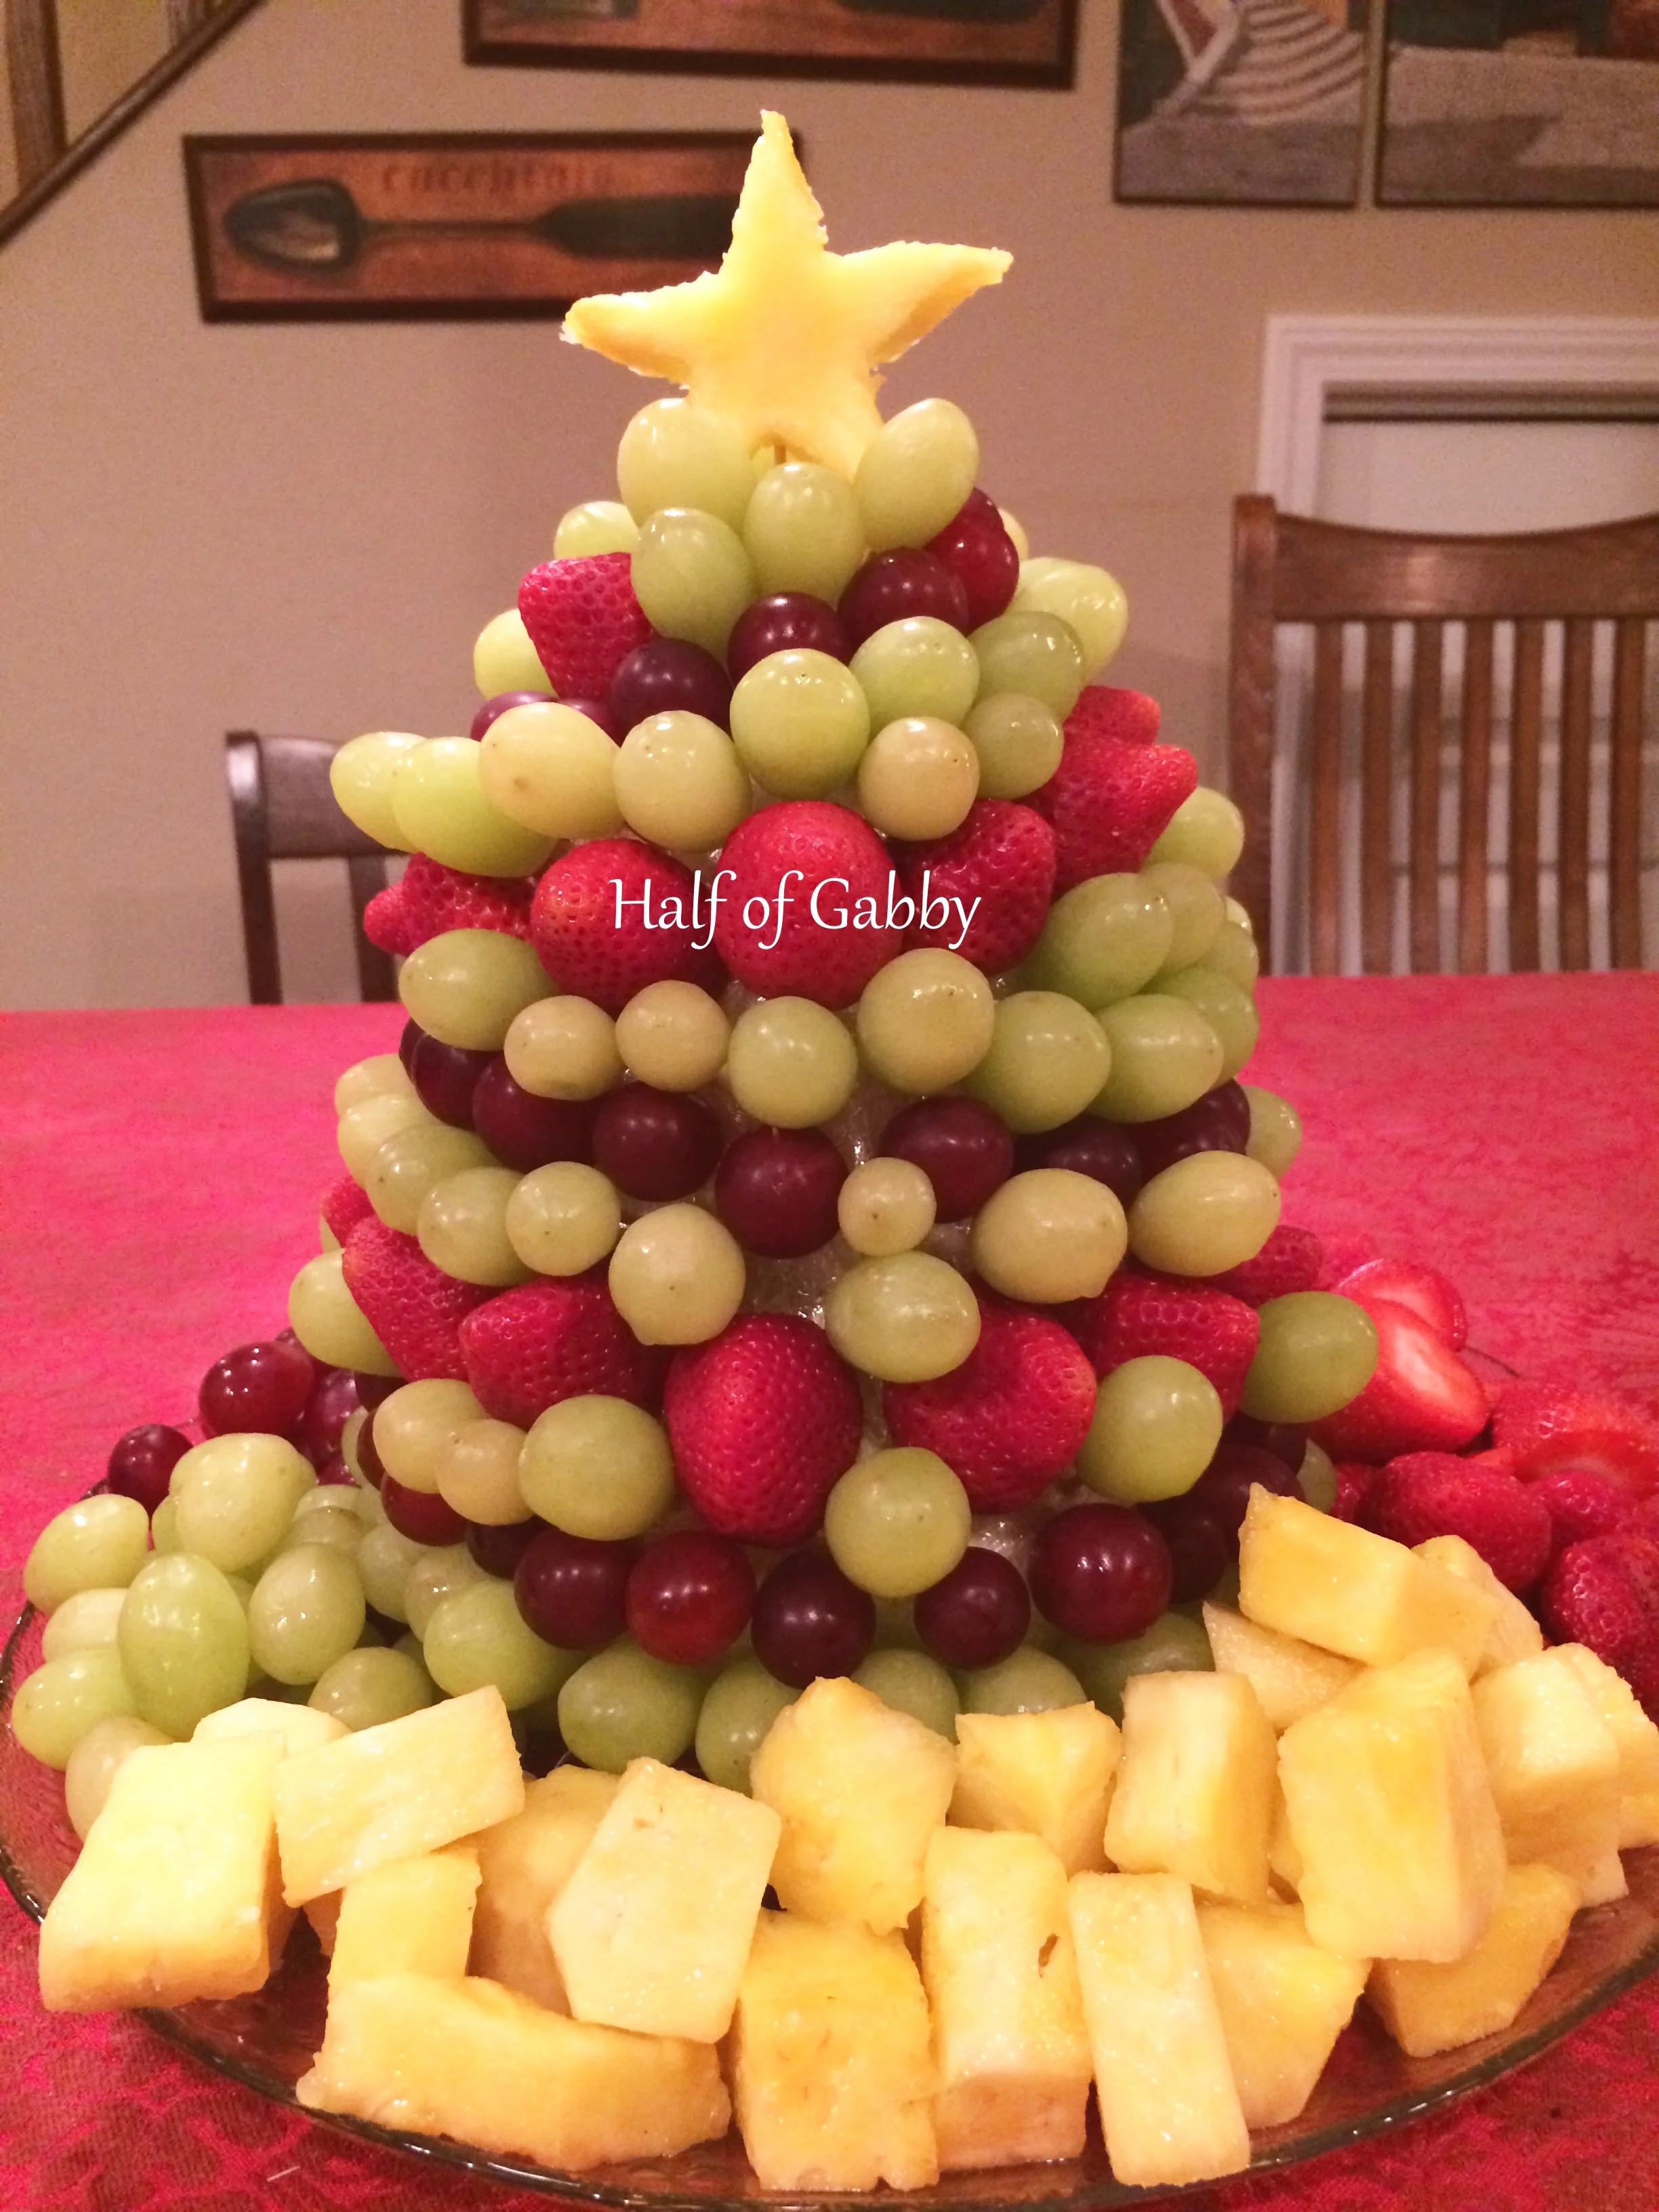
5. I started by making 'garland' around my tree with the red seedless grapes. I snaked it down the tree just like you would garland on your christmas tree.
Break toothpicks in half and put the pointy end into the cabbage. Then just plop your grapes on.
TIP:
I used the holes that nature already put on the grapes for me. That way only the perfect fruit is seen. I only put a few toothpicks in at a time because I wanted to clearly see how my garland was forming, but to save time I'm sure you could put more in at once.

6. After I was done with my red grape garland, I made a strawberry garland. I snaked the strawberries in between the red grape garland.
7. After I was done with my two garlands, I just filled all the rest of the space up with green grapes.
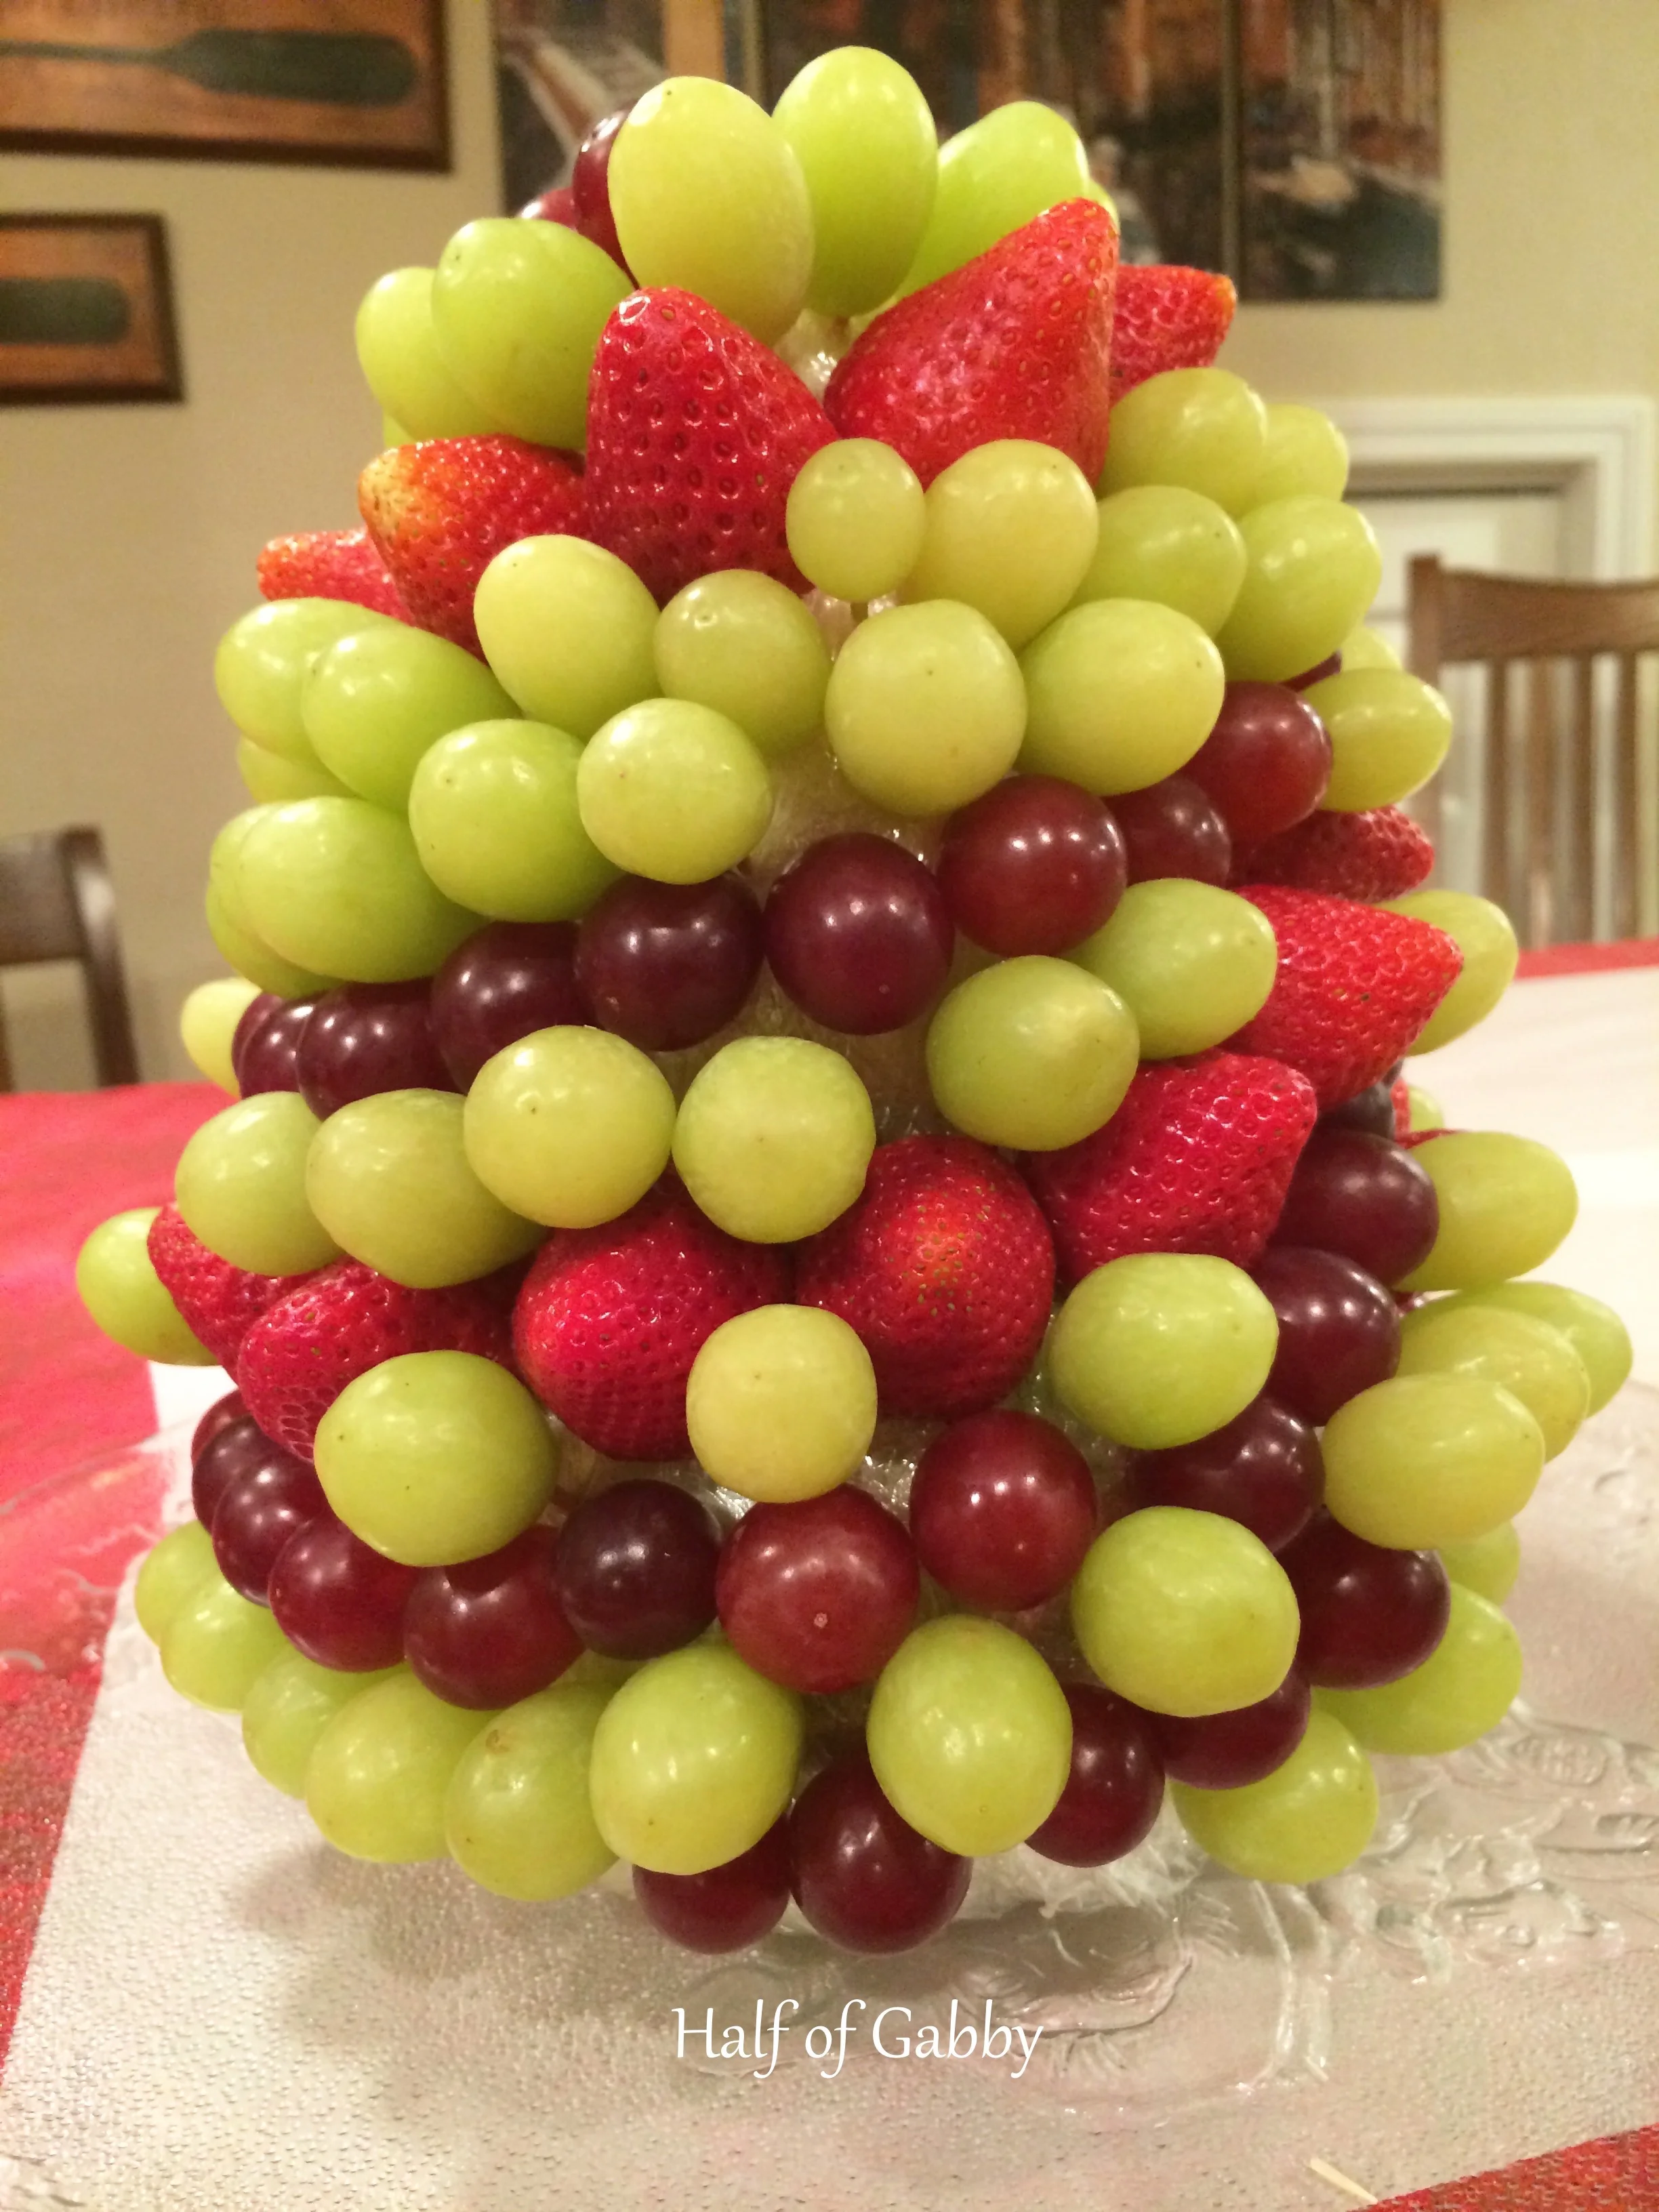
8. Then I topped my tree off with a big golden pineapple star. I didn't have a star cookie cutter so I just winged it. But it still came out great!
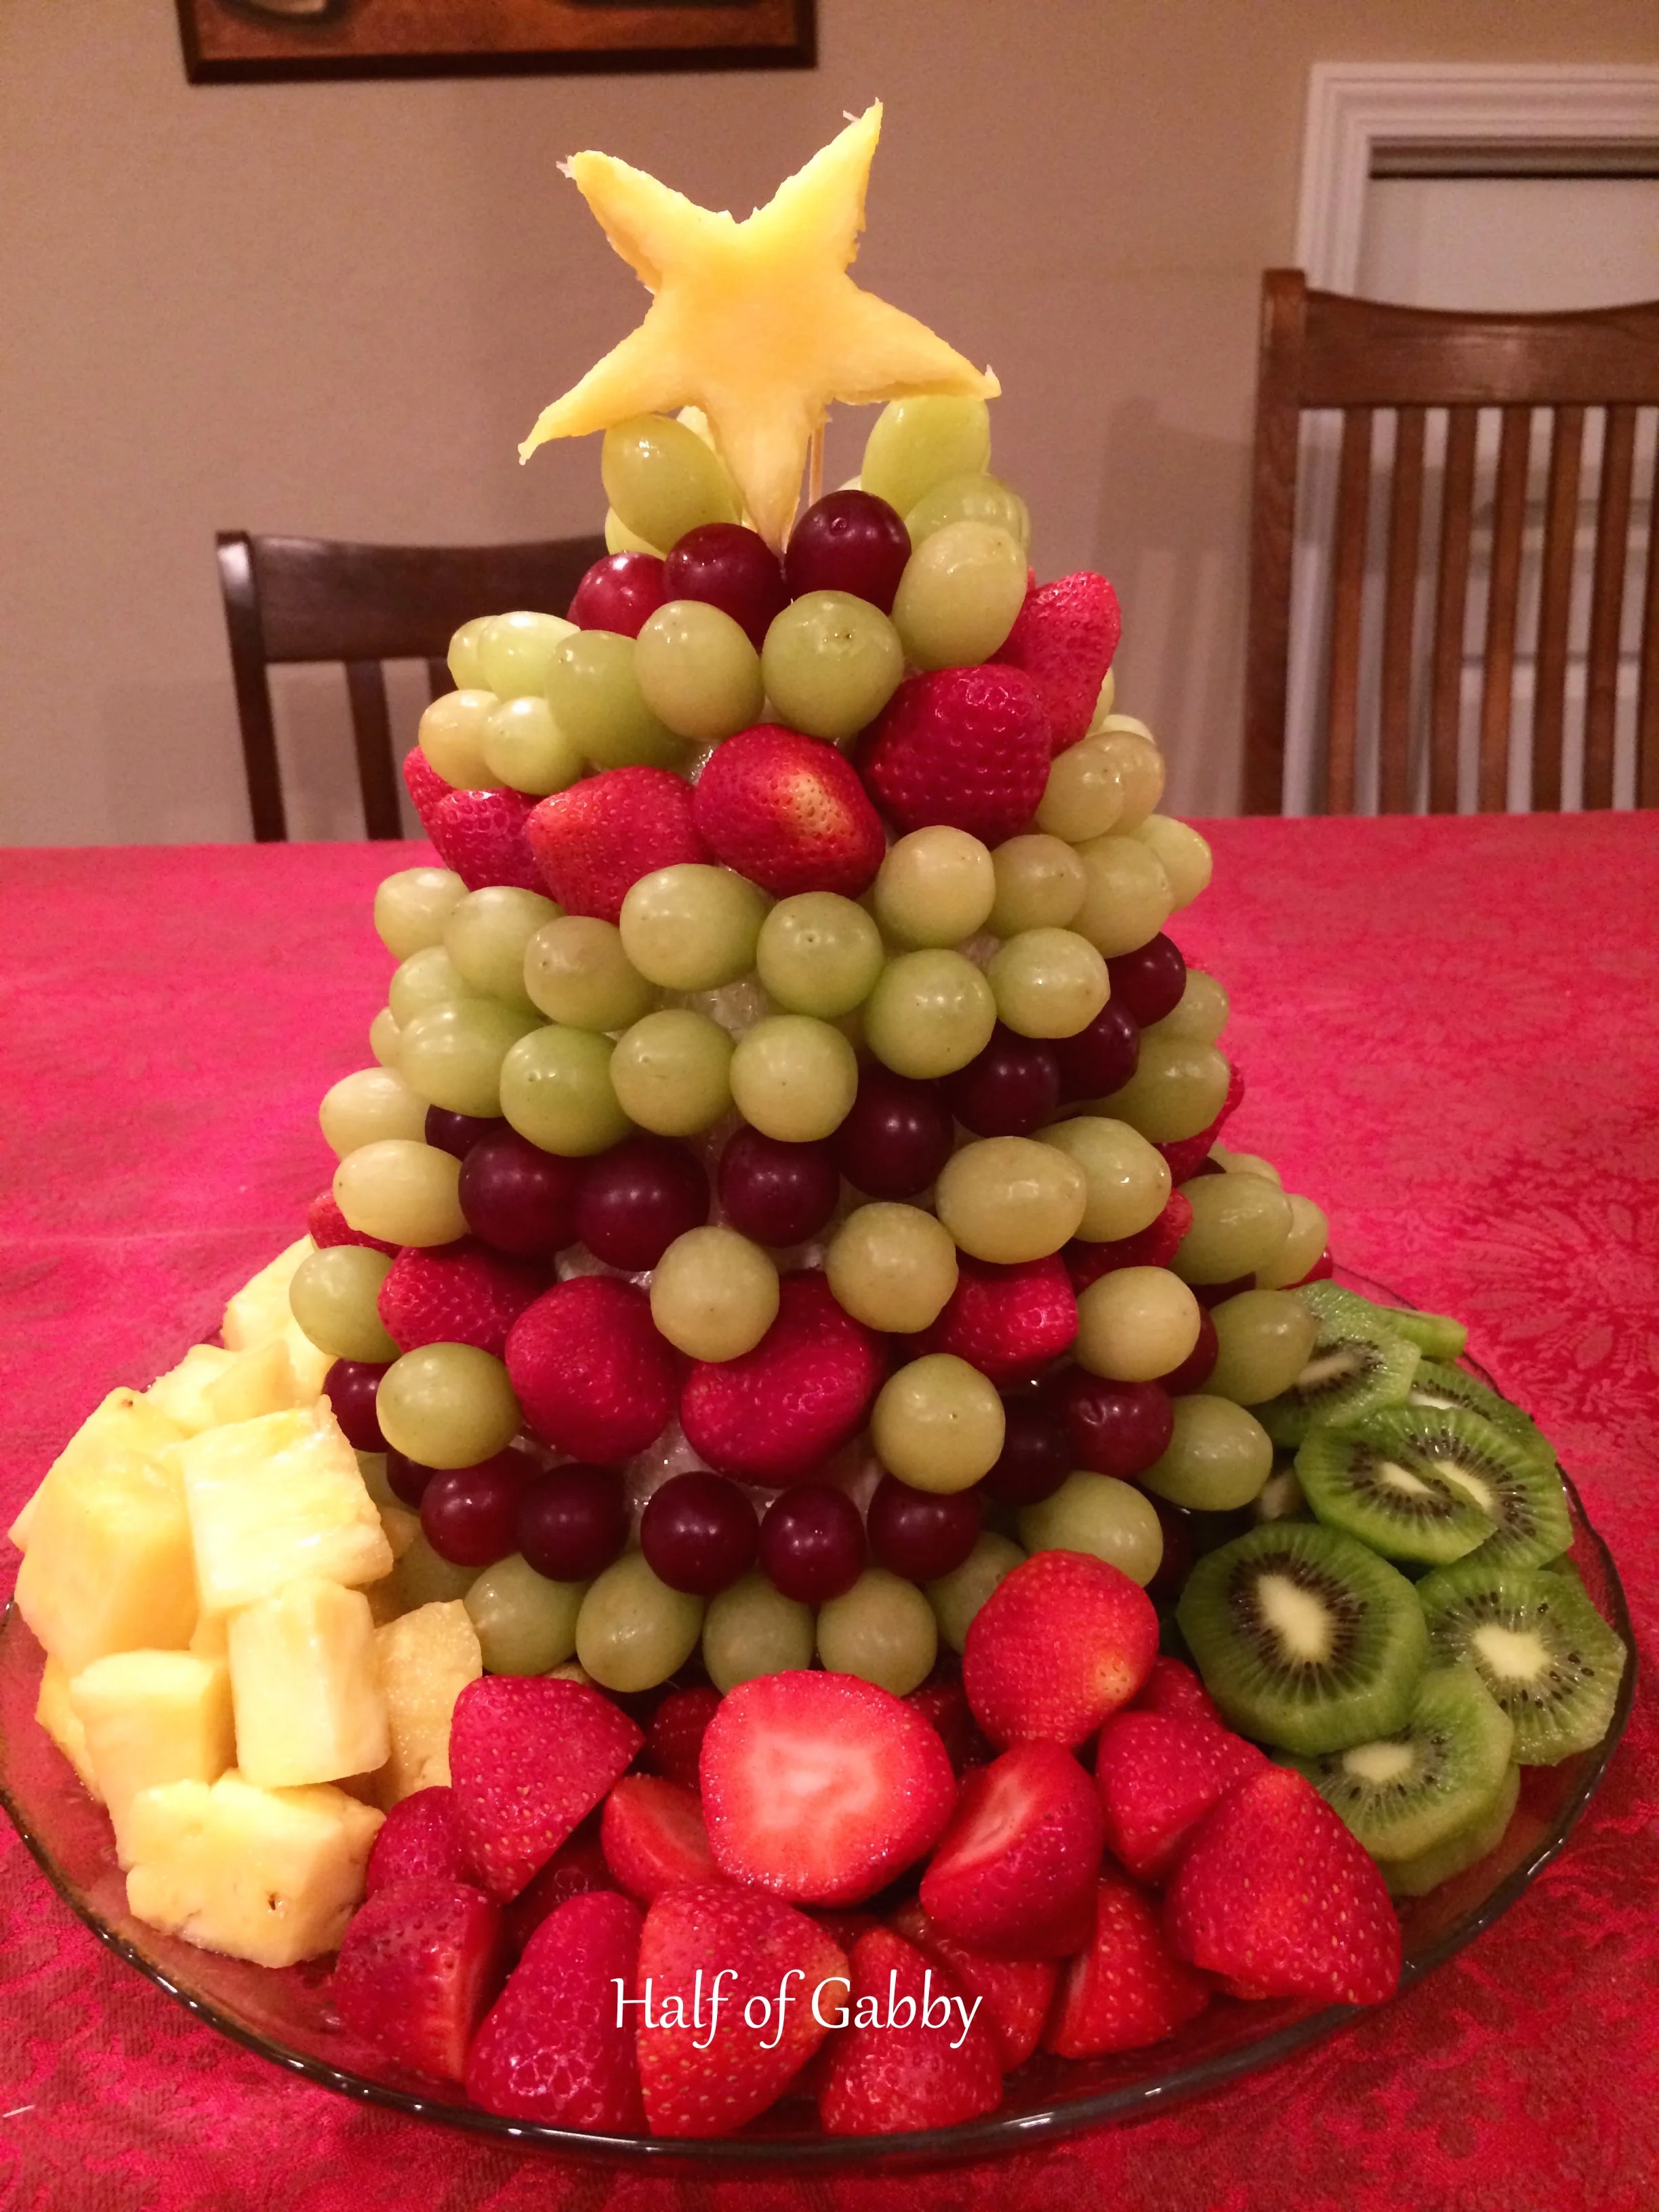
9. Lastly, I put all the 'gifts' under the tree! Sections of pineapple chunks, strawberries, kiwi, red grapes, and green grapes or whatever your little heart desires!
VOILA!
~~~
*The information on this site is not intended or implied to be a substitute for professional medical advice, diagnosis or treatment. All content in this article is for general information purposes only. I am not a doctor, nor am I a dietitian. Talk to your physician before making any changes in your diet or exercise regimen. The information found in this article is from various sources which include, but are not limited to, the sites listed above. I encourage you to do your own research and talk with your physician before making any changes in diet or exercise. What has worked for me may not work for you. This information in this article or on this website should never replace or serve as medical advice.
NEVER DISREGARD PROFESSIONAL MEDICAL ADVICE OR DELAY SEEKING MEDICAL TREATMENT BECAUSE OF SOMETHING YOU HAVE READ ON OR HAVE ACCESSED THROUGH THIS WEB SITE.


