

EPIC DRAGON CRAFT: Pictorial Included!
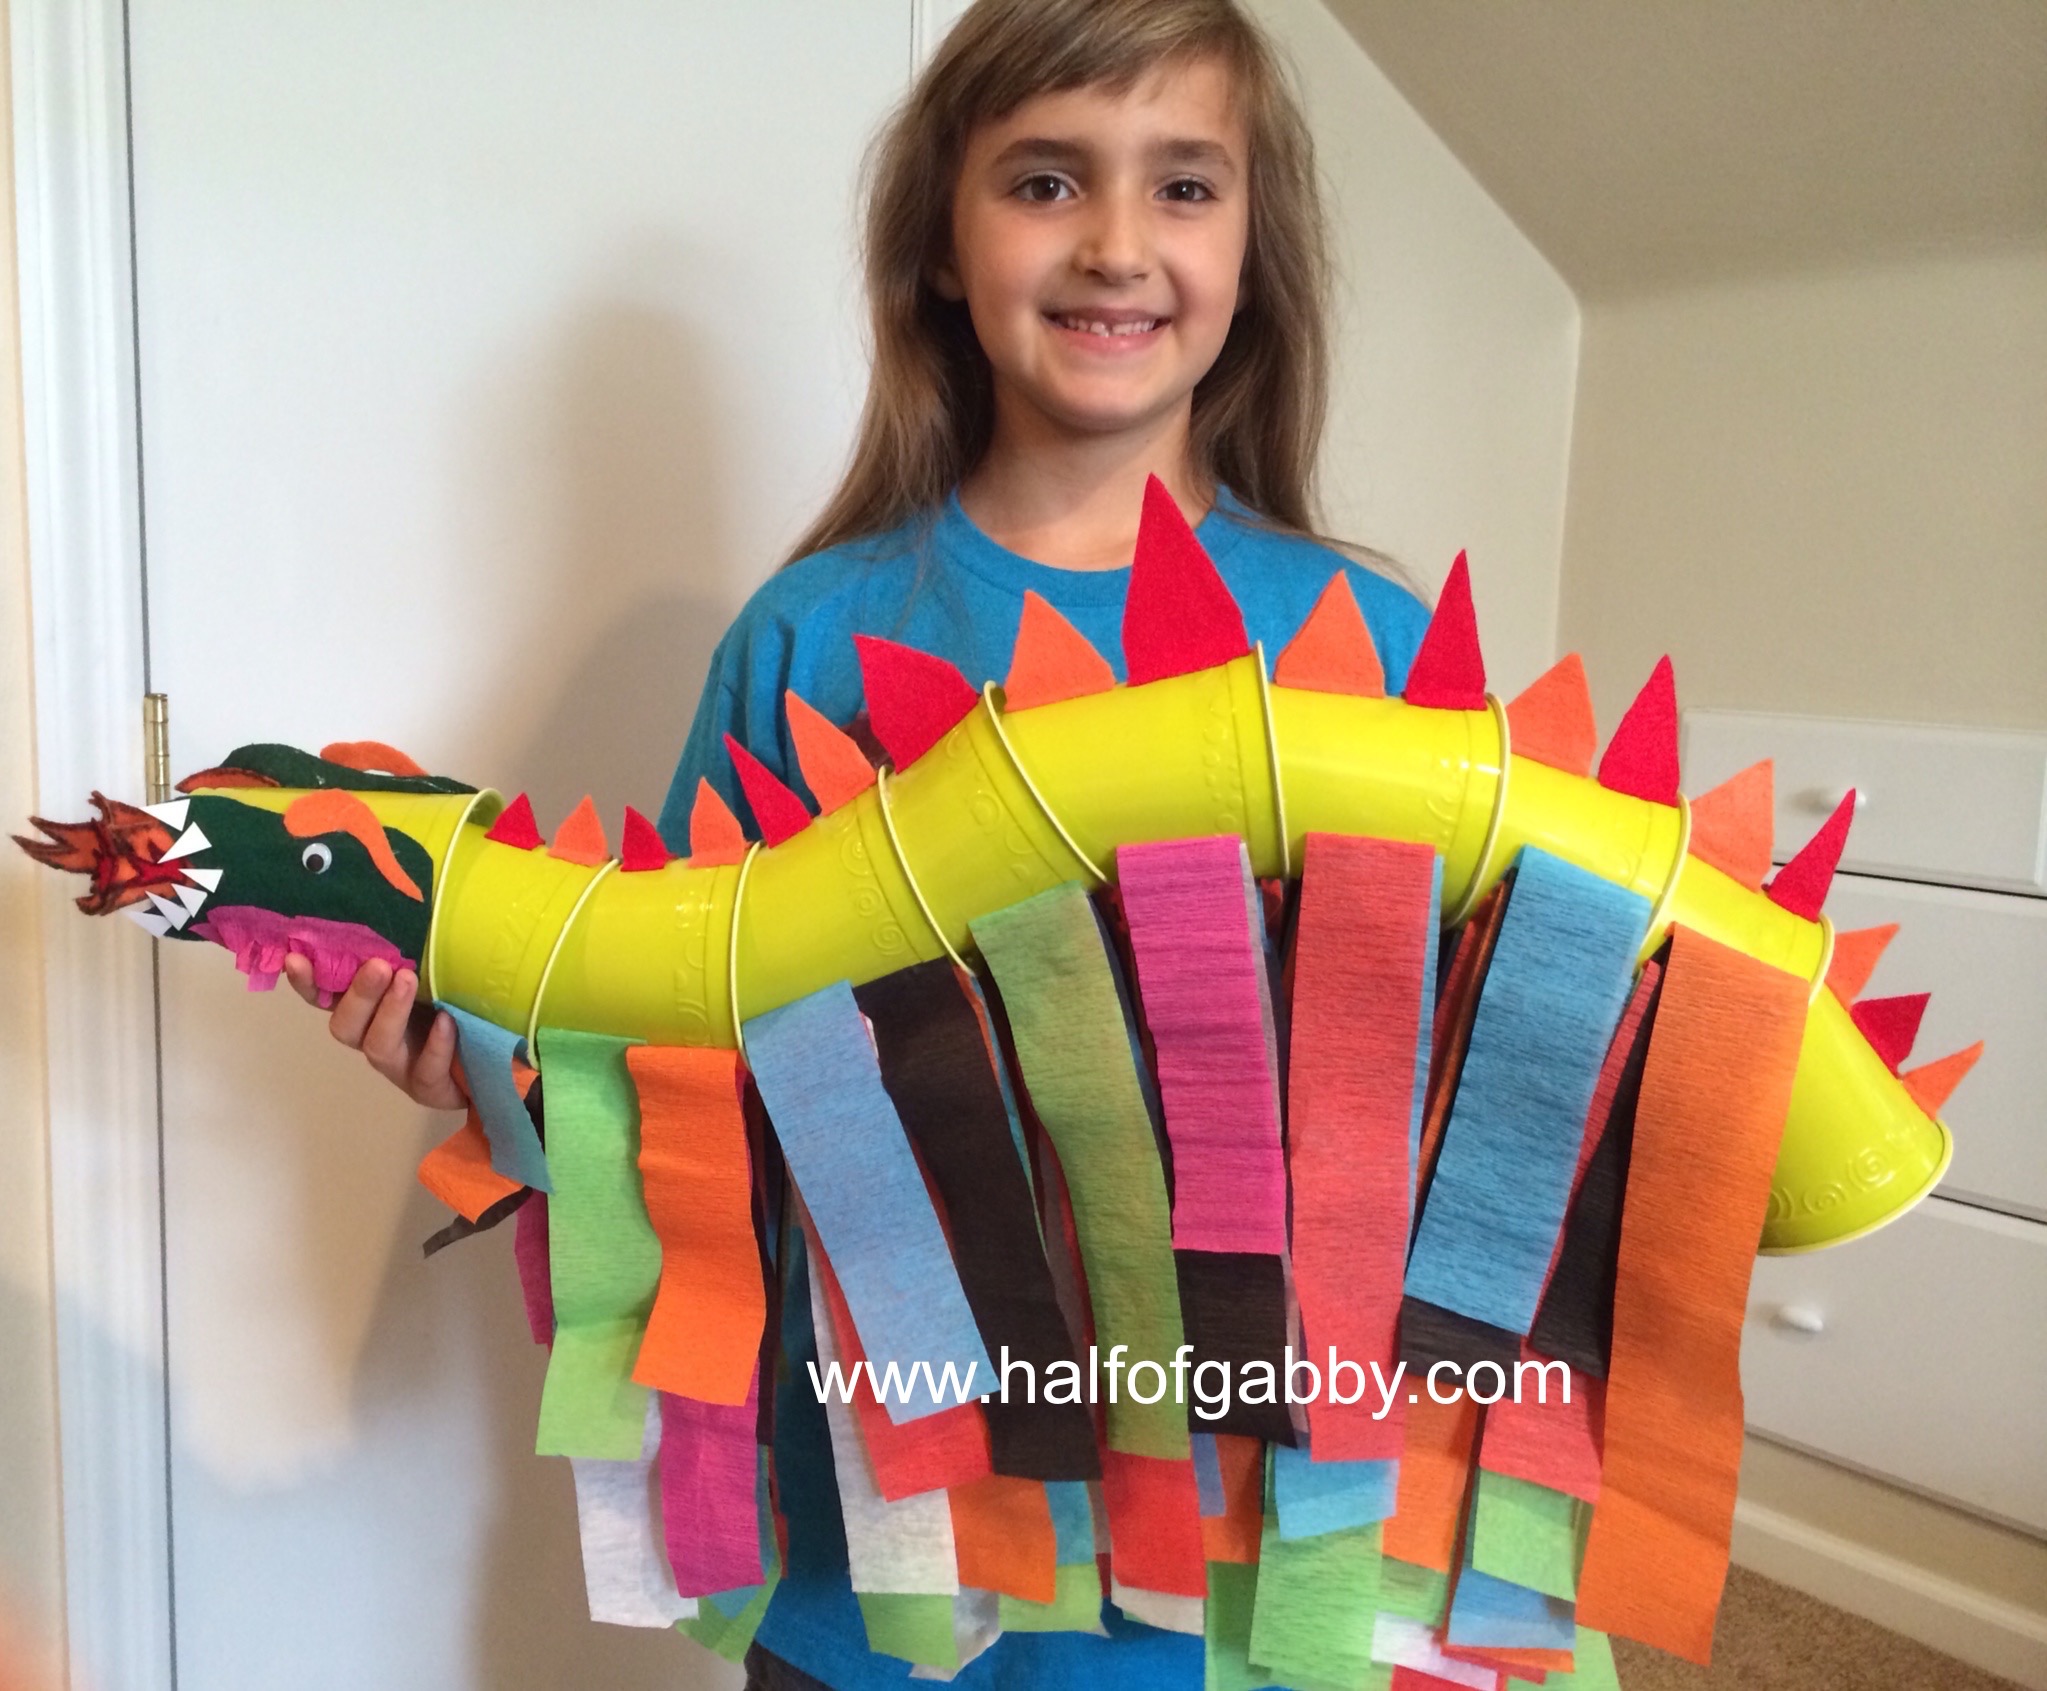
Is this dragon cool or what?
Blow your kids' minds, spend some quality time with them, and have loads of fun making this insanely awesome dragon! Prove once and for all that you're the coolest parent in town. You won't believe how easy it is! I'm referring to how easy the craft is of course. I already know how cool you are... it's the kids you have to convince ;)
My kids have shown our dragon to every single child that has entered our house and every single one of them has flipped over it! I'm not gonna lie, most of the adults have too. This craft is a keeper, my friends.
My girls and I are always finding projects to work on together. Throughout the week we try to pick smaller projects that we can actually finish in an evening. But when we have a free weekend open up, we love to bust out the art supplies and dive into an epic crafting adventure.
This particular weekend craft came about because my youngest daughter, Jossy, was sad that her big sister, Gianna, wasn't going to be home. Gia had back-to-back sleepovers at friends' houses. Jossy asked me if we could make something that would make her happy again. How was I going to say no to that? Mama was on a mission. This had to be legendary.
Jossy and I searched for craft ideas online. Jossy spotted a picture of a dragon made from plastic cups but it didn't have any instructions with it, so I printed out the photo for inspiration. We used our imaginations, improvised, and made a dragon our own way.
I have to say of all of our creations, this is my favorite. I mean come on, dragons rock. I'm pretty sure any kind of dragon craft would be cool but this one, forget about it.
When we were done, I had the happiest kid on the block!
...and that made me the happiest mama around.
Spending quality time with your kids does just as much for you as it does for them. In such a fast paced world where we grown ups have so many responsibilities and worries weighing us down, it's so nice to stop the madness in it's tracks and just have some fun. Good old fashioned kid fun, where your biggest problems are you can't decide between the coolest colors or which scissors cut the best. Check out of the rat race for a weekend and just be a kid again. Your errands, the laundry, and your chores aren't going anywhere. They'll wait for you. This weekend trade all that in for some smiles. You'll be glad you did!
Seriously, this craft turned out awesome and it was super fun to put together YOU should totally make one of these crazy cool dragons!
~
Do you need help with meal prepping or need a healthy meal plan?
TRY MY
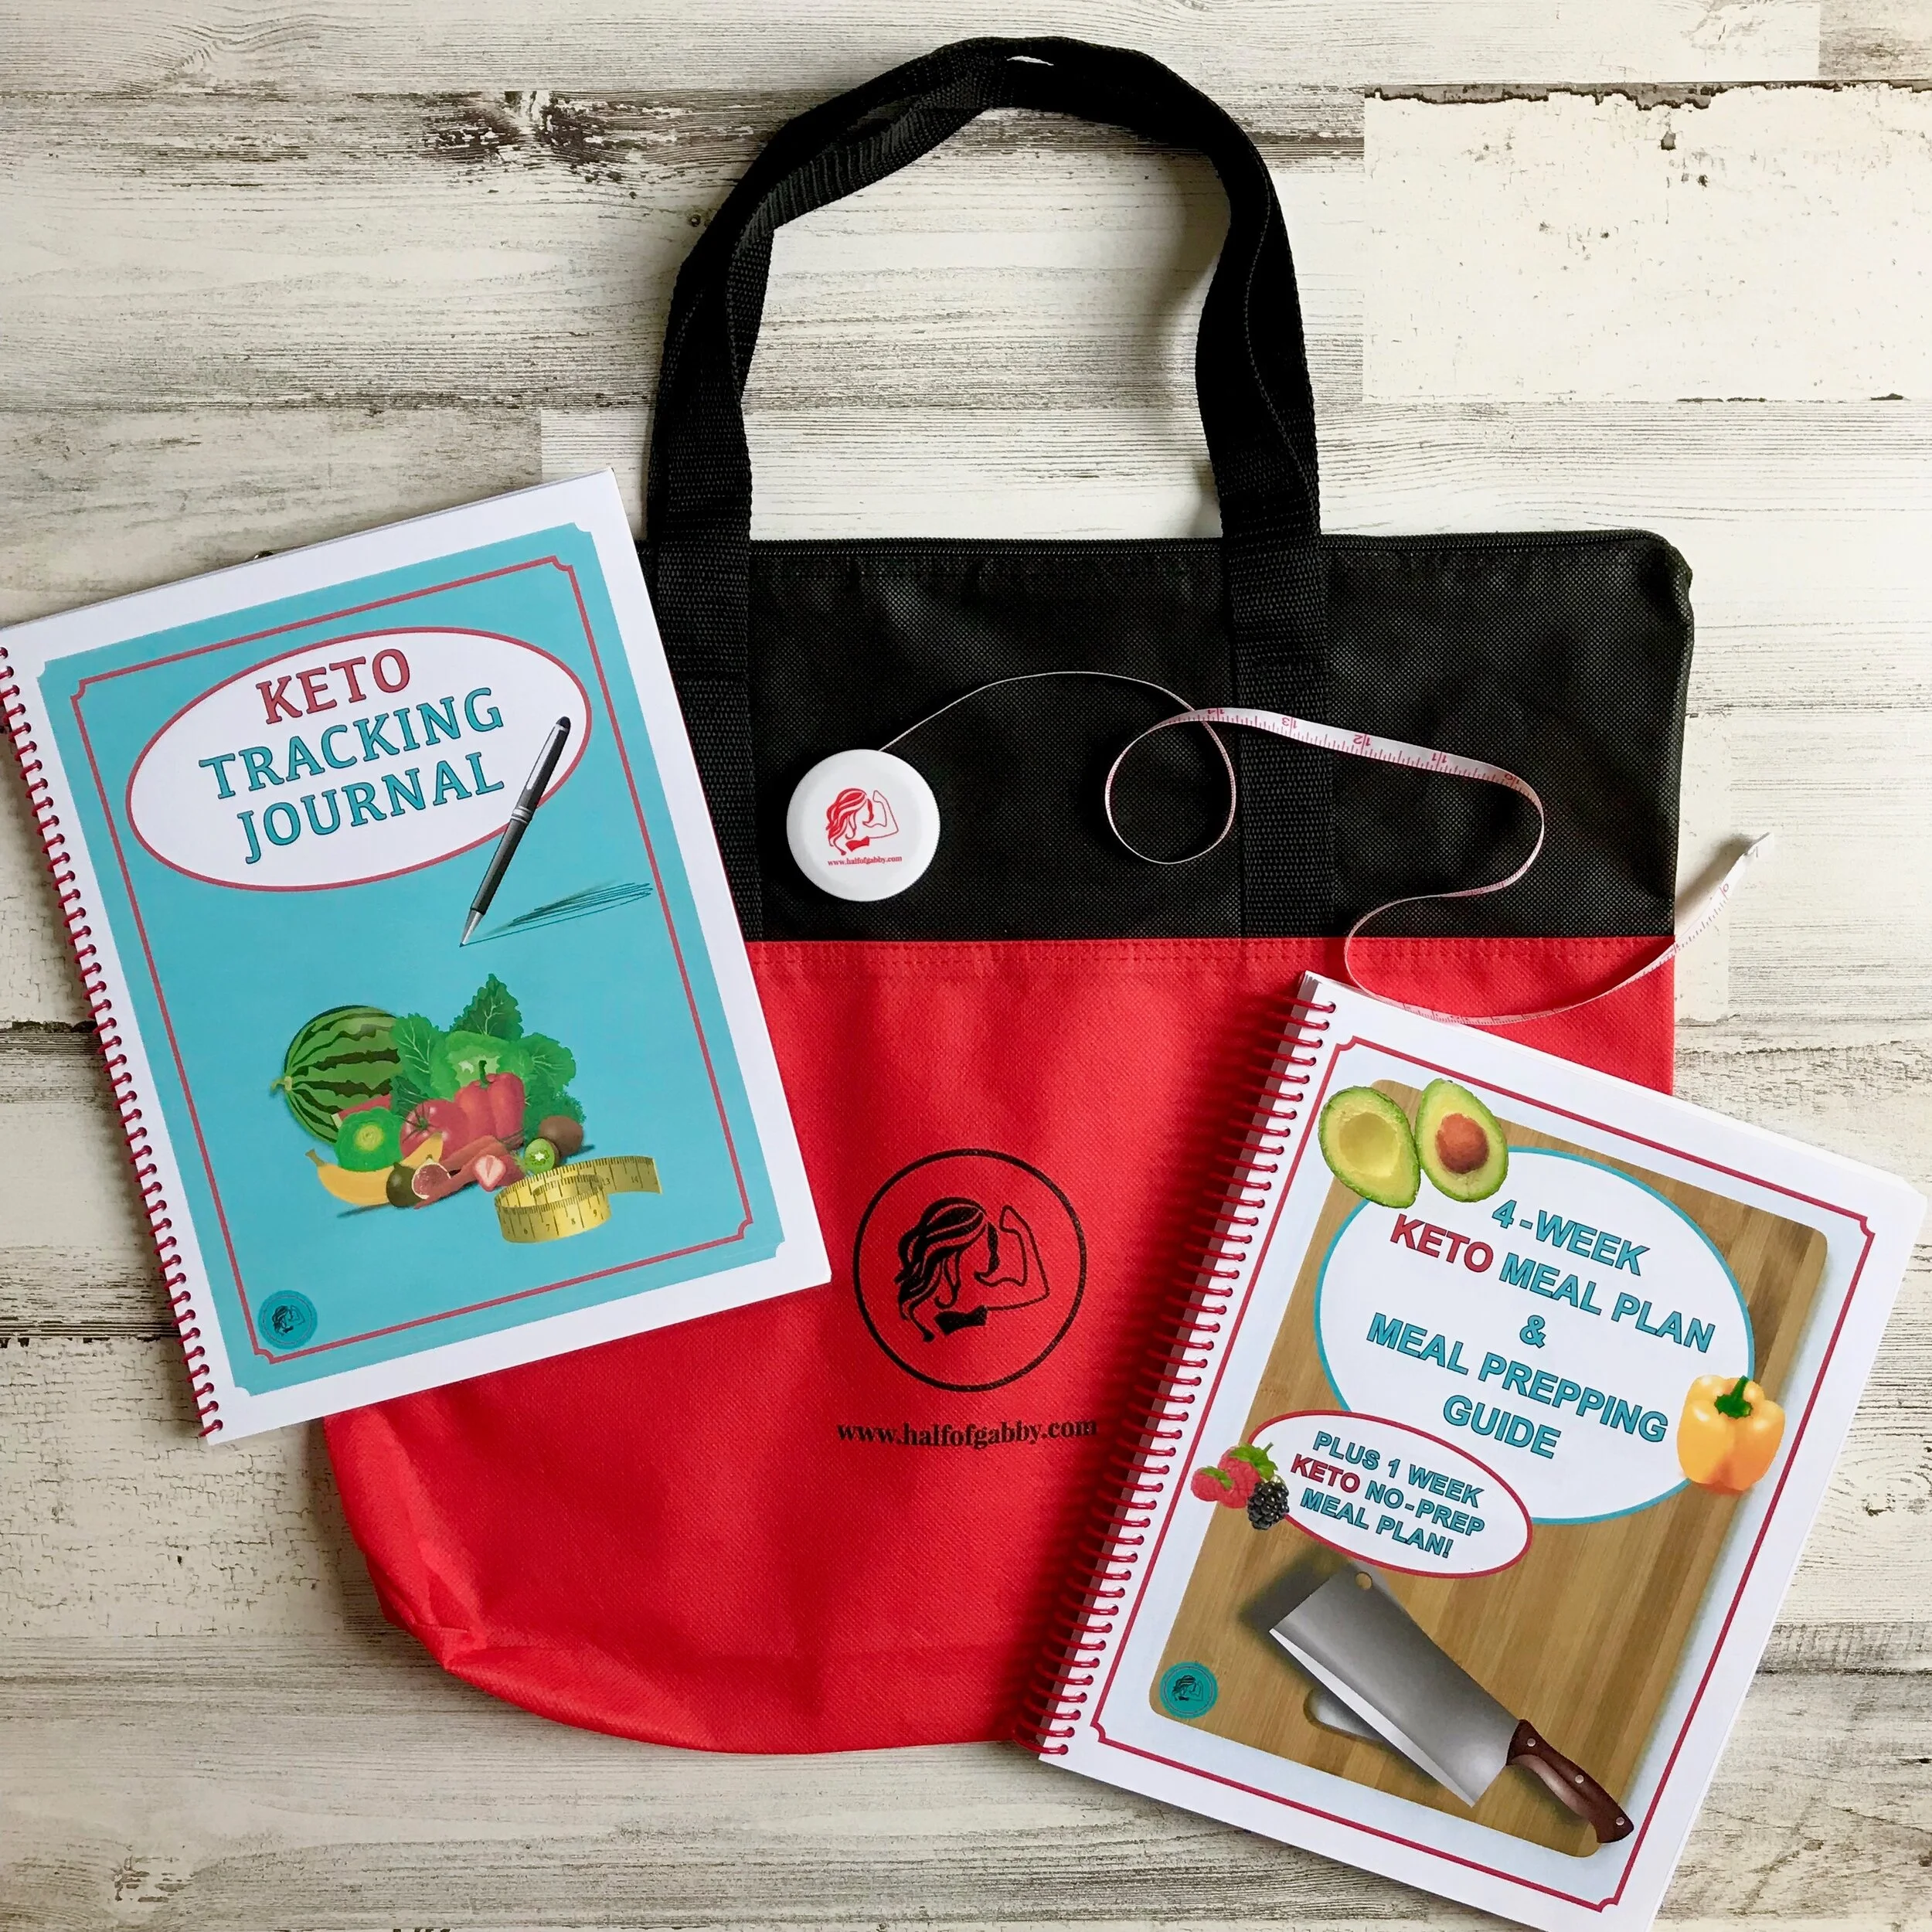
4 Week KETO Meal Plan & Meal Prepping Guide
I HAVE EVERYTHING ALREADY FIGURED OUT FOR YOU!


~
EPIC DRAGON CRAFT
{This article contains affiliate links. See bottom of page for details.}
(Printable Written Instructions)
This craft took a total of 6 hours. We stretched it out over a weekend.
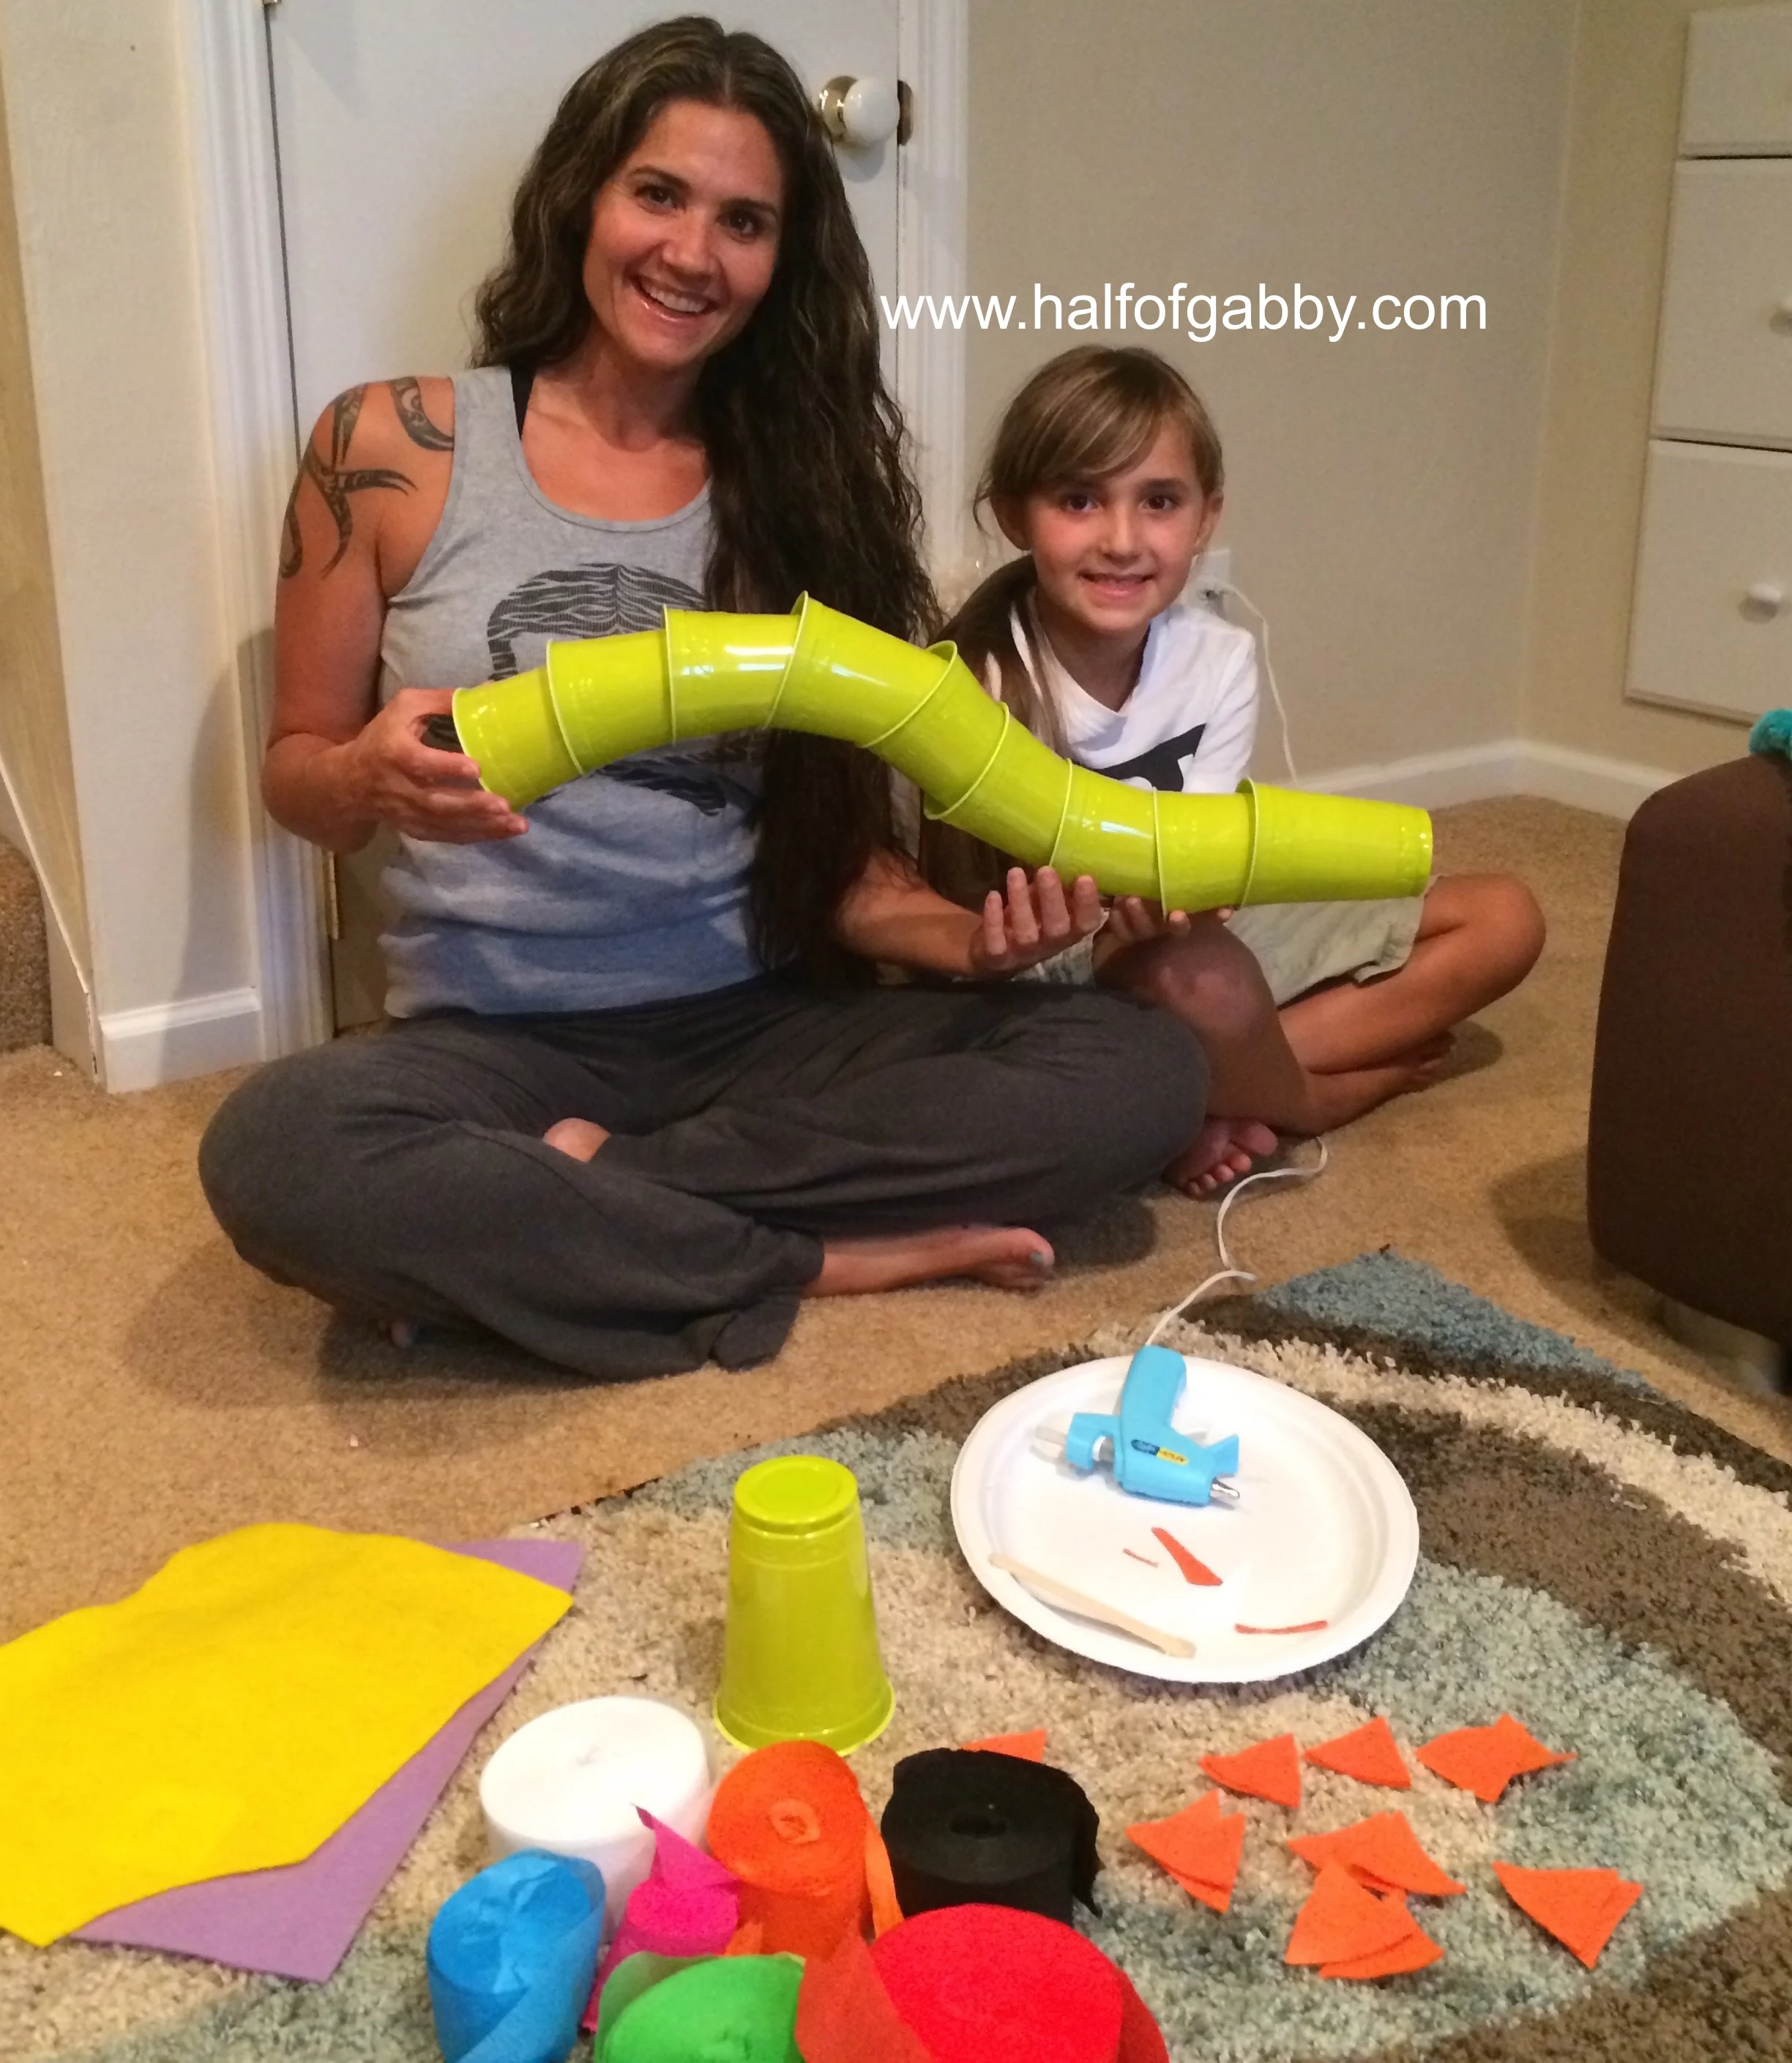
WHATCHU NEED:
Hot glue gun (low-temp)
Glue sticks for the gun
Plastic cups (Preferred color or colors)
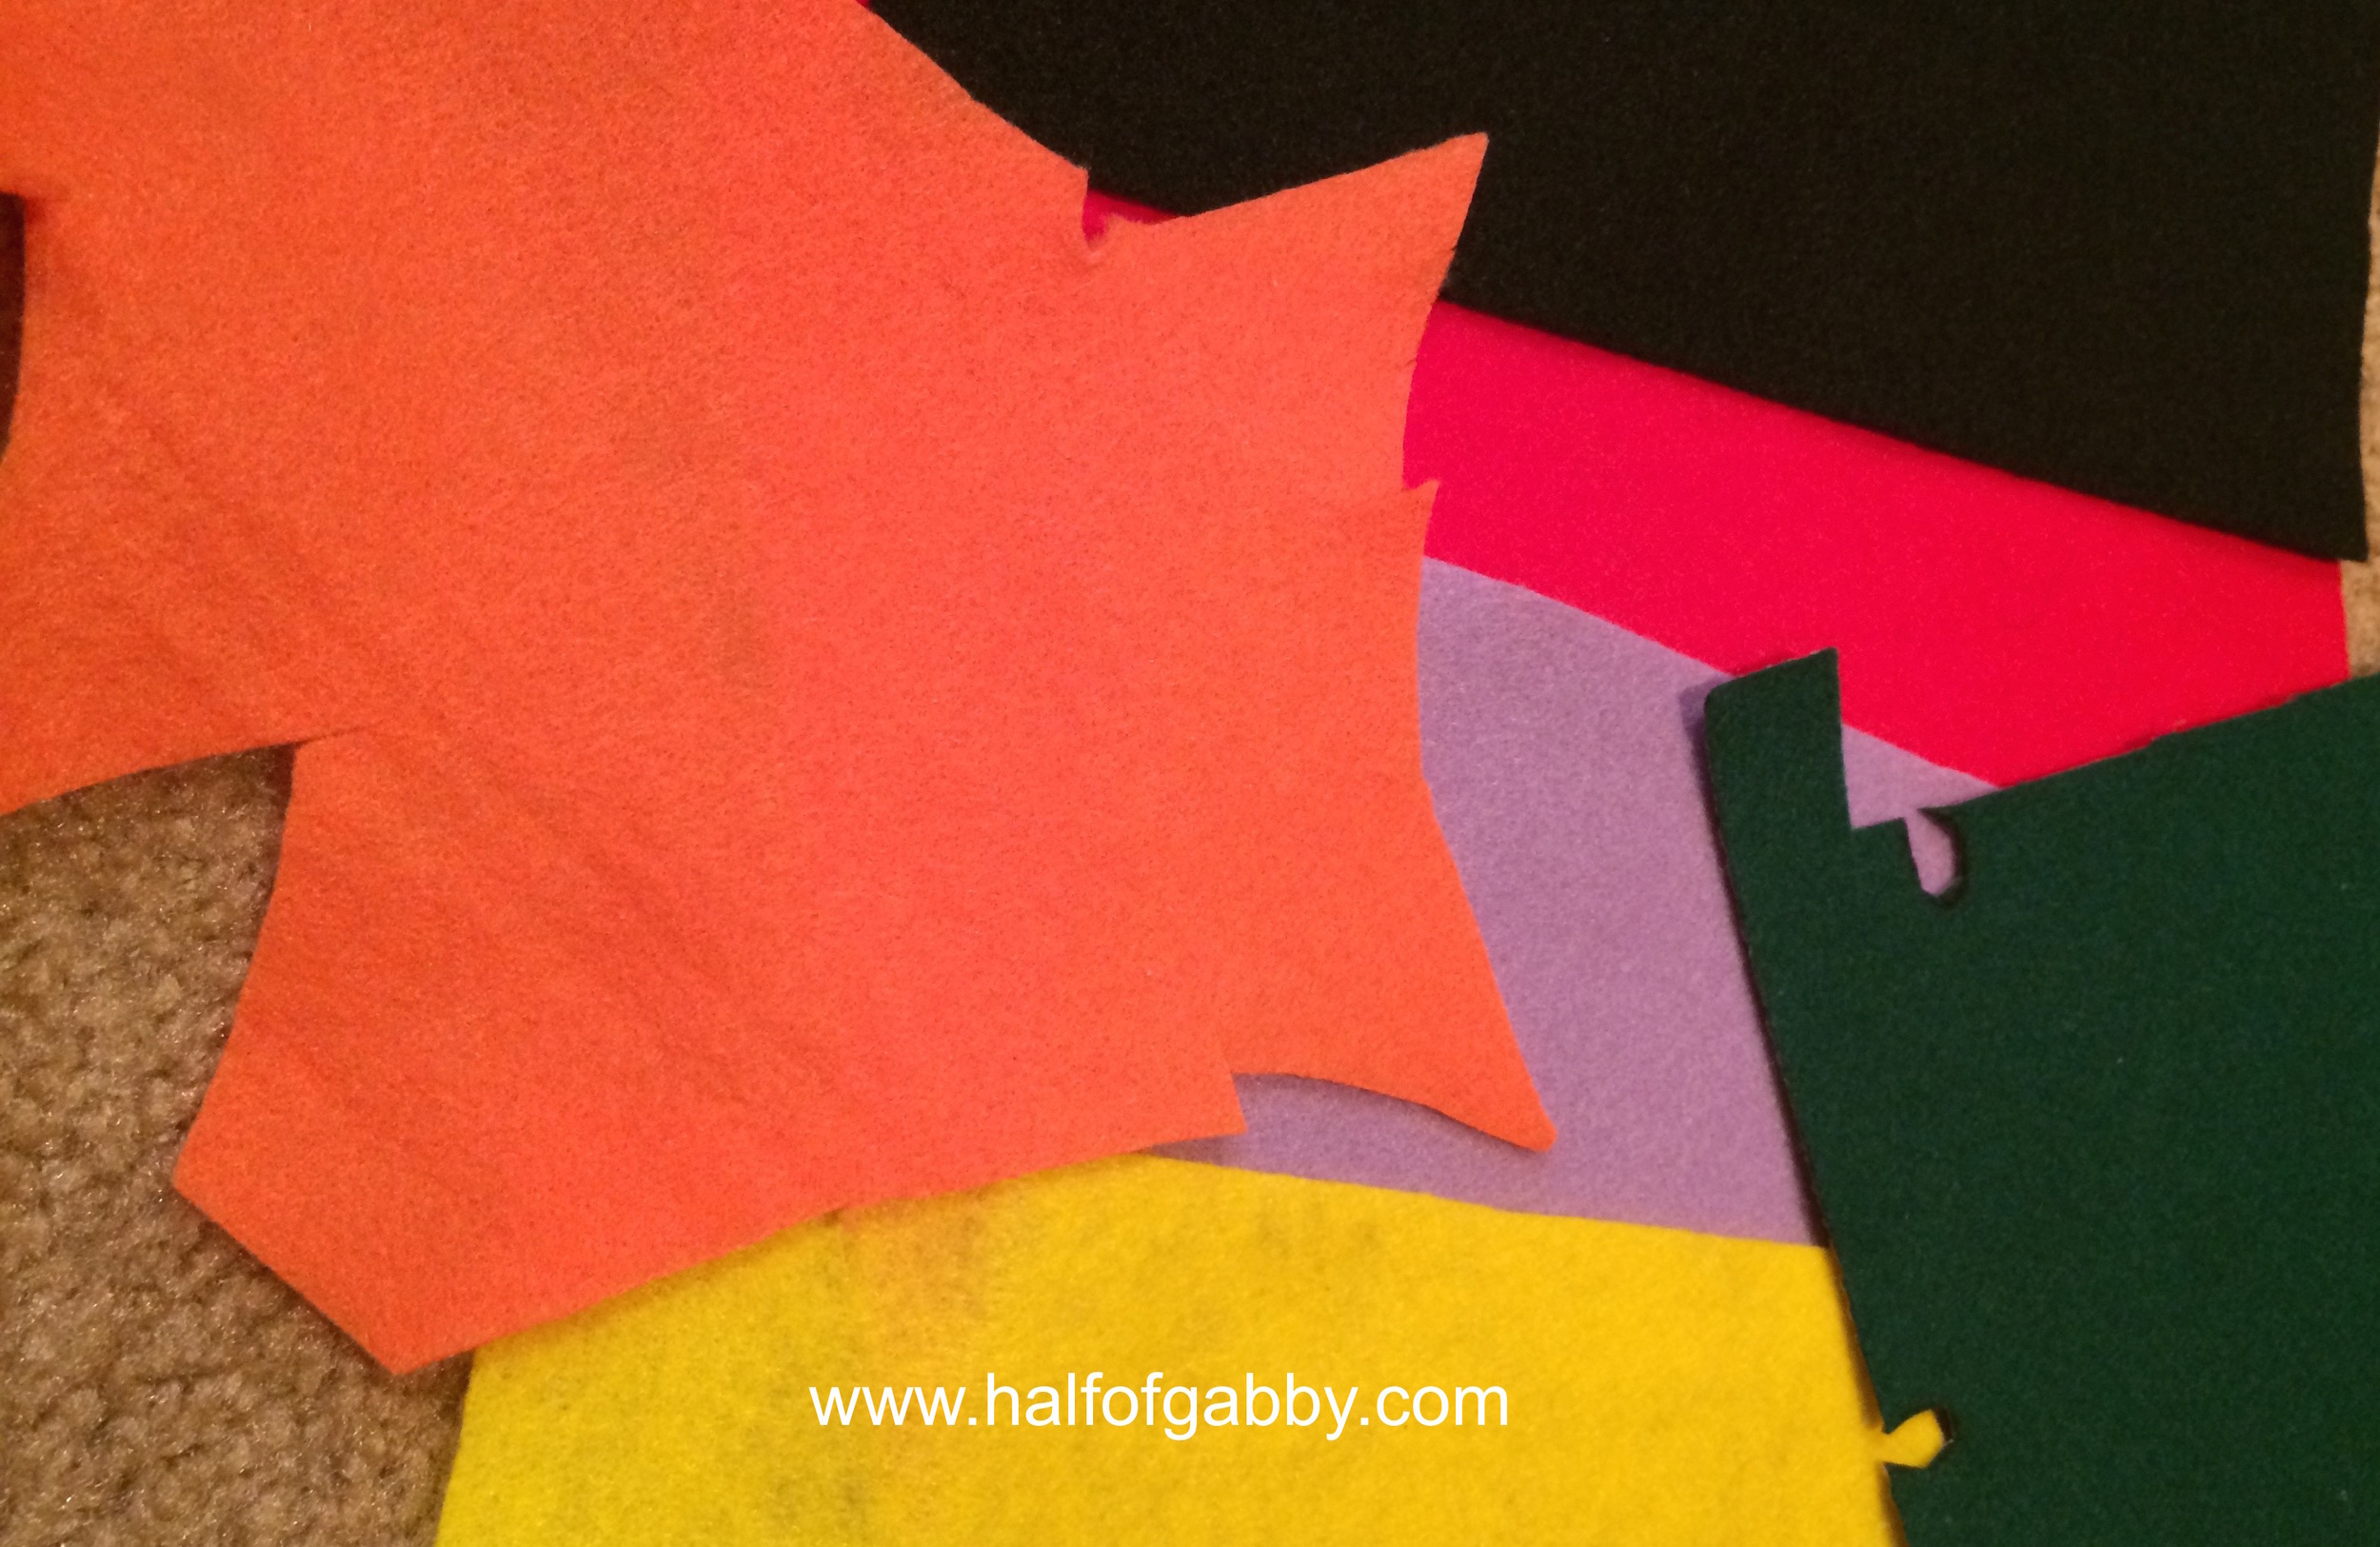
Felt for dragon's face and flames (Preferred colors)
White paper for the teeth (Card stock works best)
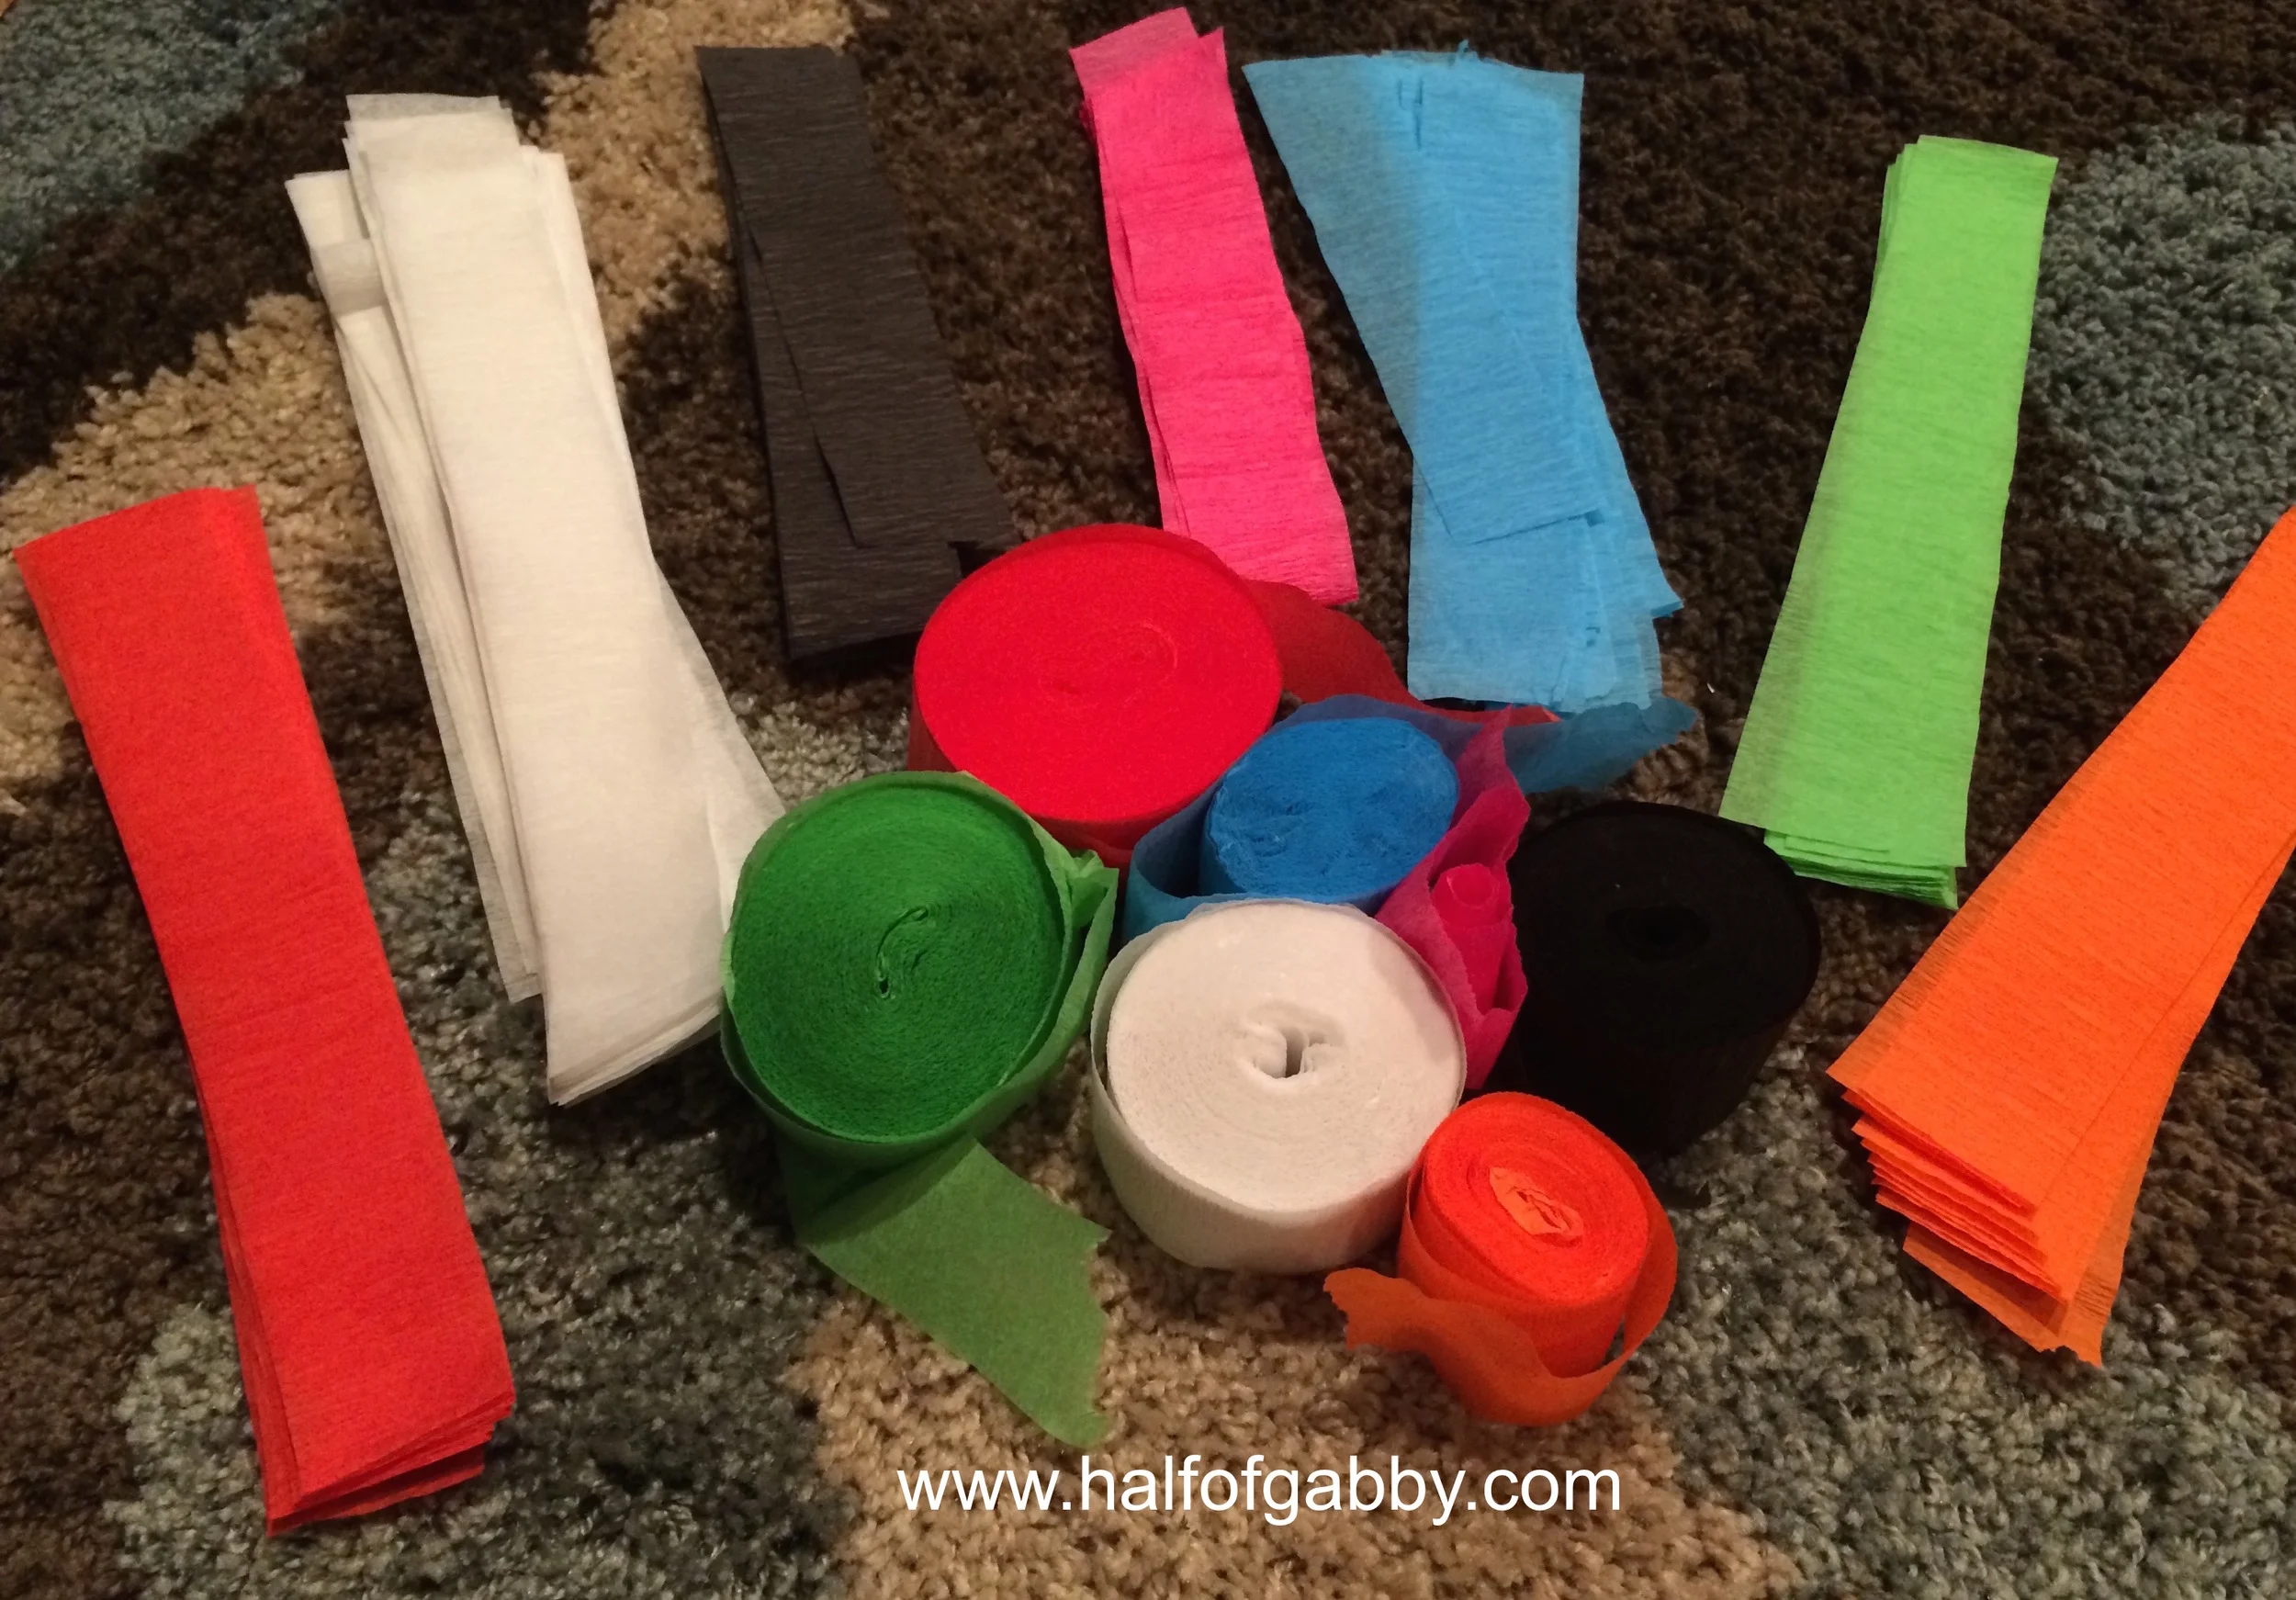
Party Streamers (Various colors)
Black Sharpie marker
Scissors (Kid-safe)
WHATCHU DO:
1. Pre-heat glue gun.
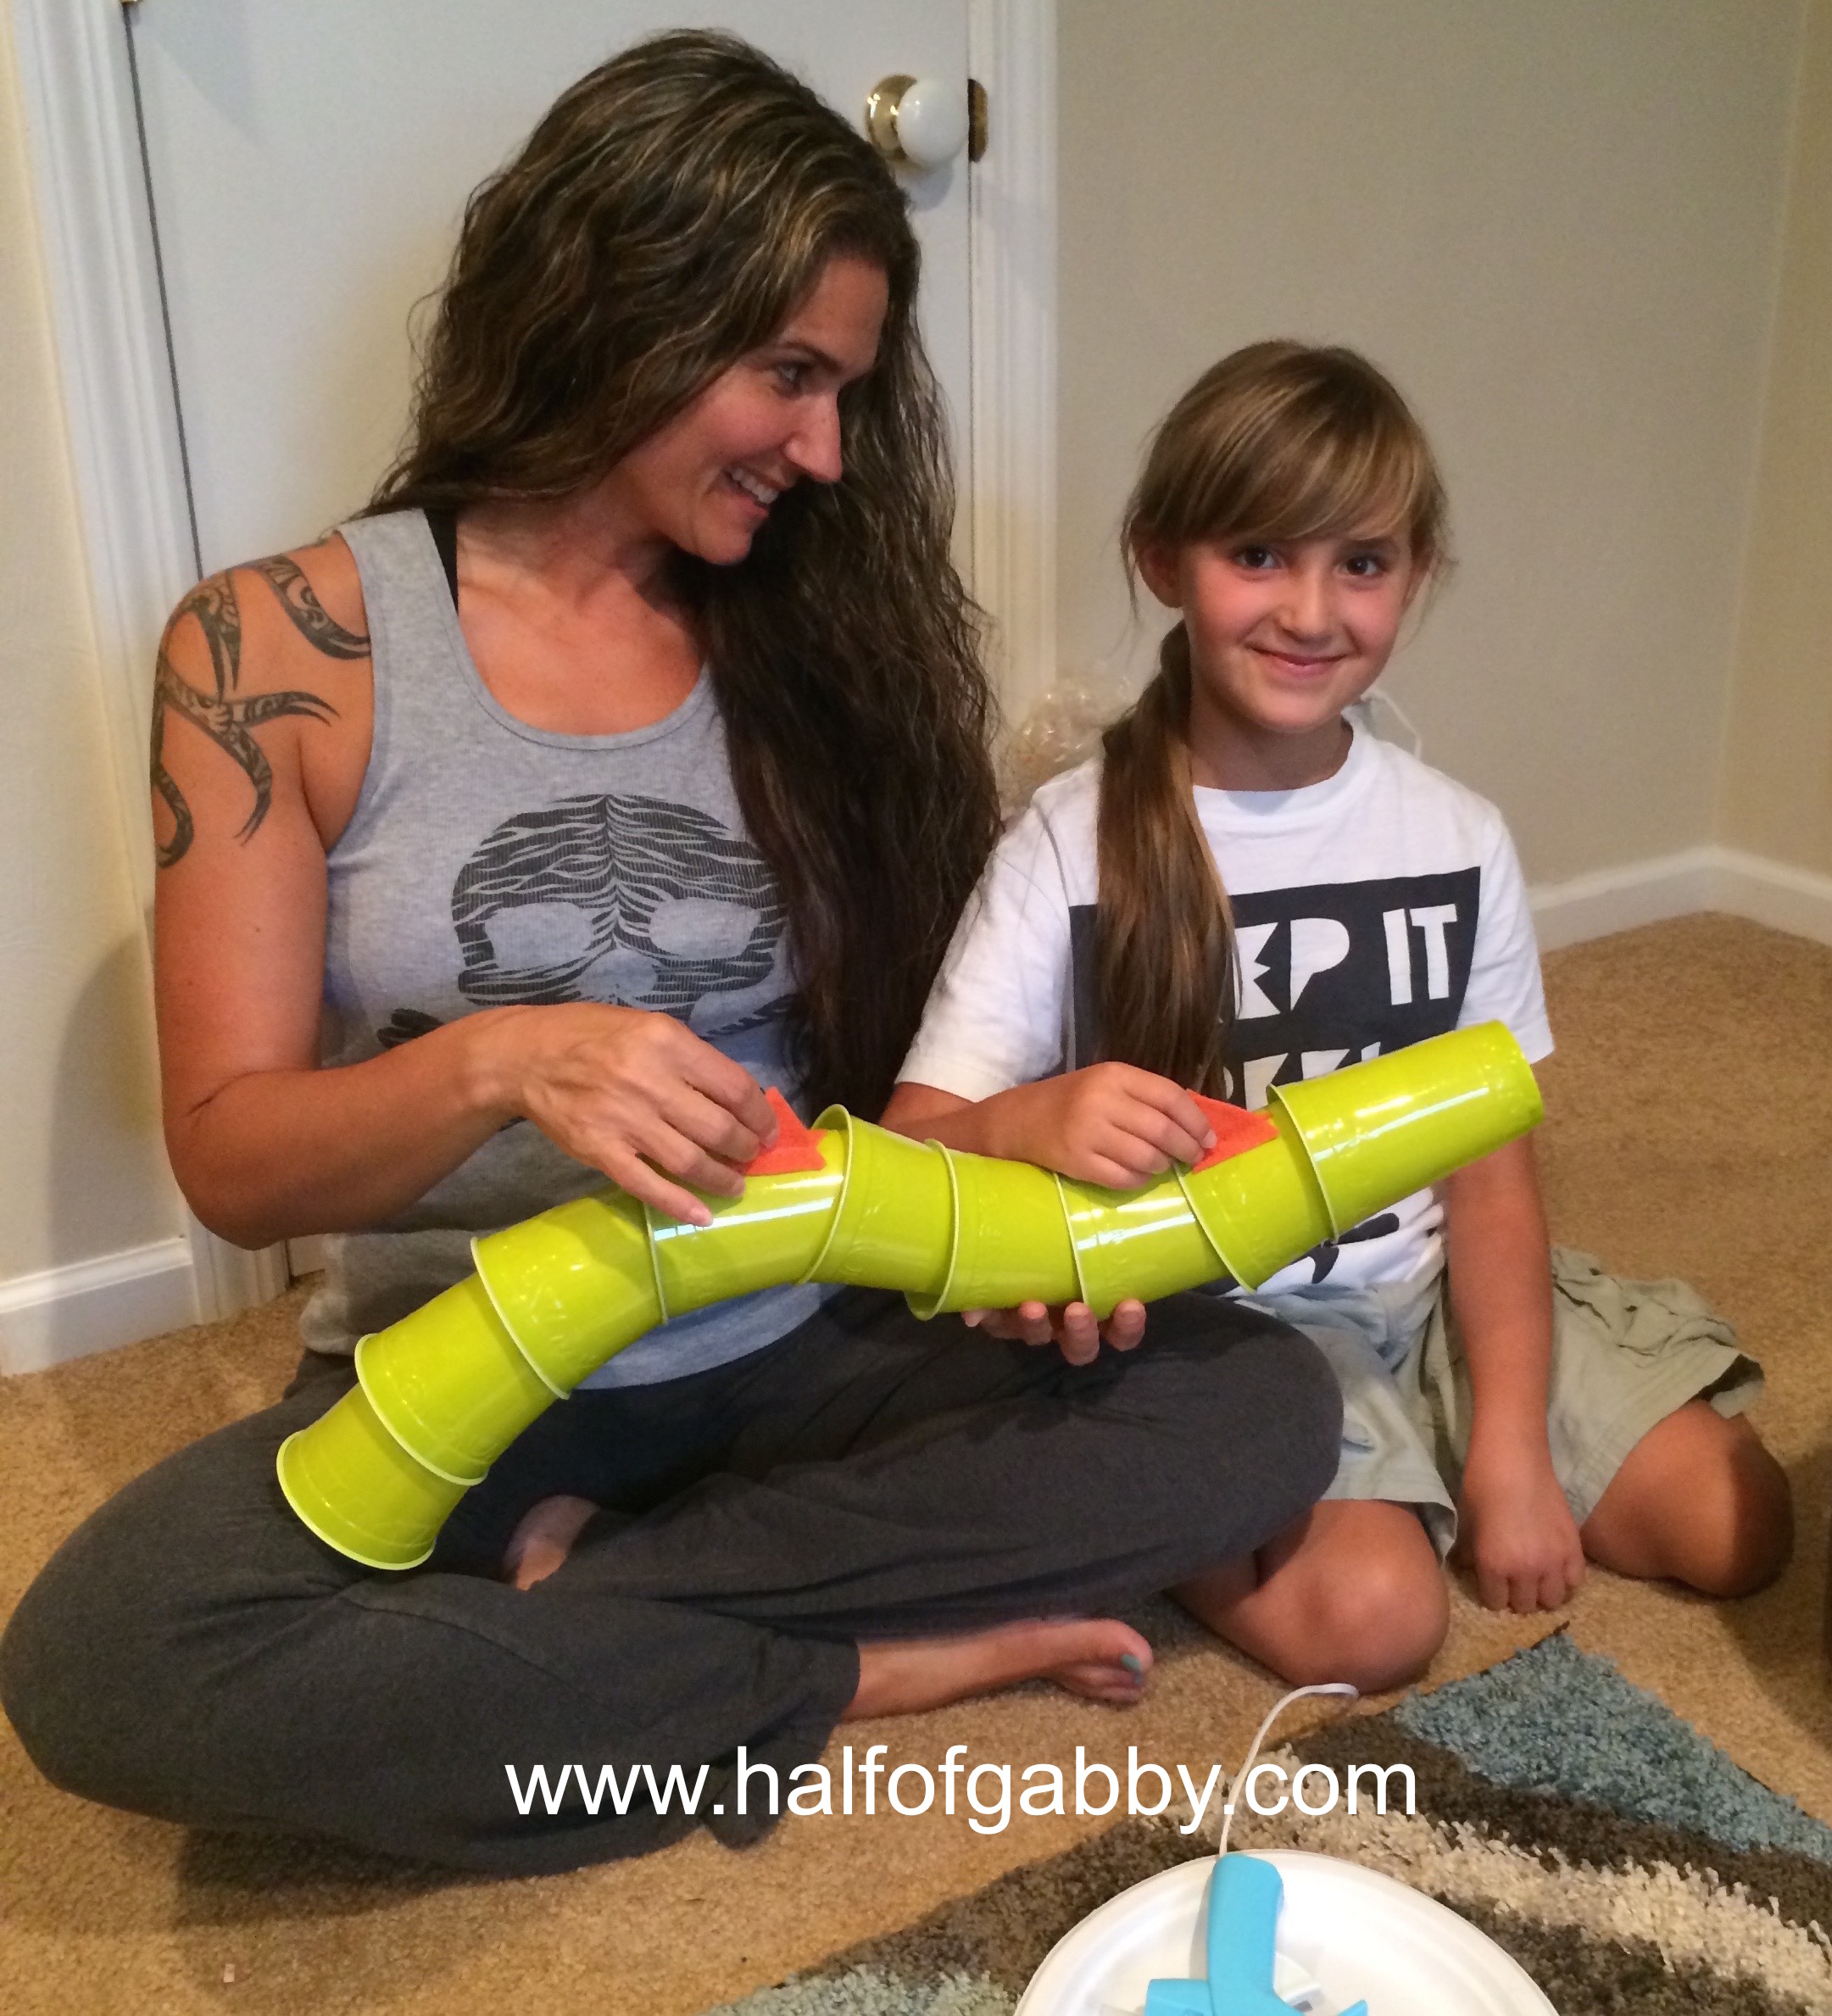
2. You will be gluing the plastic cups first (this will be the dragon's body).
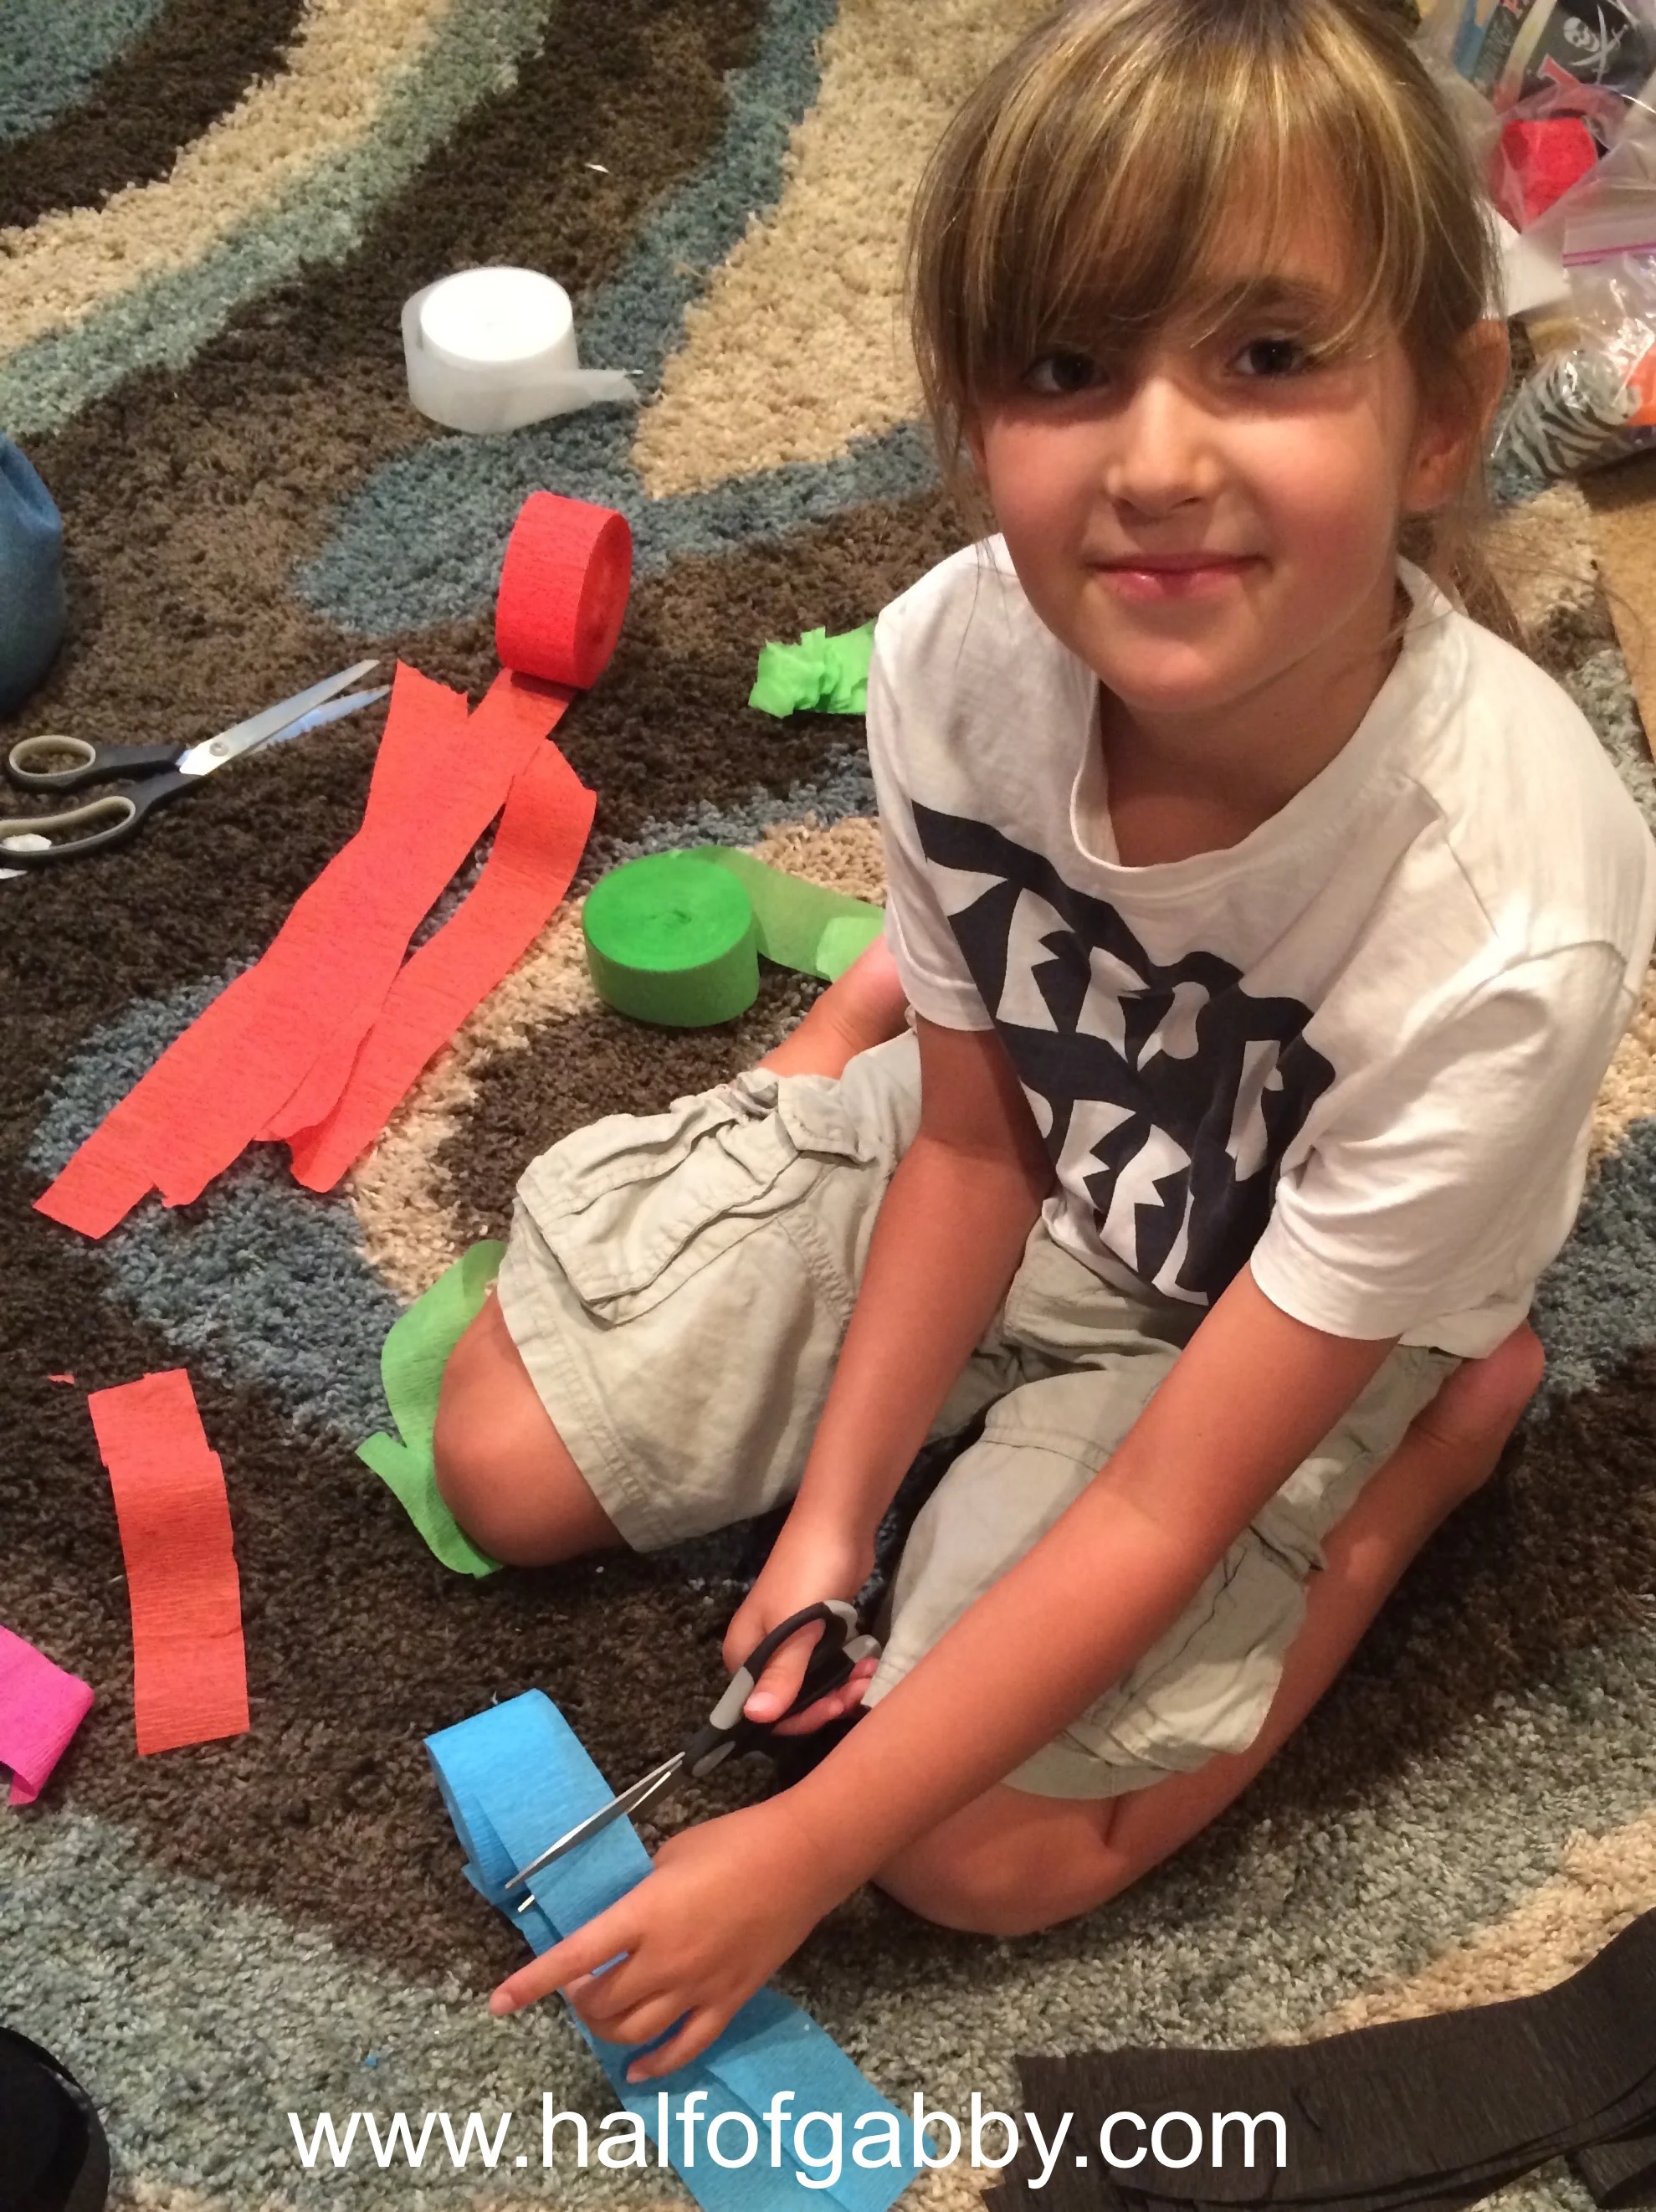
*Due to the more difficult nature of this step, have your child cut the streamer strips while you are putting the dragon's body together.
IMPORTANT:
Once you decide the position you want the cup in, you must hot glue both the top and bottom points where the cups will be touching each other. Gluing one point isn't enough. You must glue everywhere the cups touch each other.
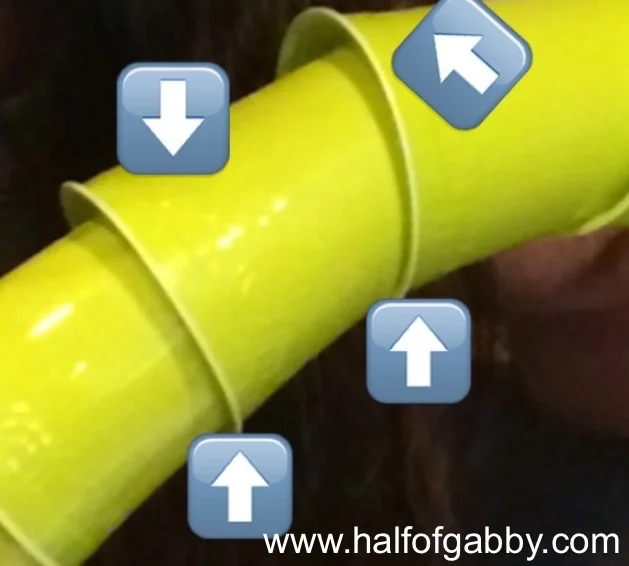
IMPORTANT:
Make sure immediately after gluing one point, you stop and hold in place and give it a chance to set for a minute before moving onto gluing the next touch-point. And be careful, it's hot!
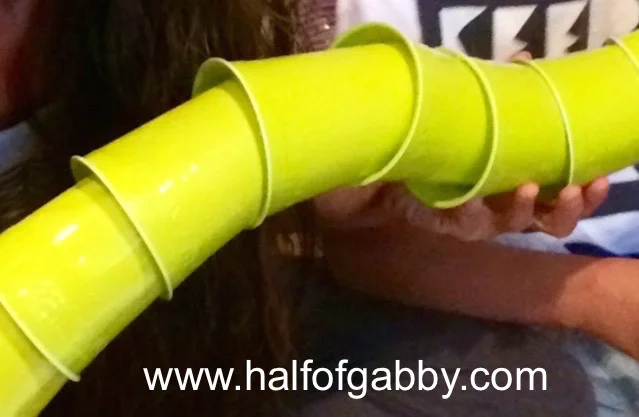
Keep gluing until you feel your dragon's body is the size you want it.
While you're using the hot glue gun, have your child cut streamers to whatever length you want them. We cut ours to be around 10".
When we were all done with the craft, I cut them into various lengths to create a layered effect so it would display all of the different colors. But this will be your very last step so for now just cut them all one length.
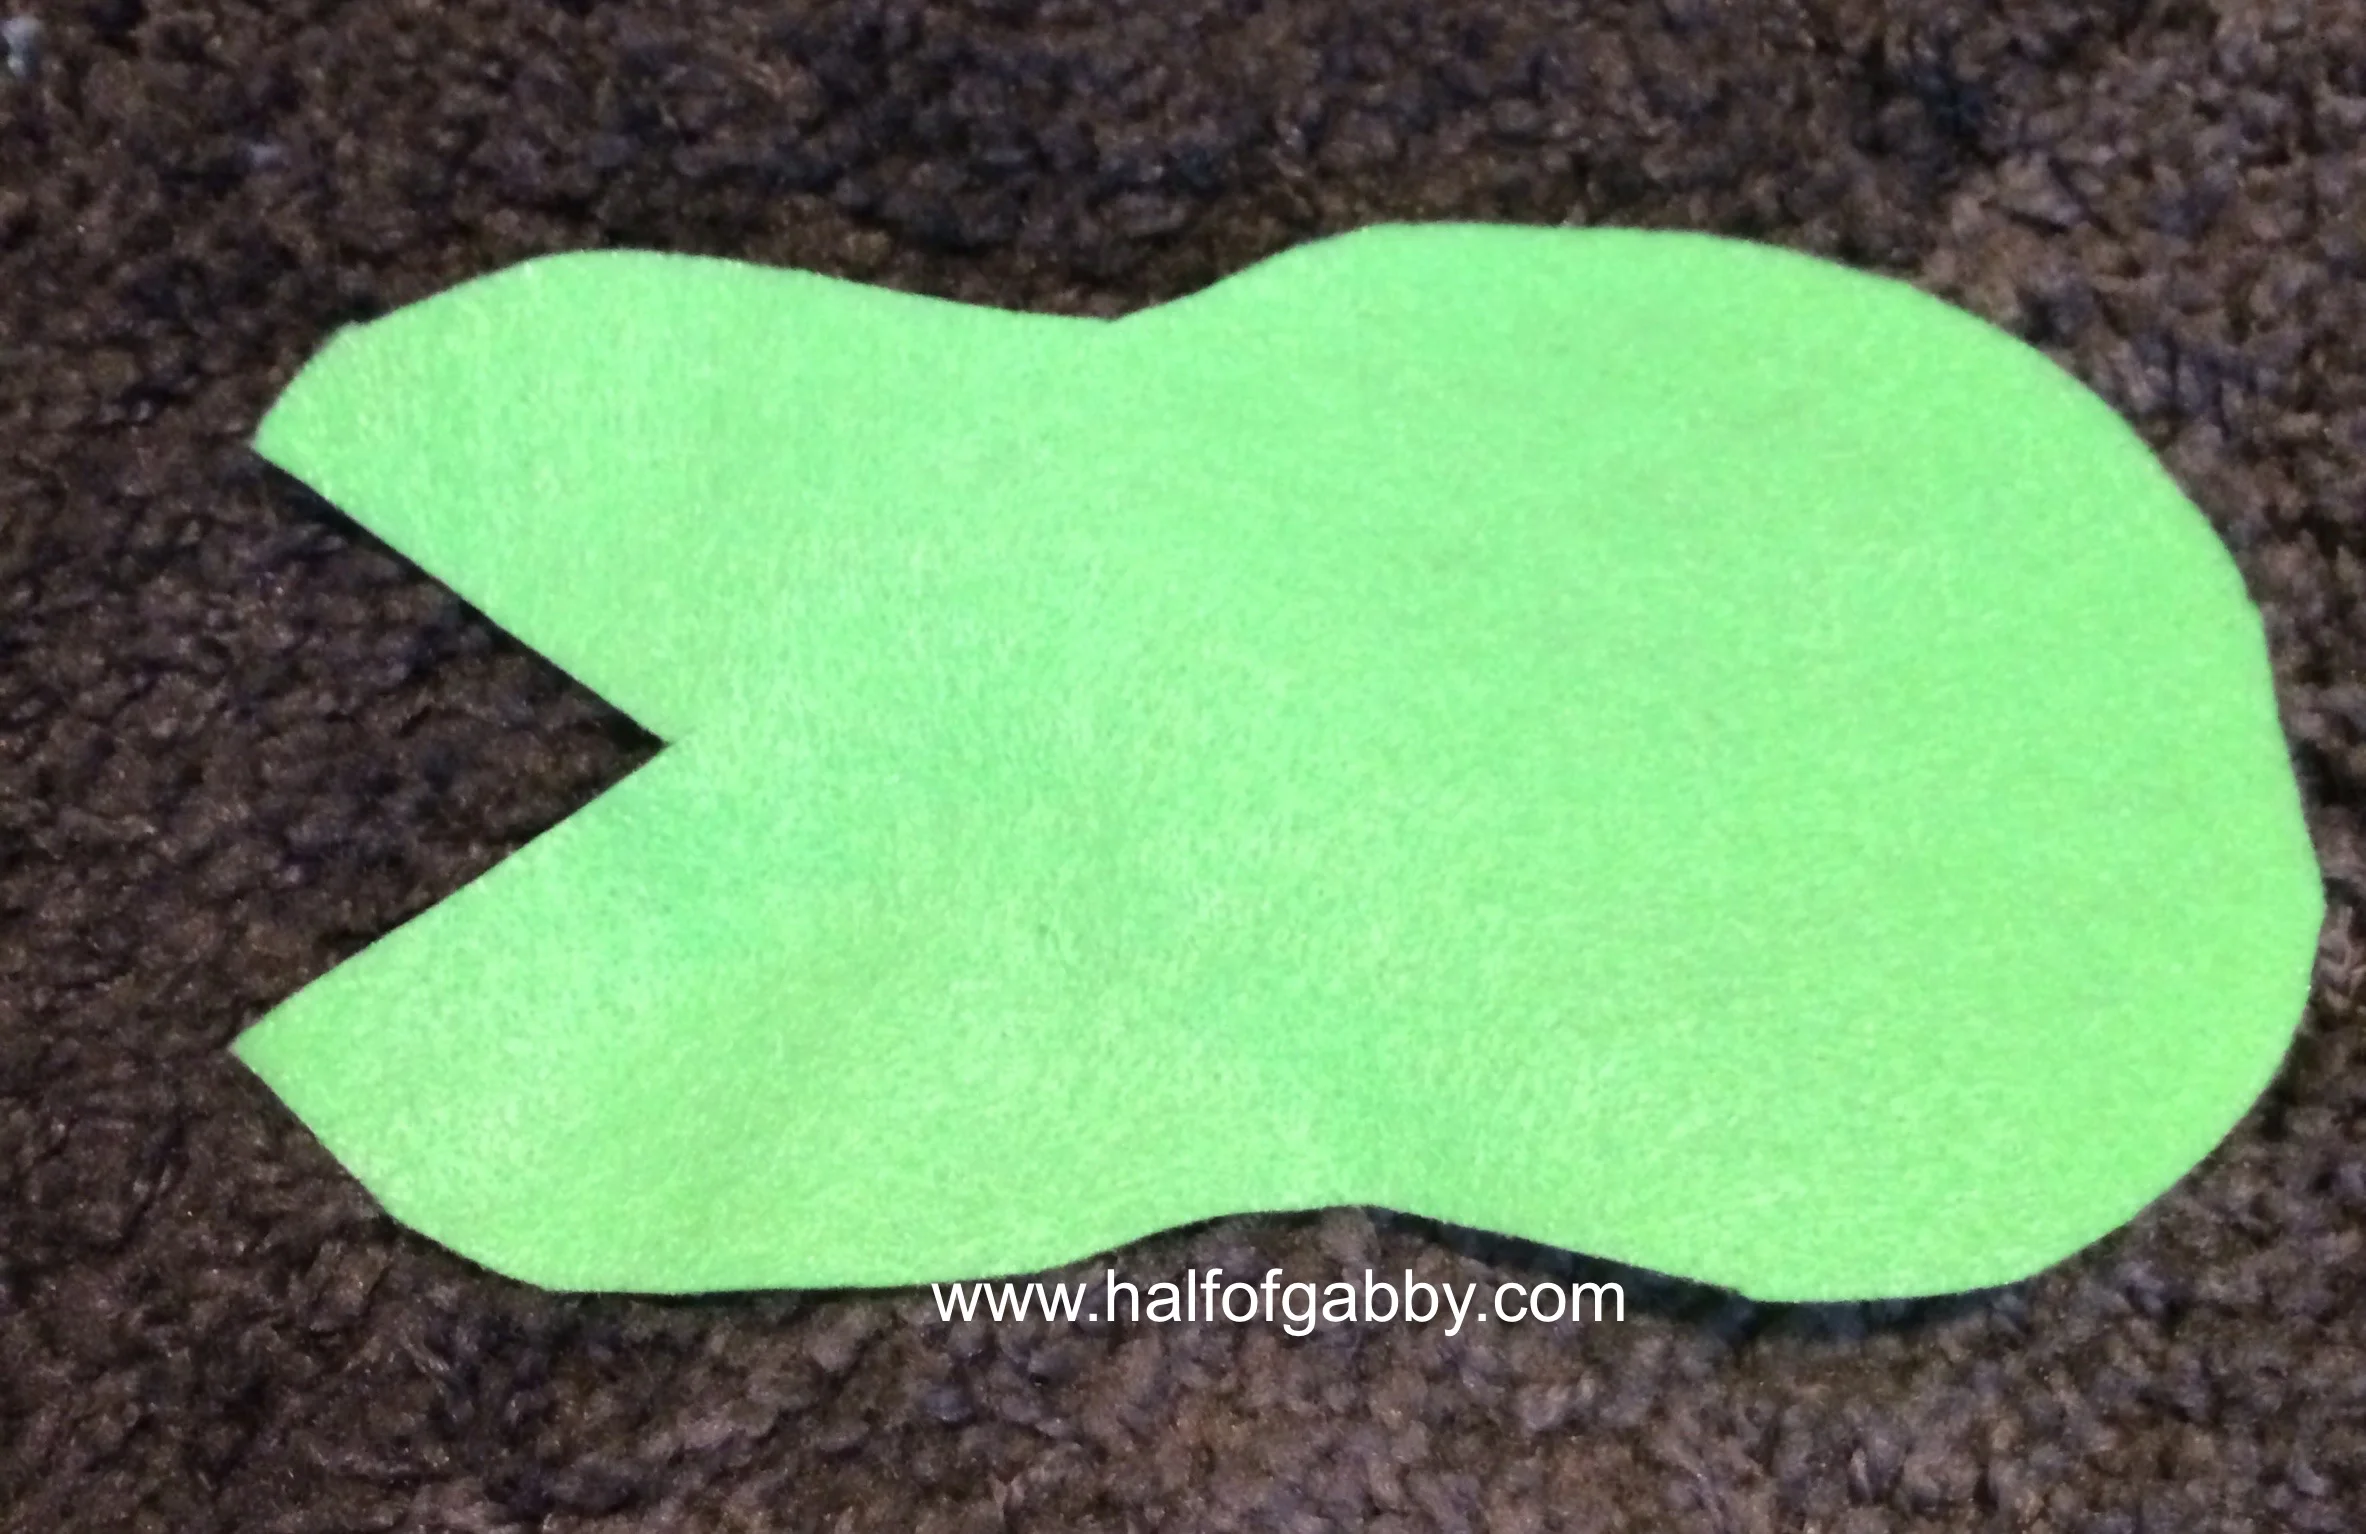
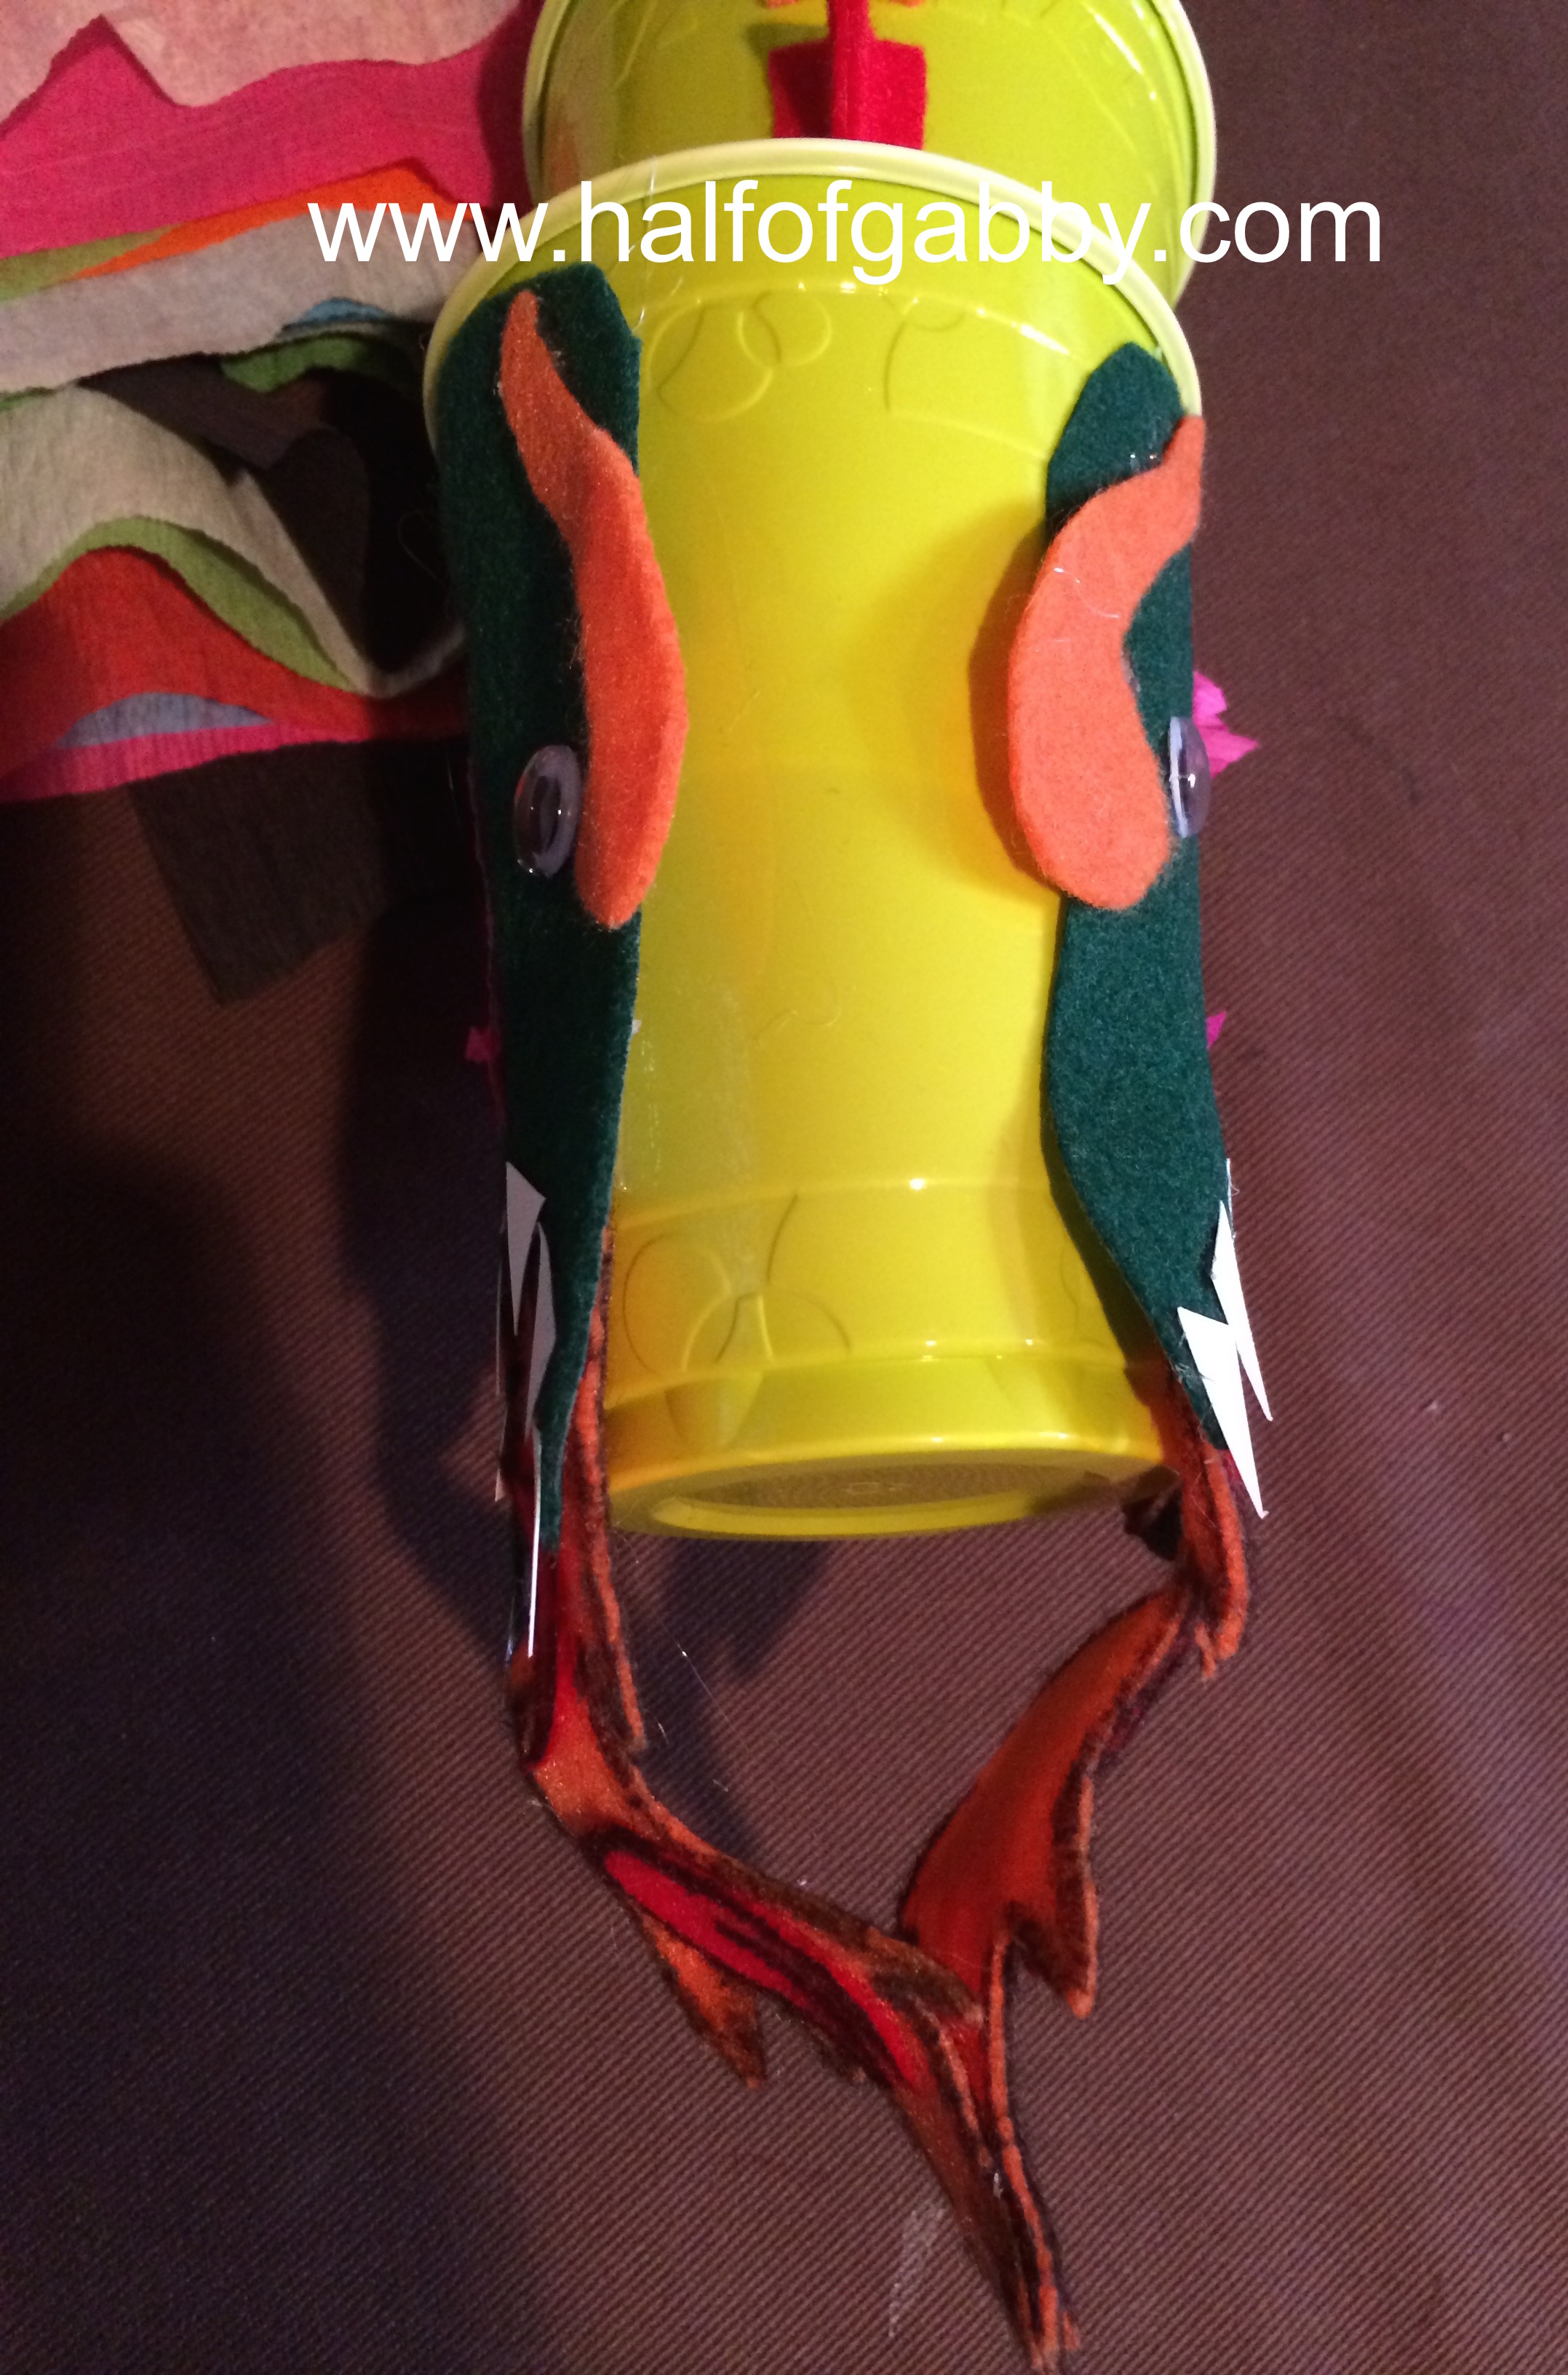
3. Cut out the dragon's head from a piece of felt. You can make it whatever shape you want it to be. Jossy cut ours to look like the shape of a peanut with a mouth cut out of it.
Note:
DON'T hot glue the head to the very first cup UNTIL you have hot glued the flames. You will be gluing the flames underneath the head where the mouth opening is.
Remember you need to put heads on BOTH sides of the dragon, so you need to double the amount of all the parts.


~
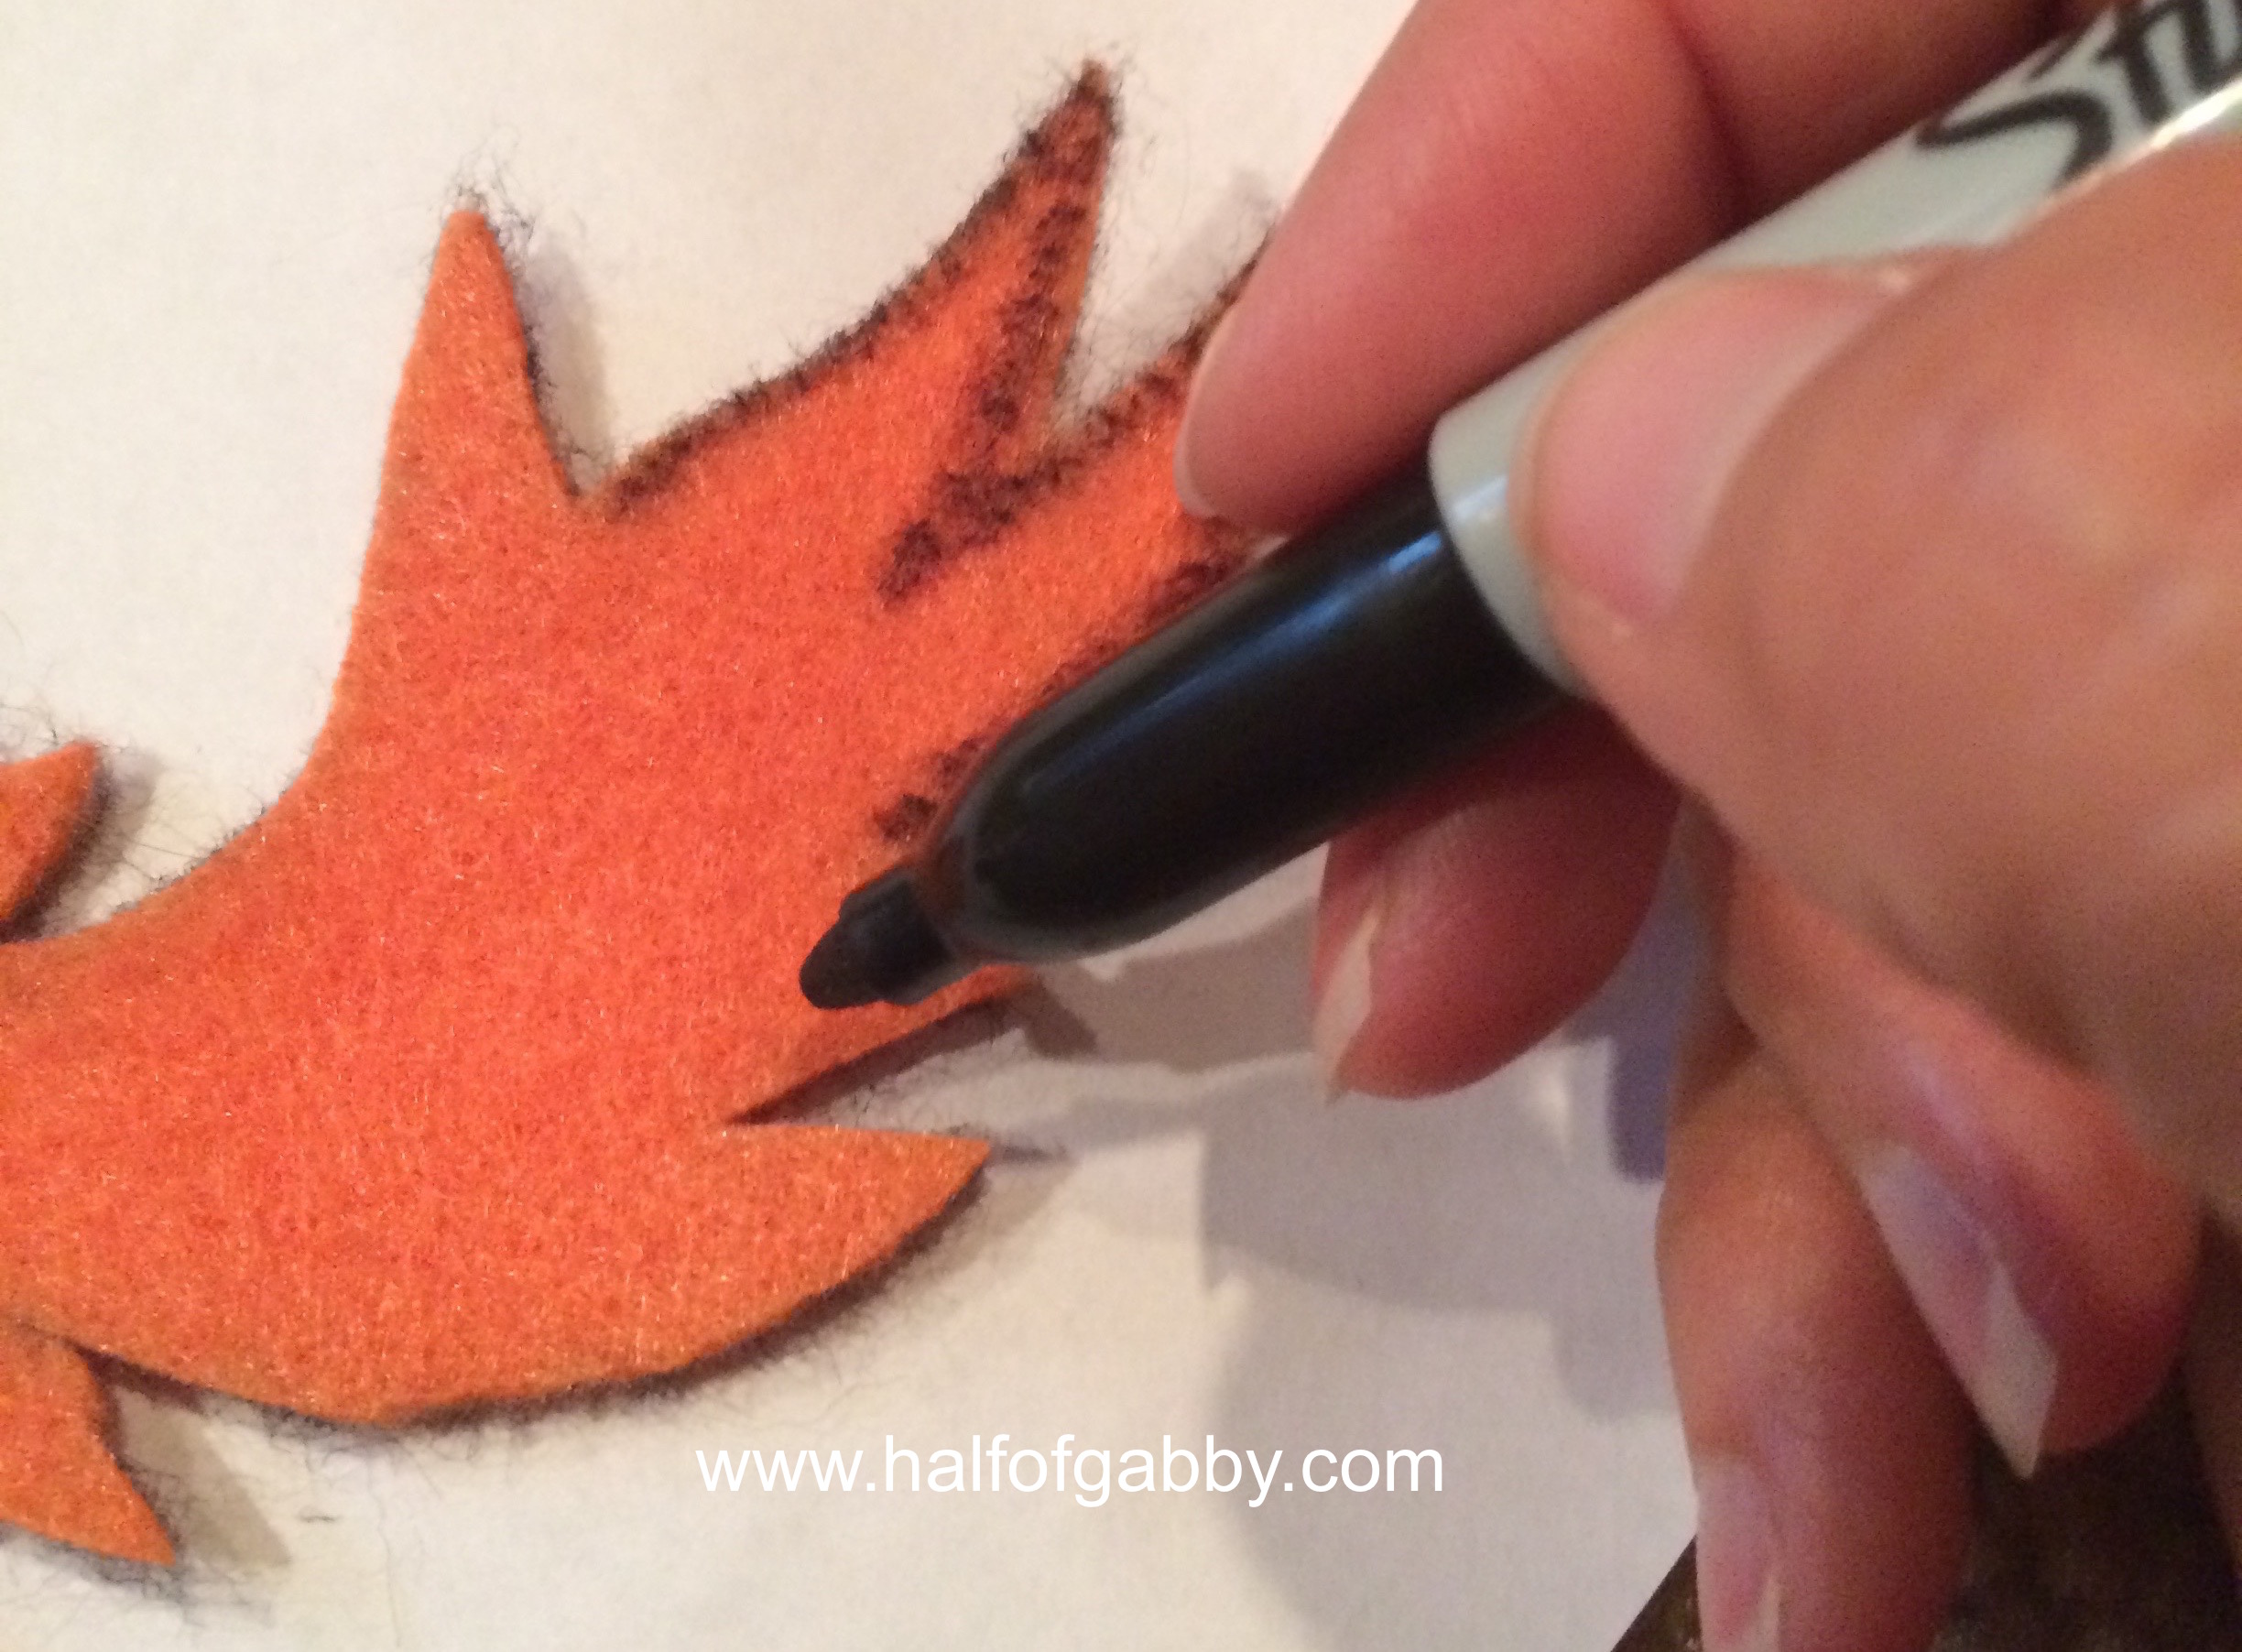
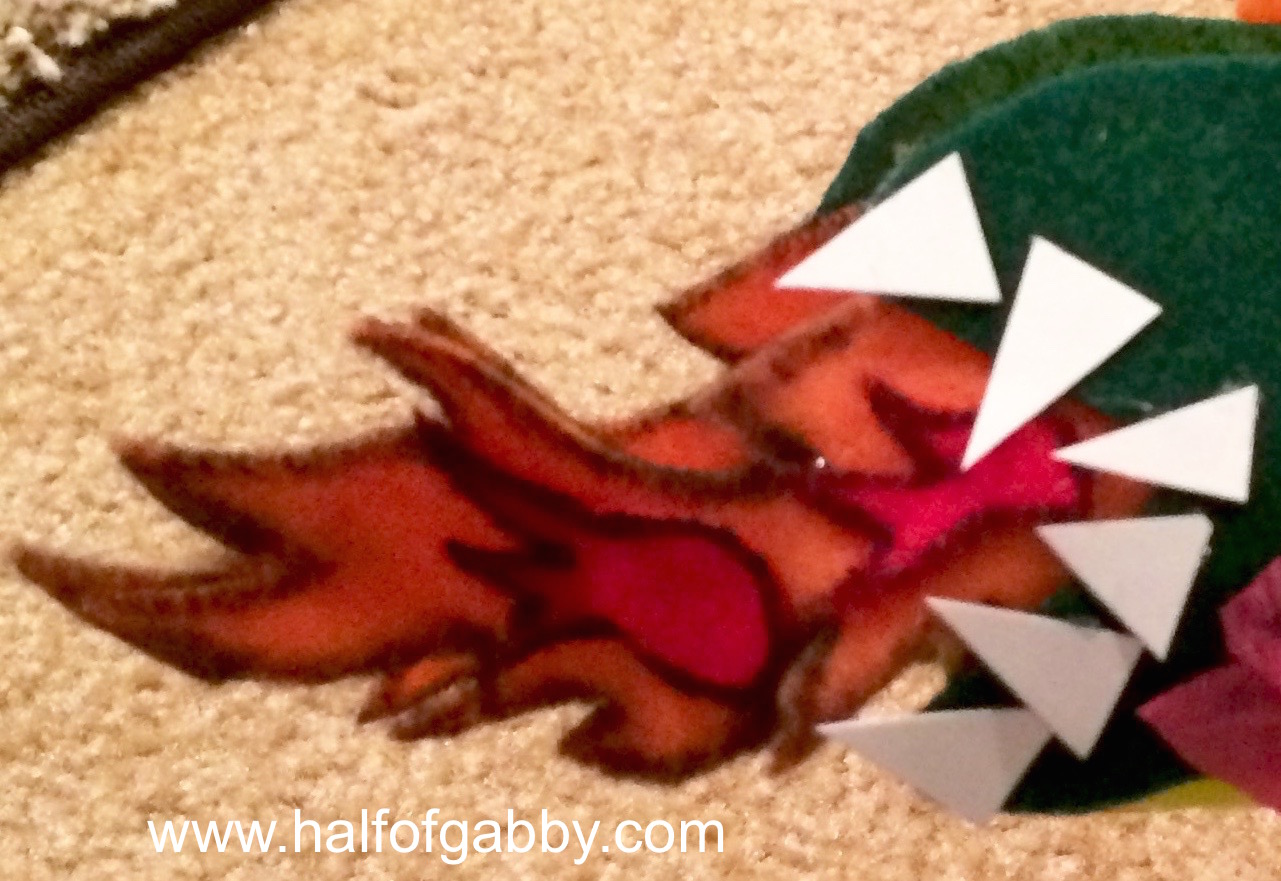
4. Cut out flames from orange and red felt (or whatever color you prefer). Then take a black Sharpie and outline your flames to make them stand out.
You will be gluing the flames of both heads together so be sure you make the flames long enough to do so. (See pic in #9)
It takes a good while to hot glue all of the plastic cups. If you're still doing that at this point, your child can be cutting the felt shapes out and outlining the flames while you're finishing up the dragon's body.
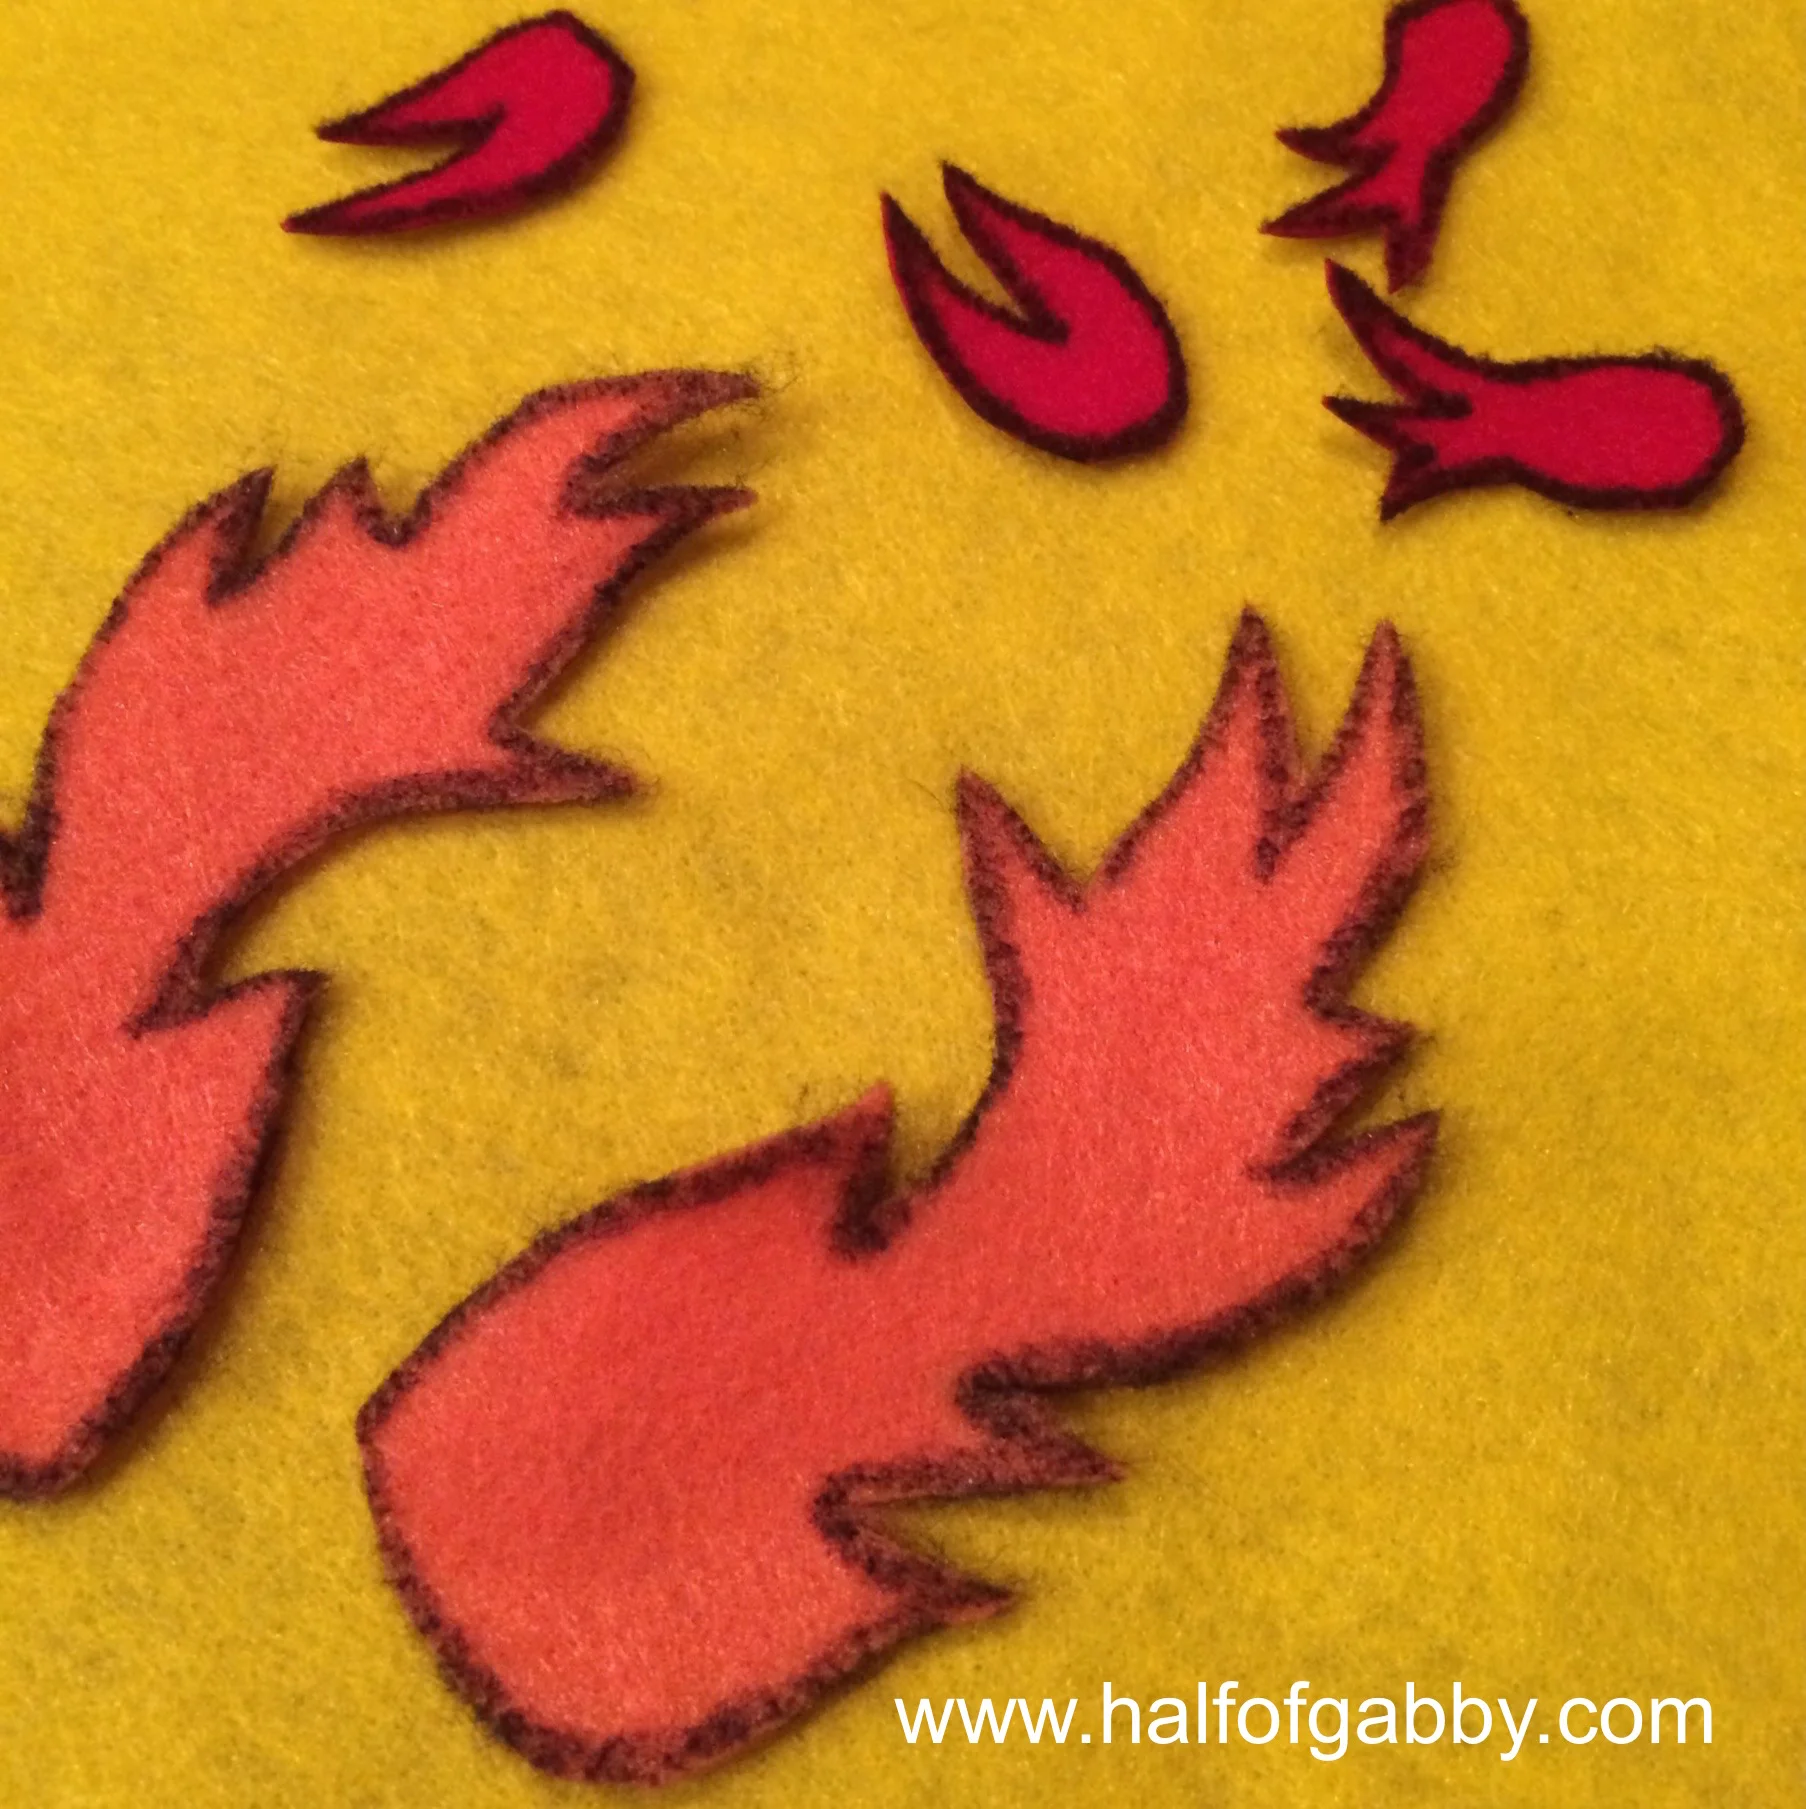
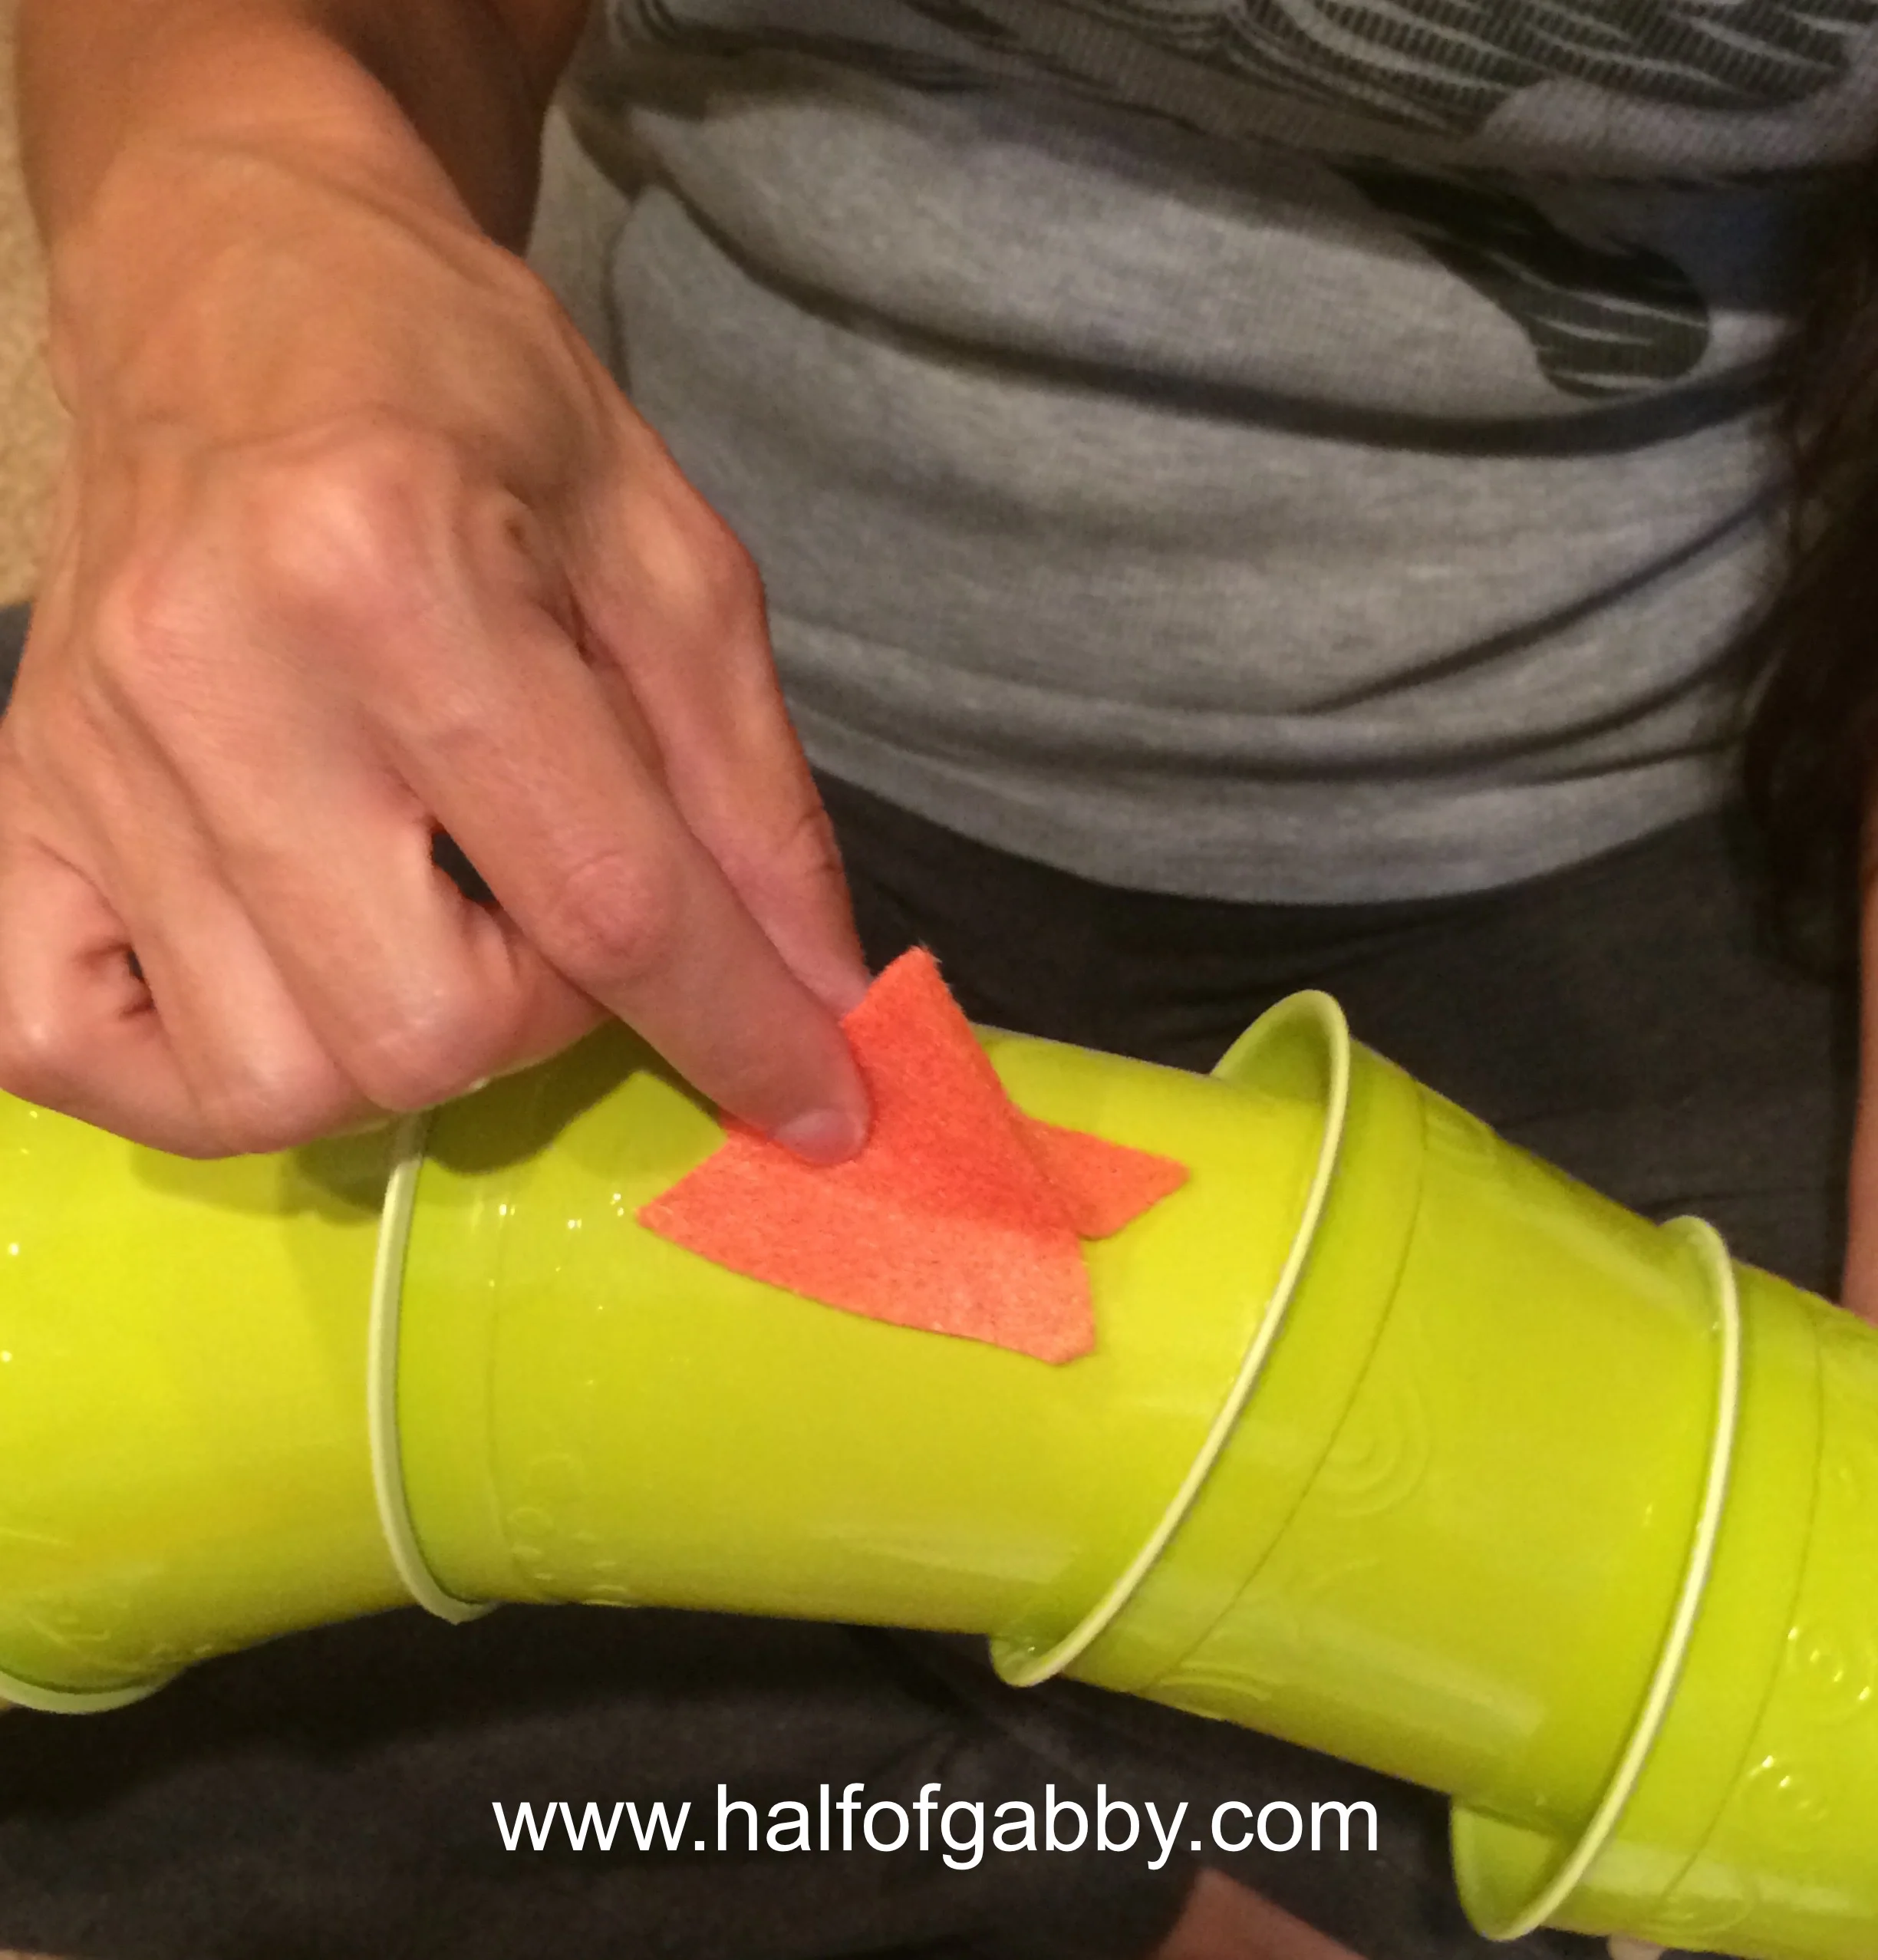
5. Hot glue the flames behind the head so that the flames look like they are shooting out of the mouth.
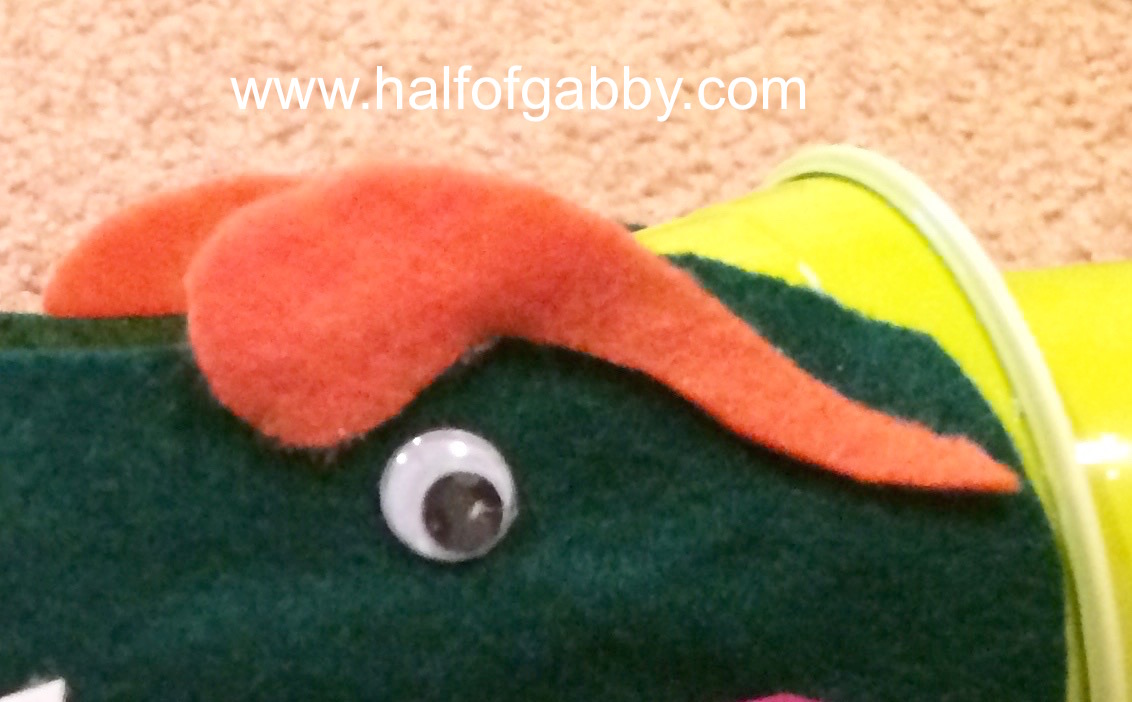
6. Hot glue the googly eyes in your preferred placement and then cut out and glue the eyebrows. Any shape and color you prefer.
7. Cut small triangles out of the white paper for the dragon's teeth and then hot glue them in place.
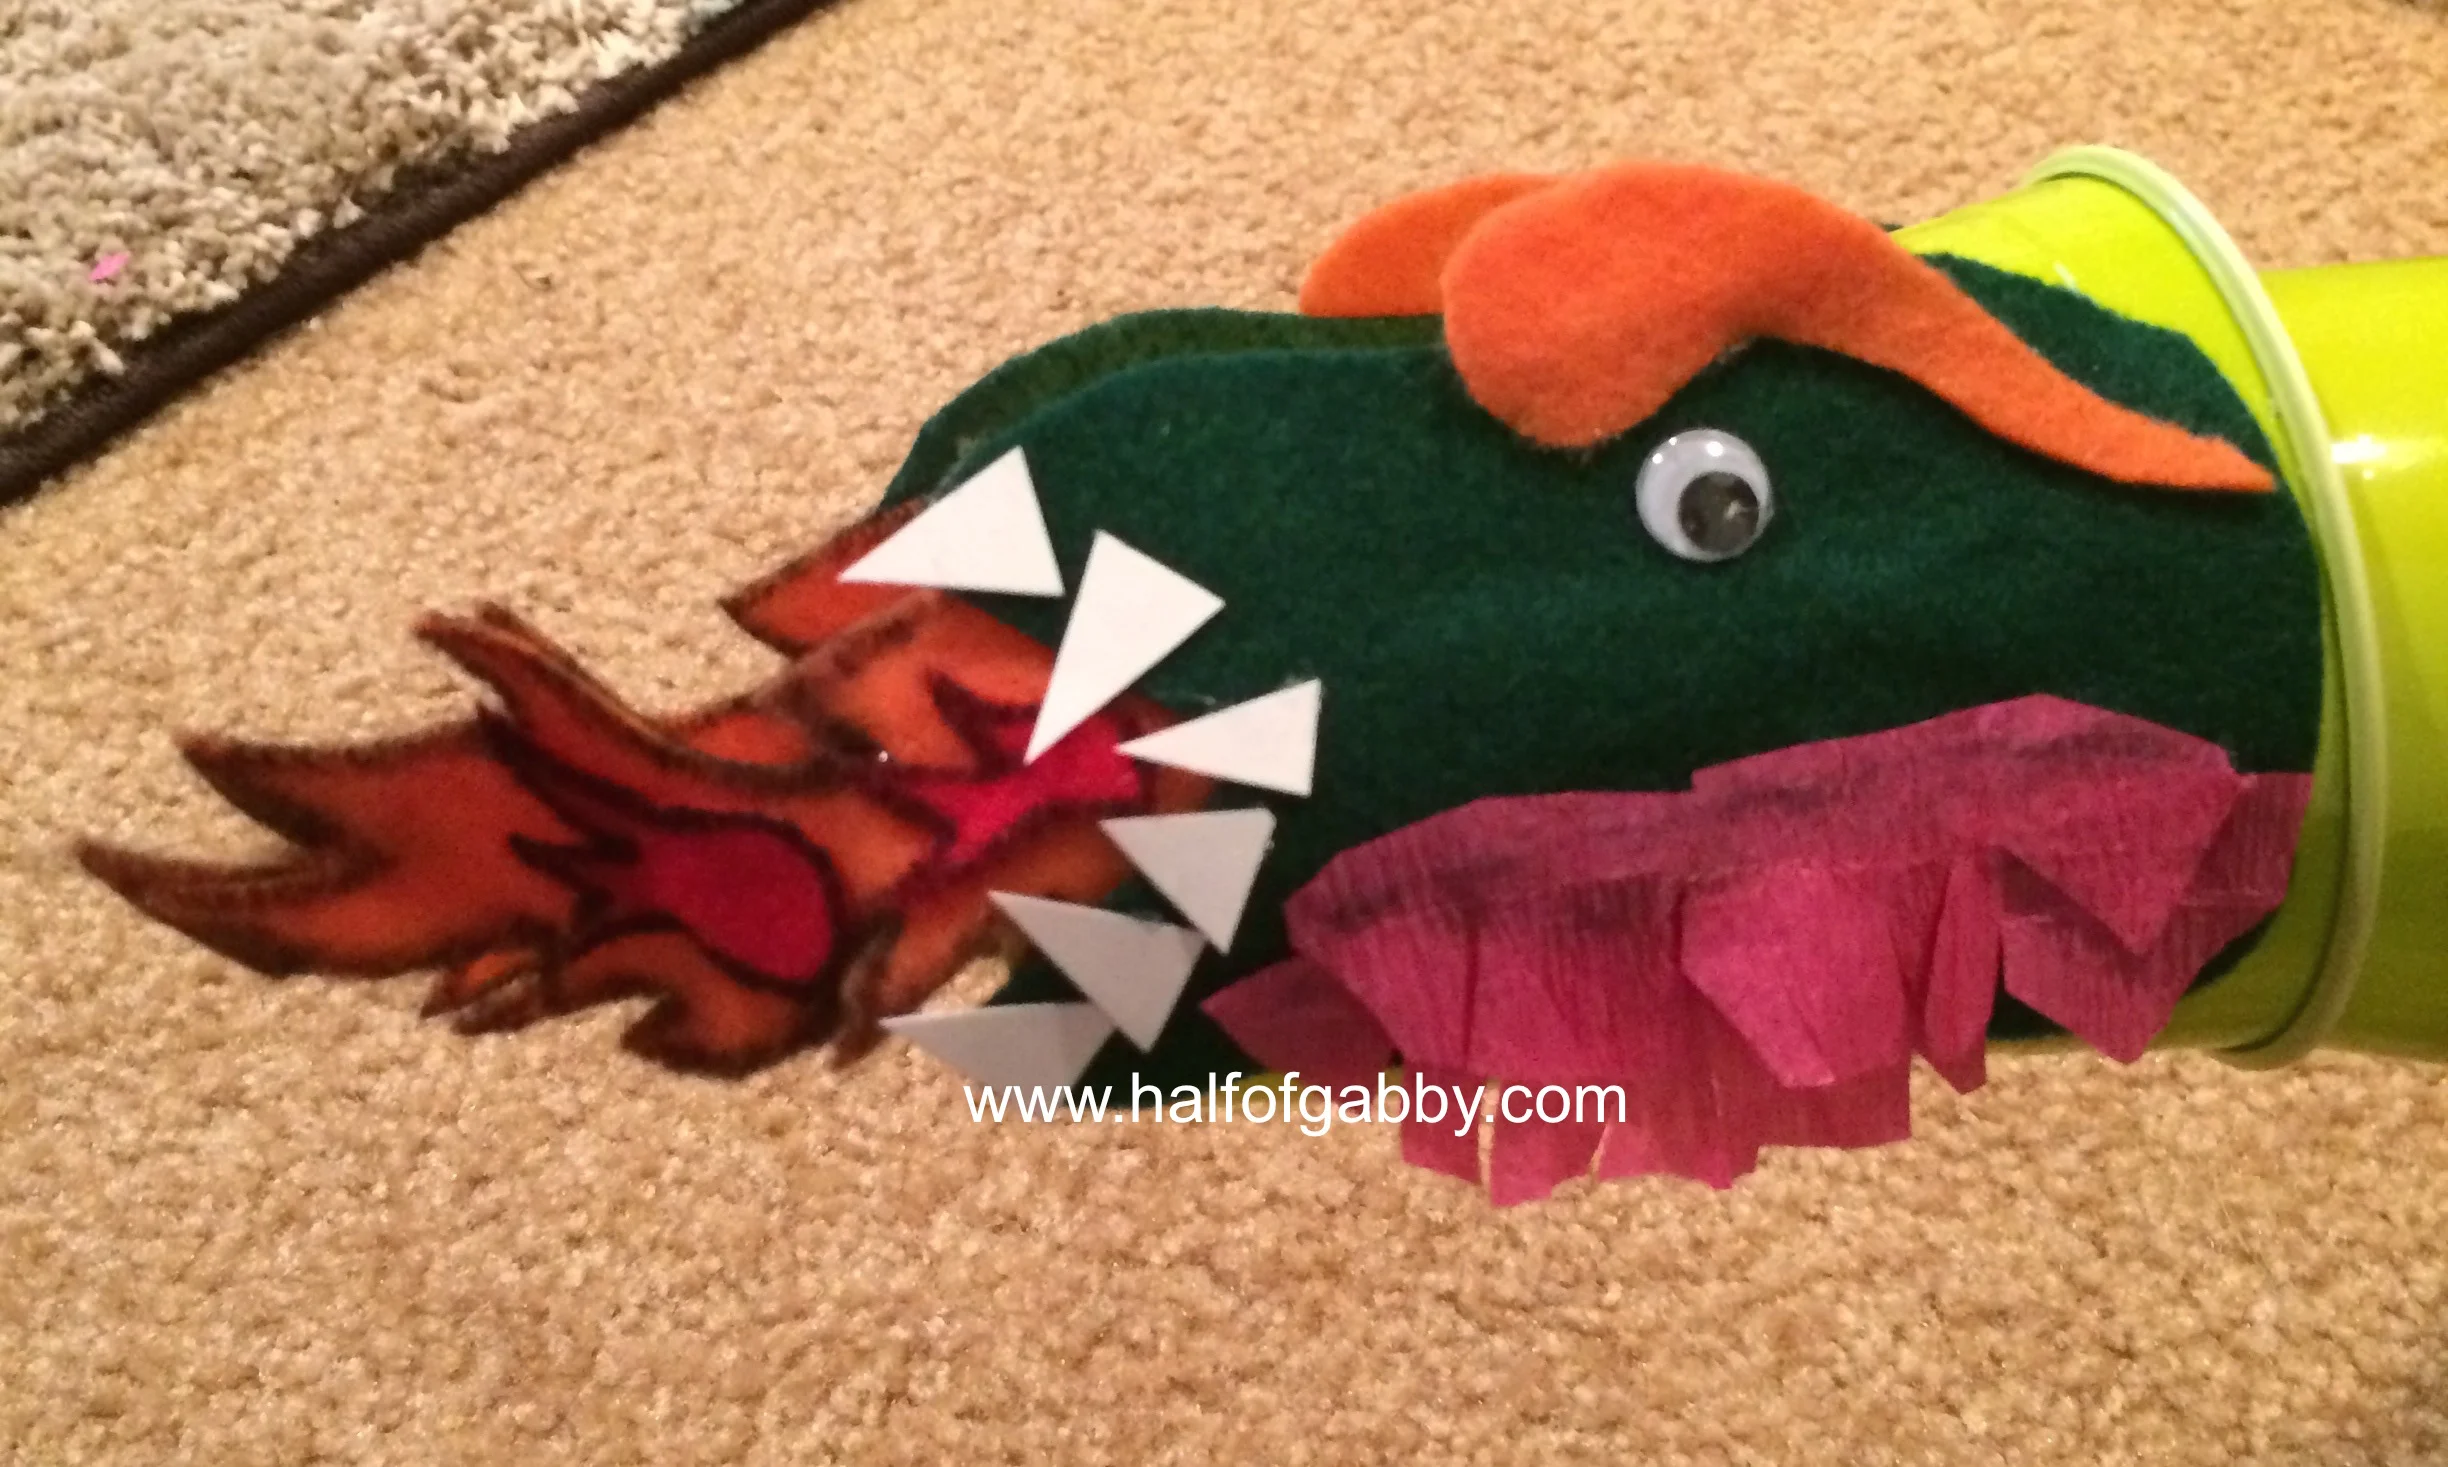
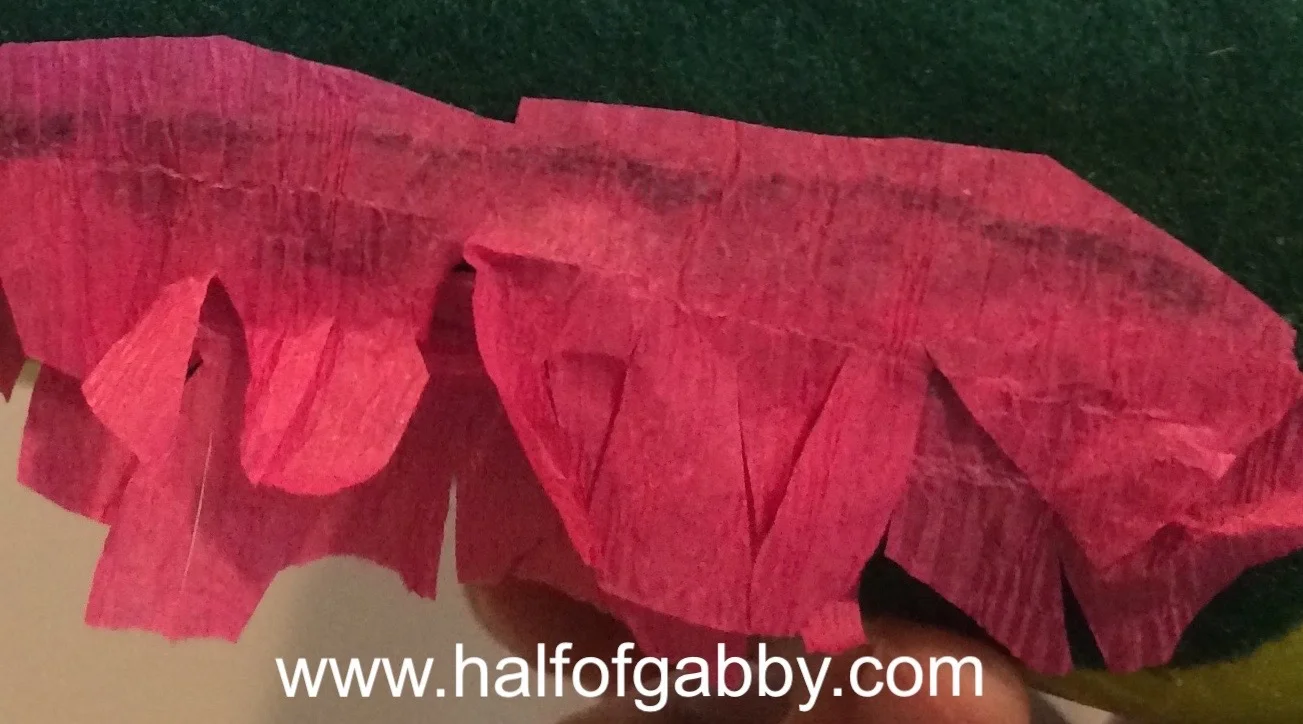
8. Cut small strips of streamers and then make cuts in them half way up the middle of them to make a fringe effect. This will be the dragon's beard. Use any color you desire.
Note:
Hot glue ONLY the tops of the uncut portions of the streamers so that the fringe part hangs free. Overlap two or three strips to give a 3D effect.
9. Once you're done with both heads, glue the tips of both sets of flames together.
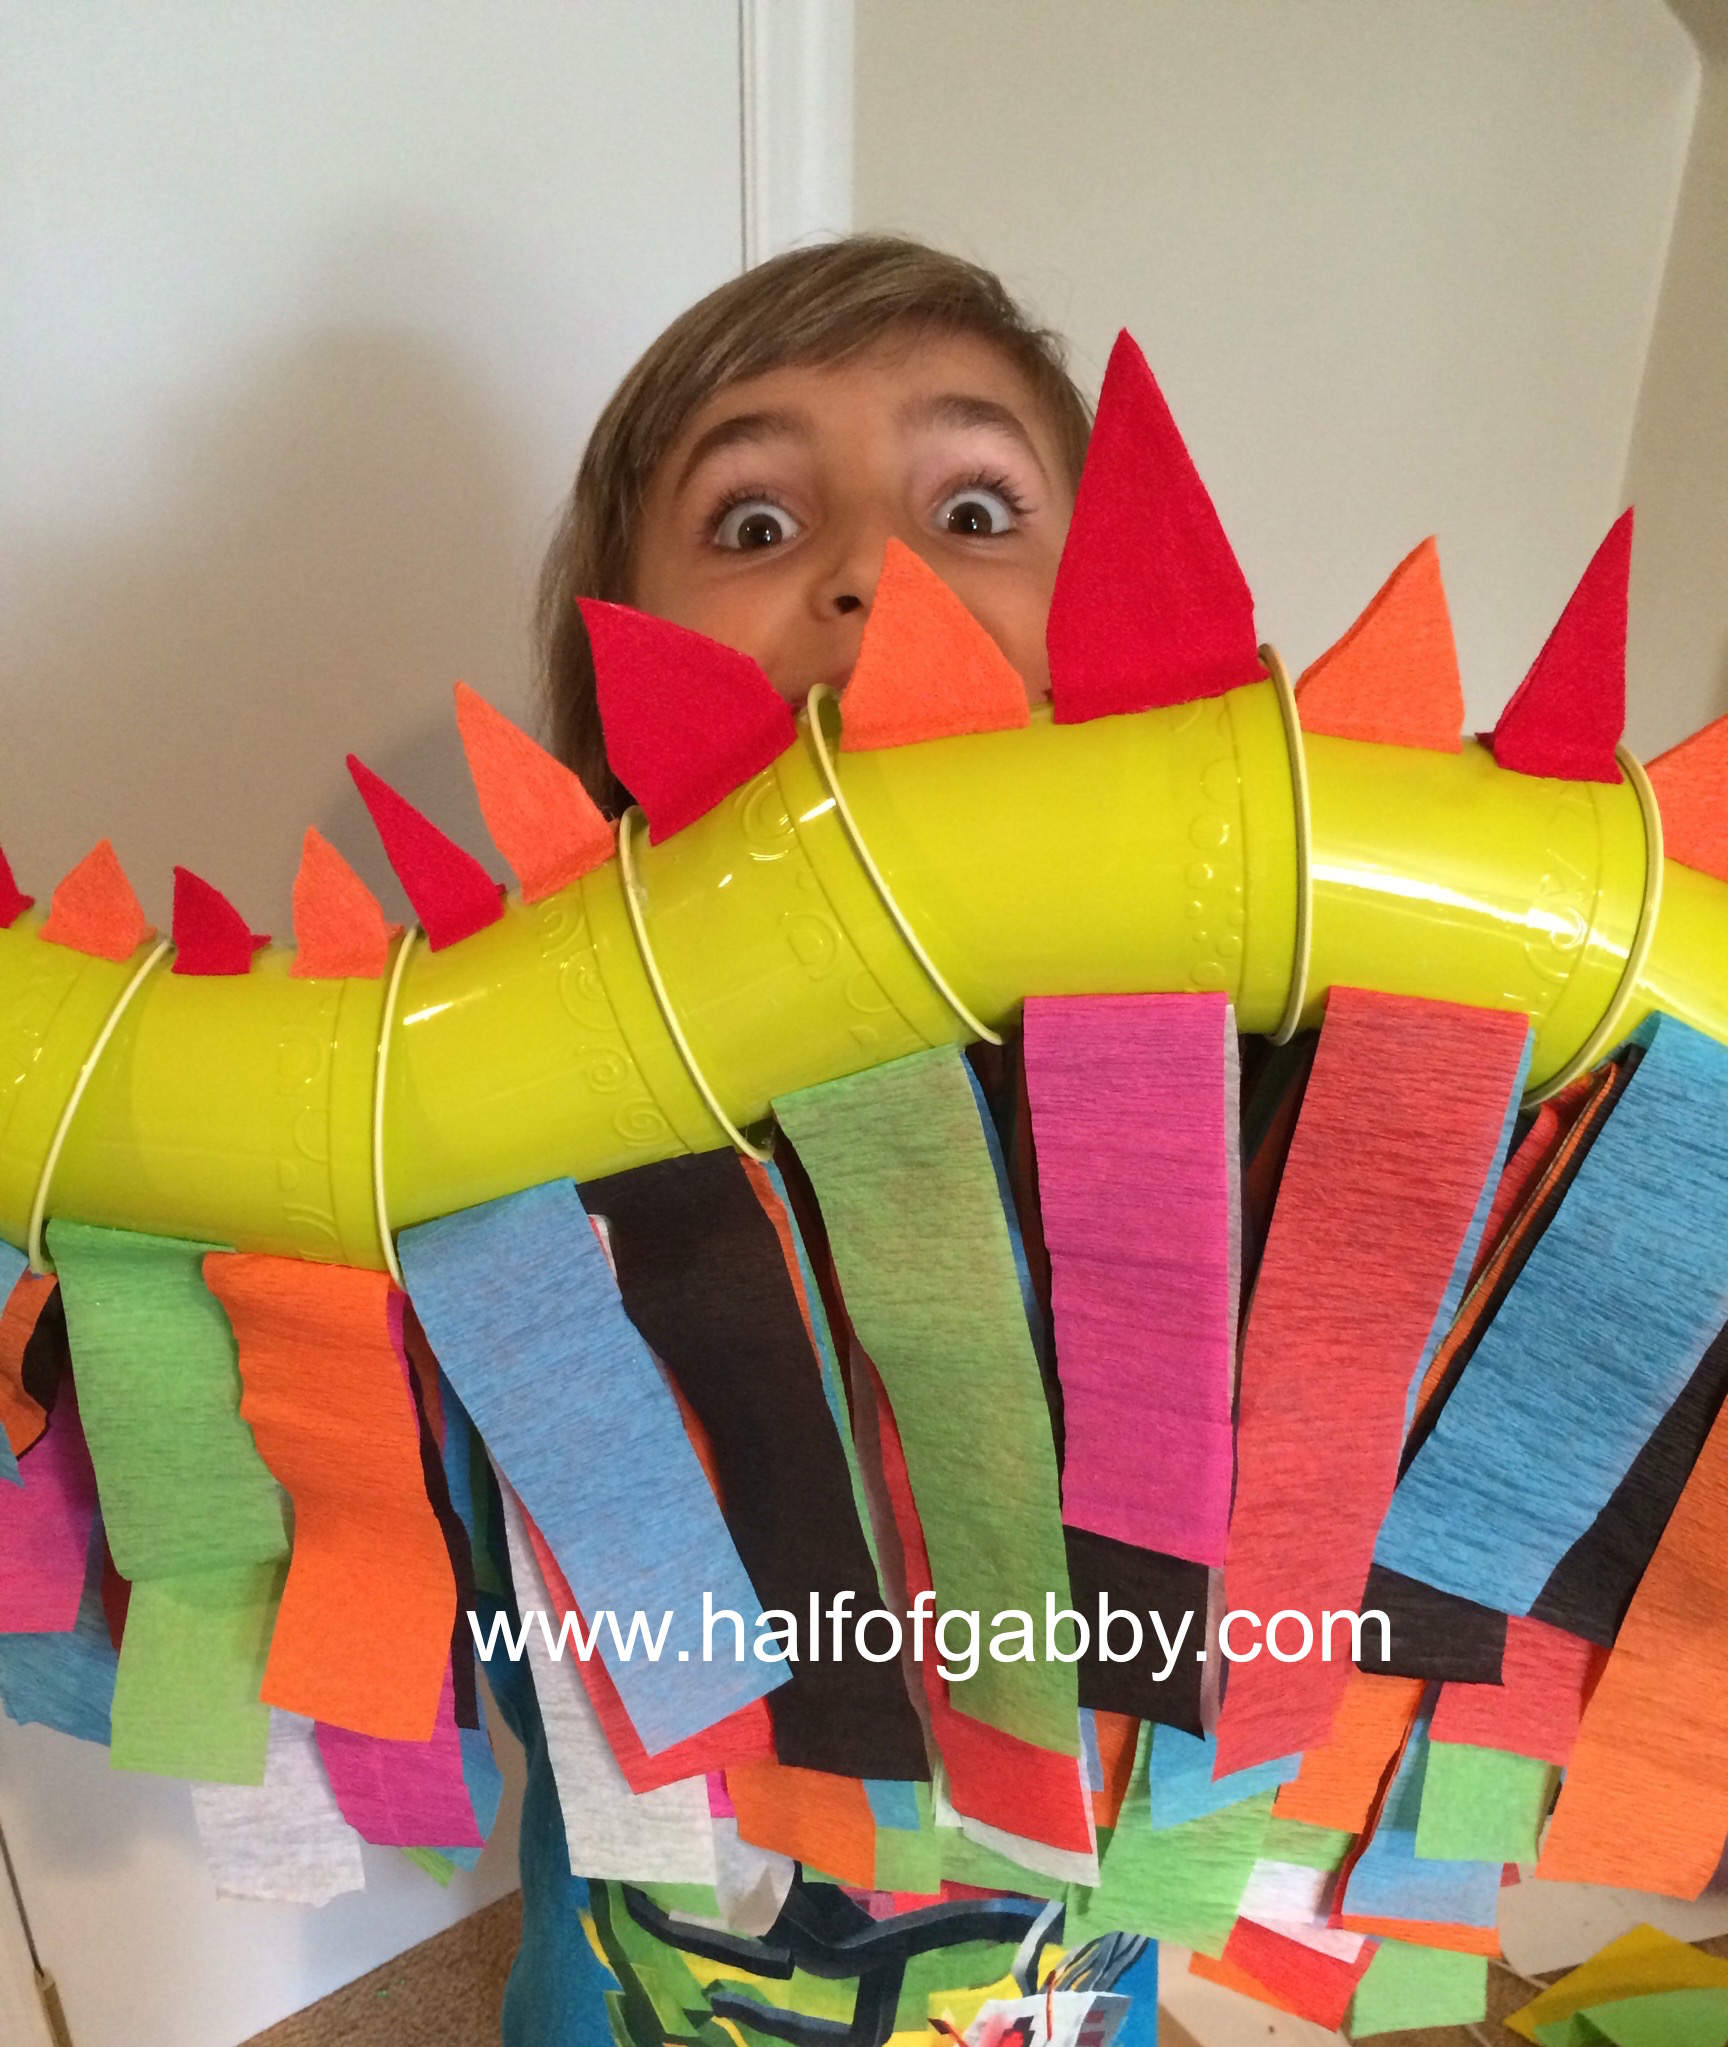
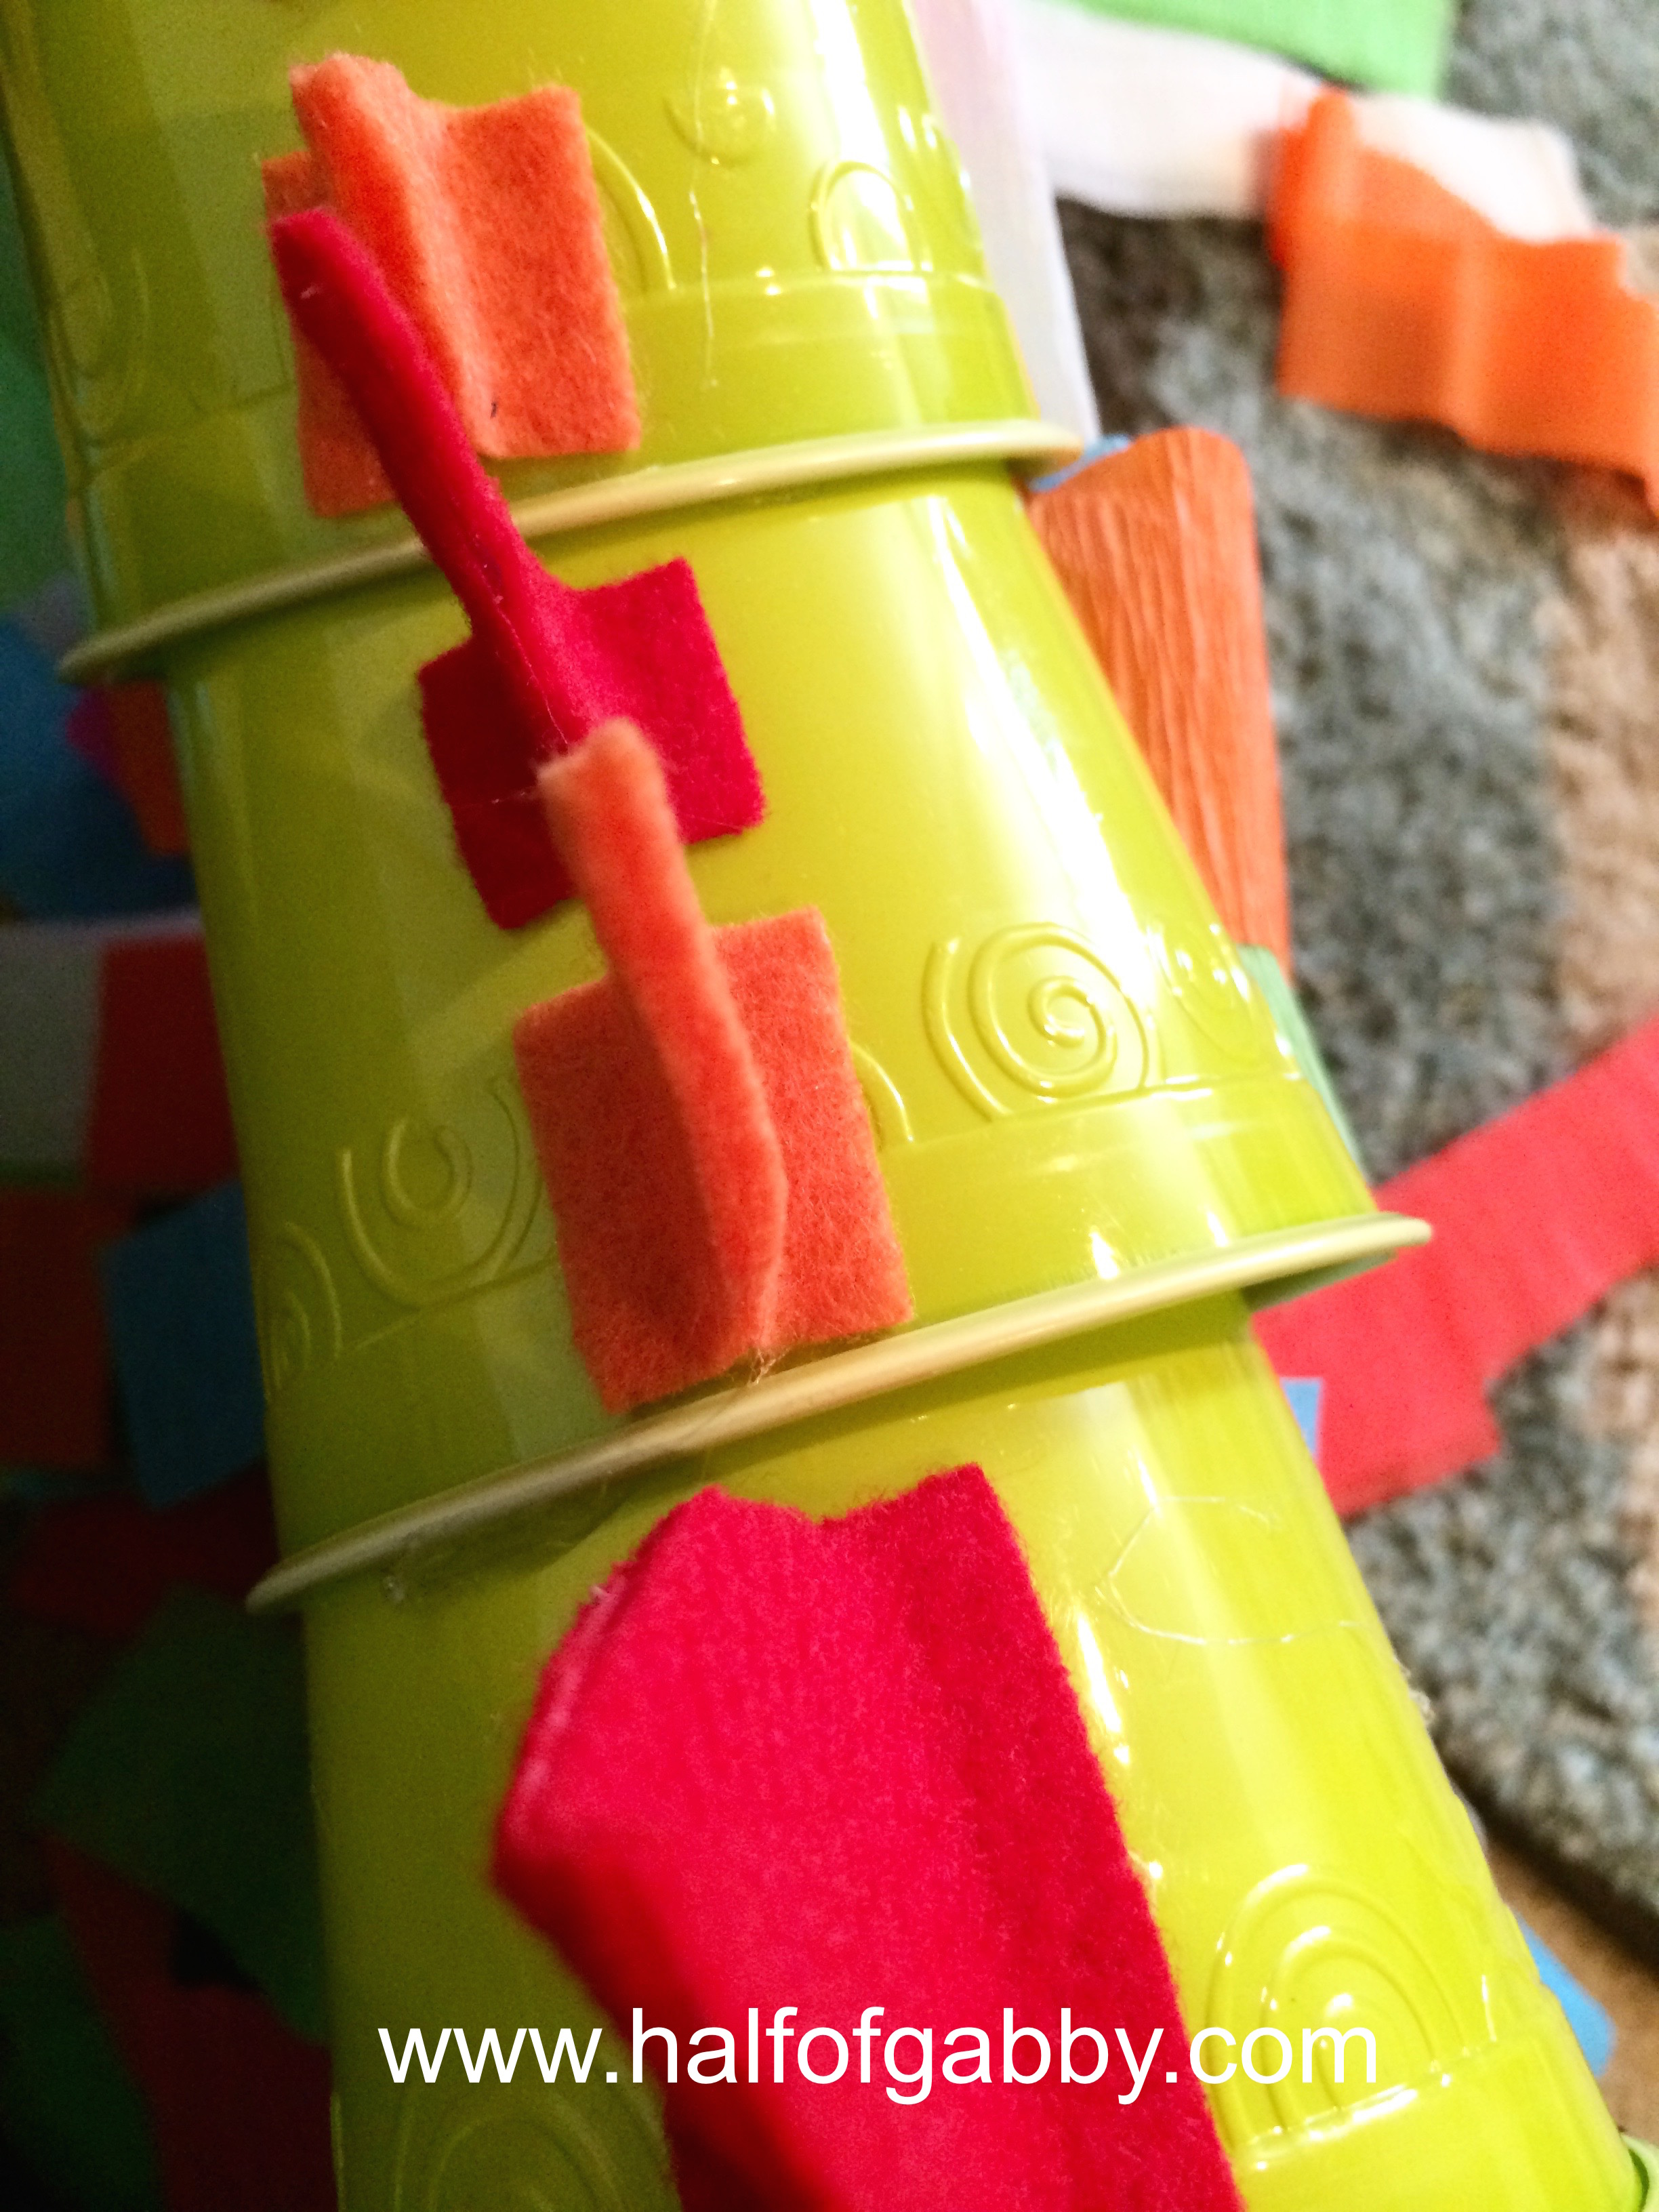
10. Now that you have the dragon's body glued and the completed faces glued on both sides, it's time to make the dragon's spikes. Cut out a couple paper triangles to serve as templates for the spikes. Make a couple different sizes of triangles.
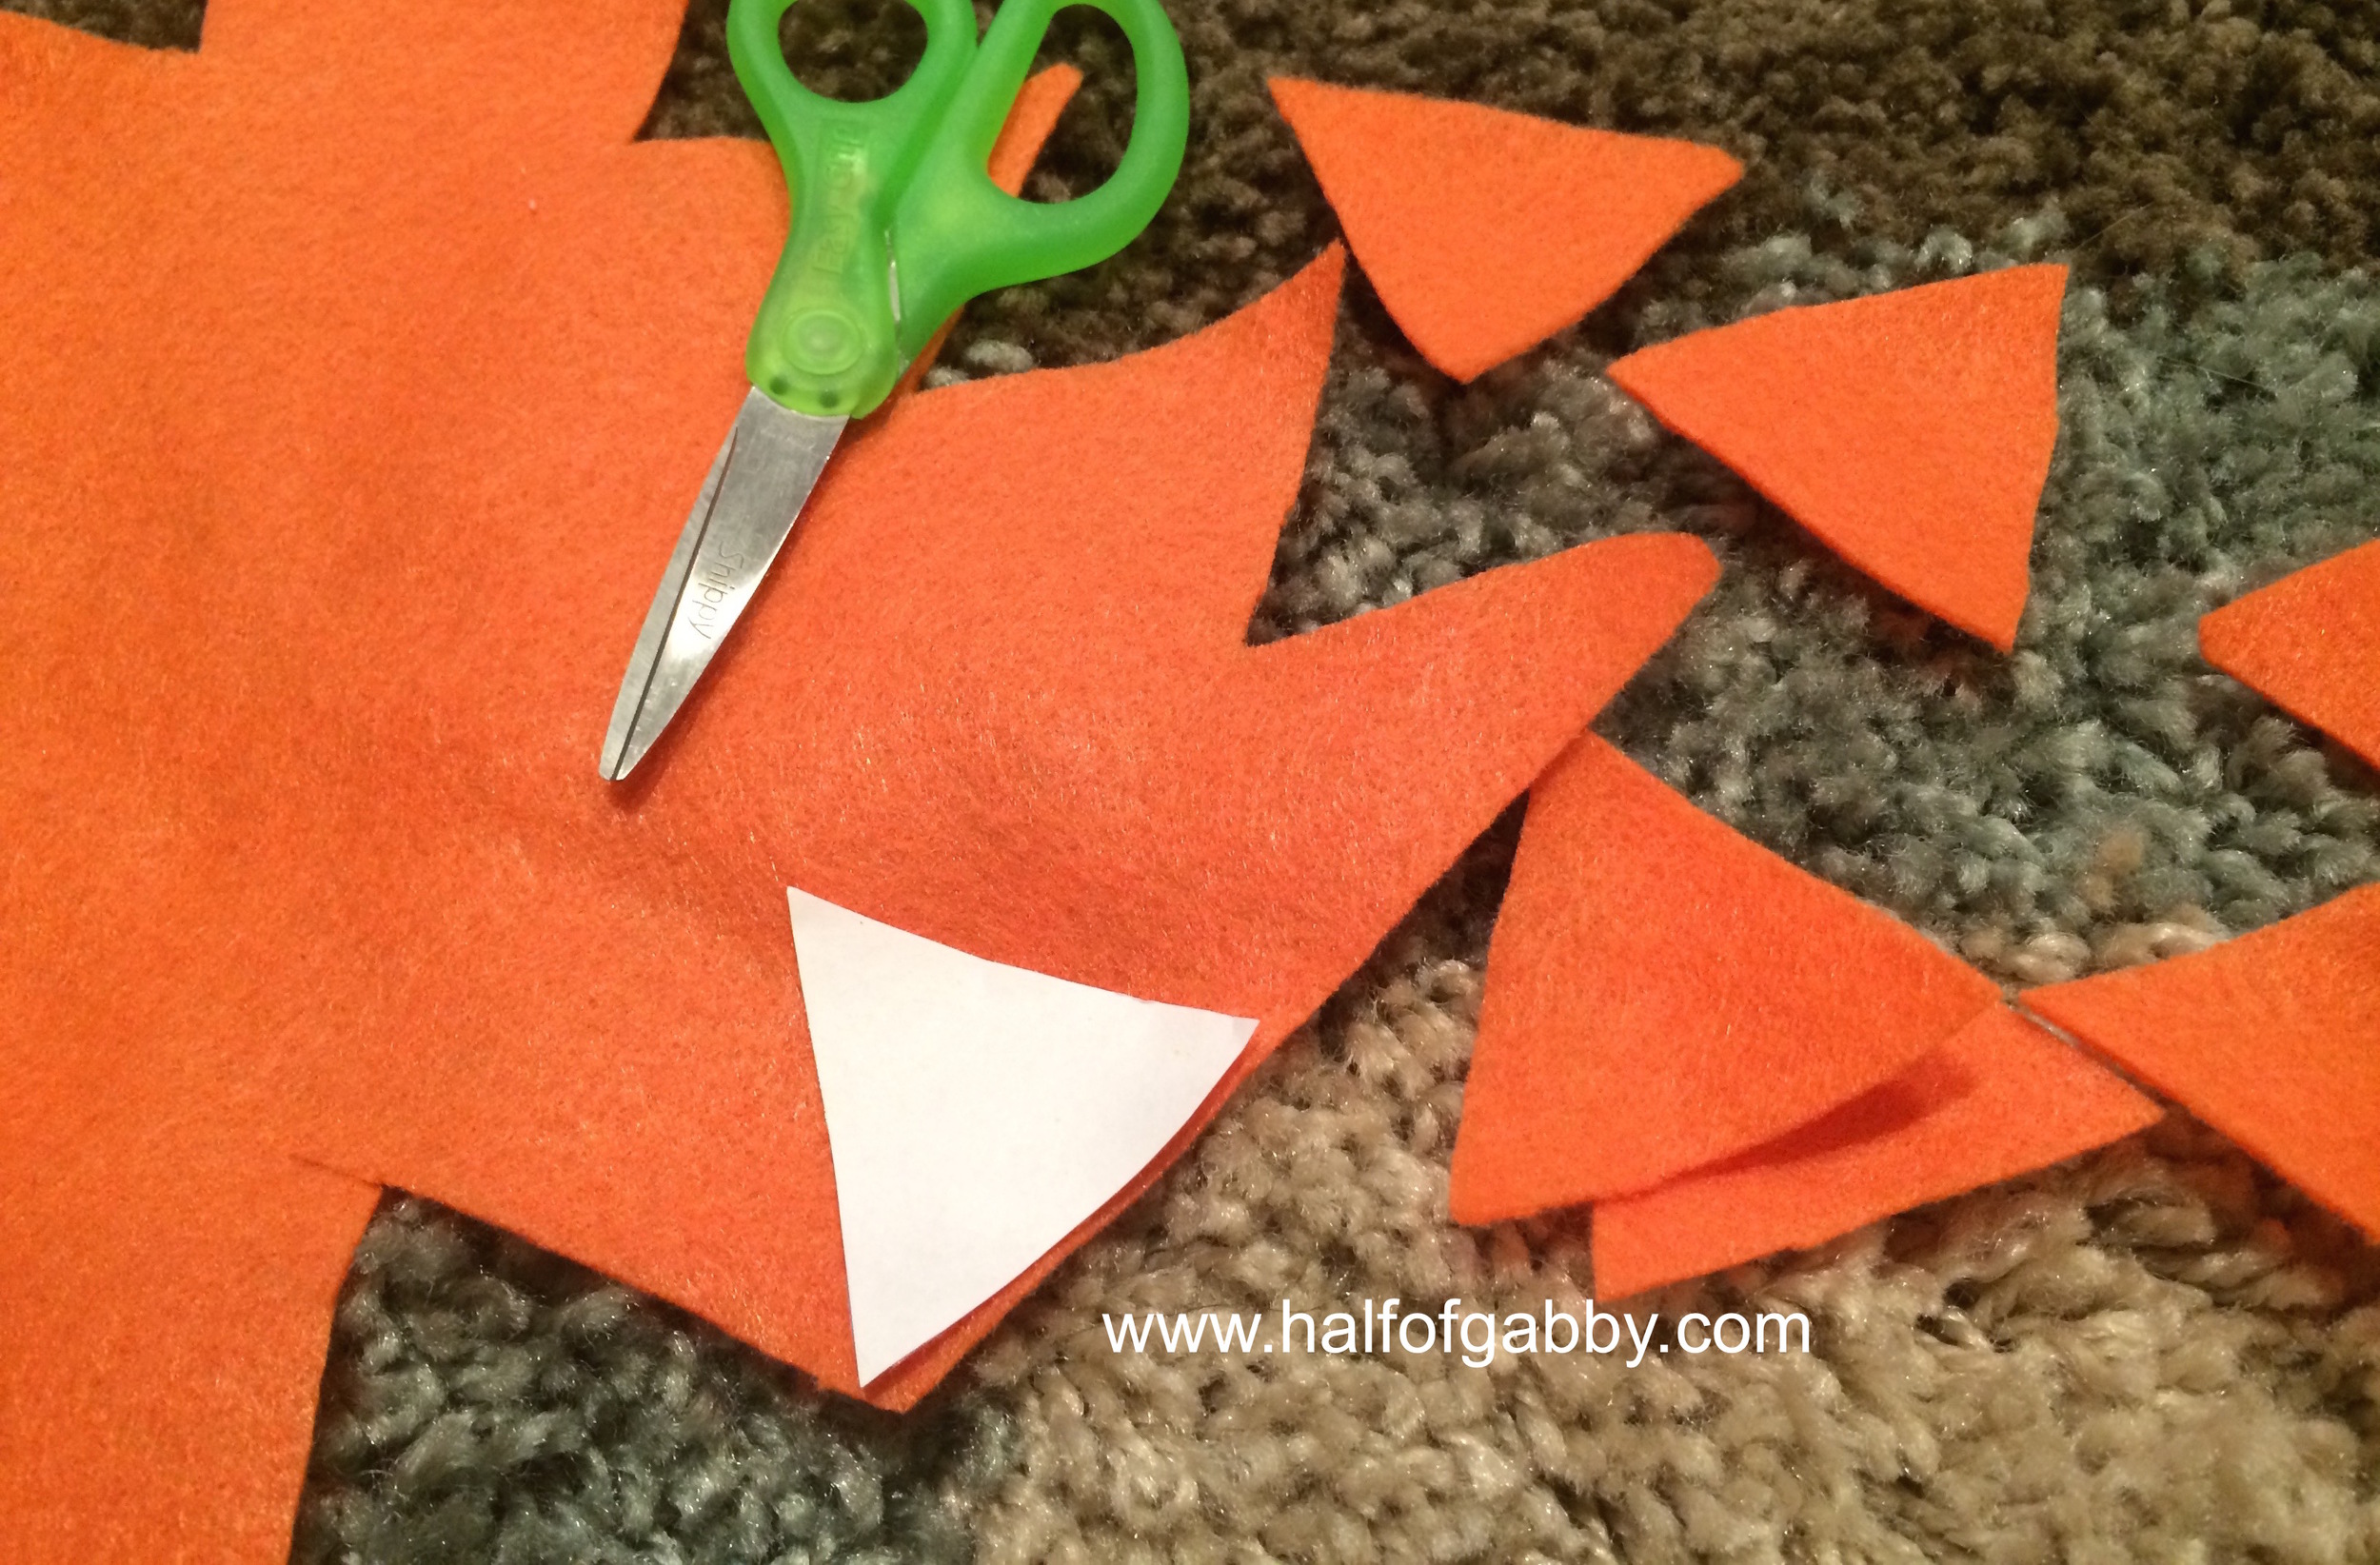
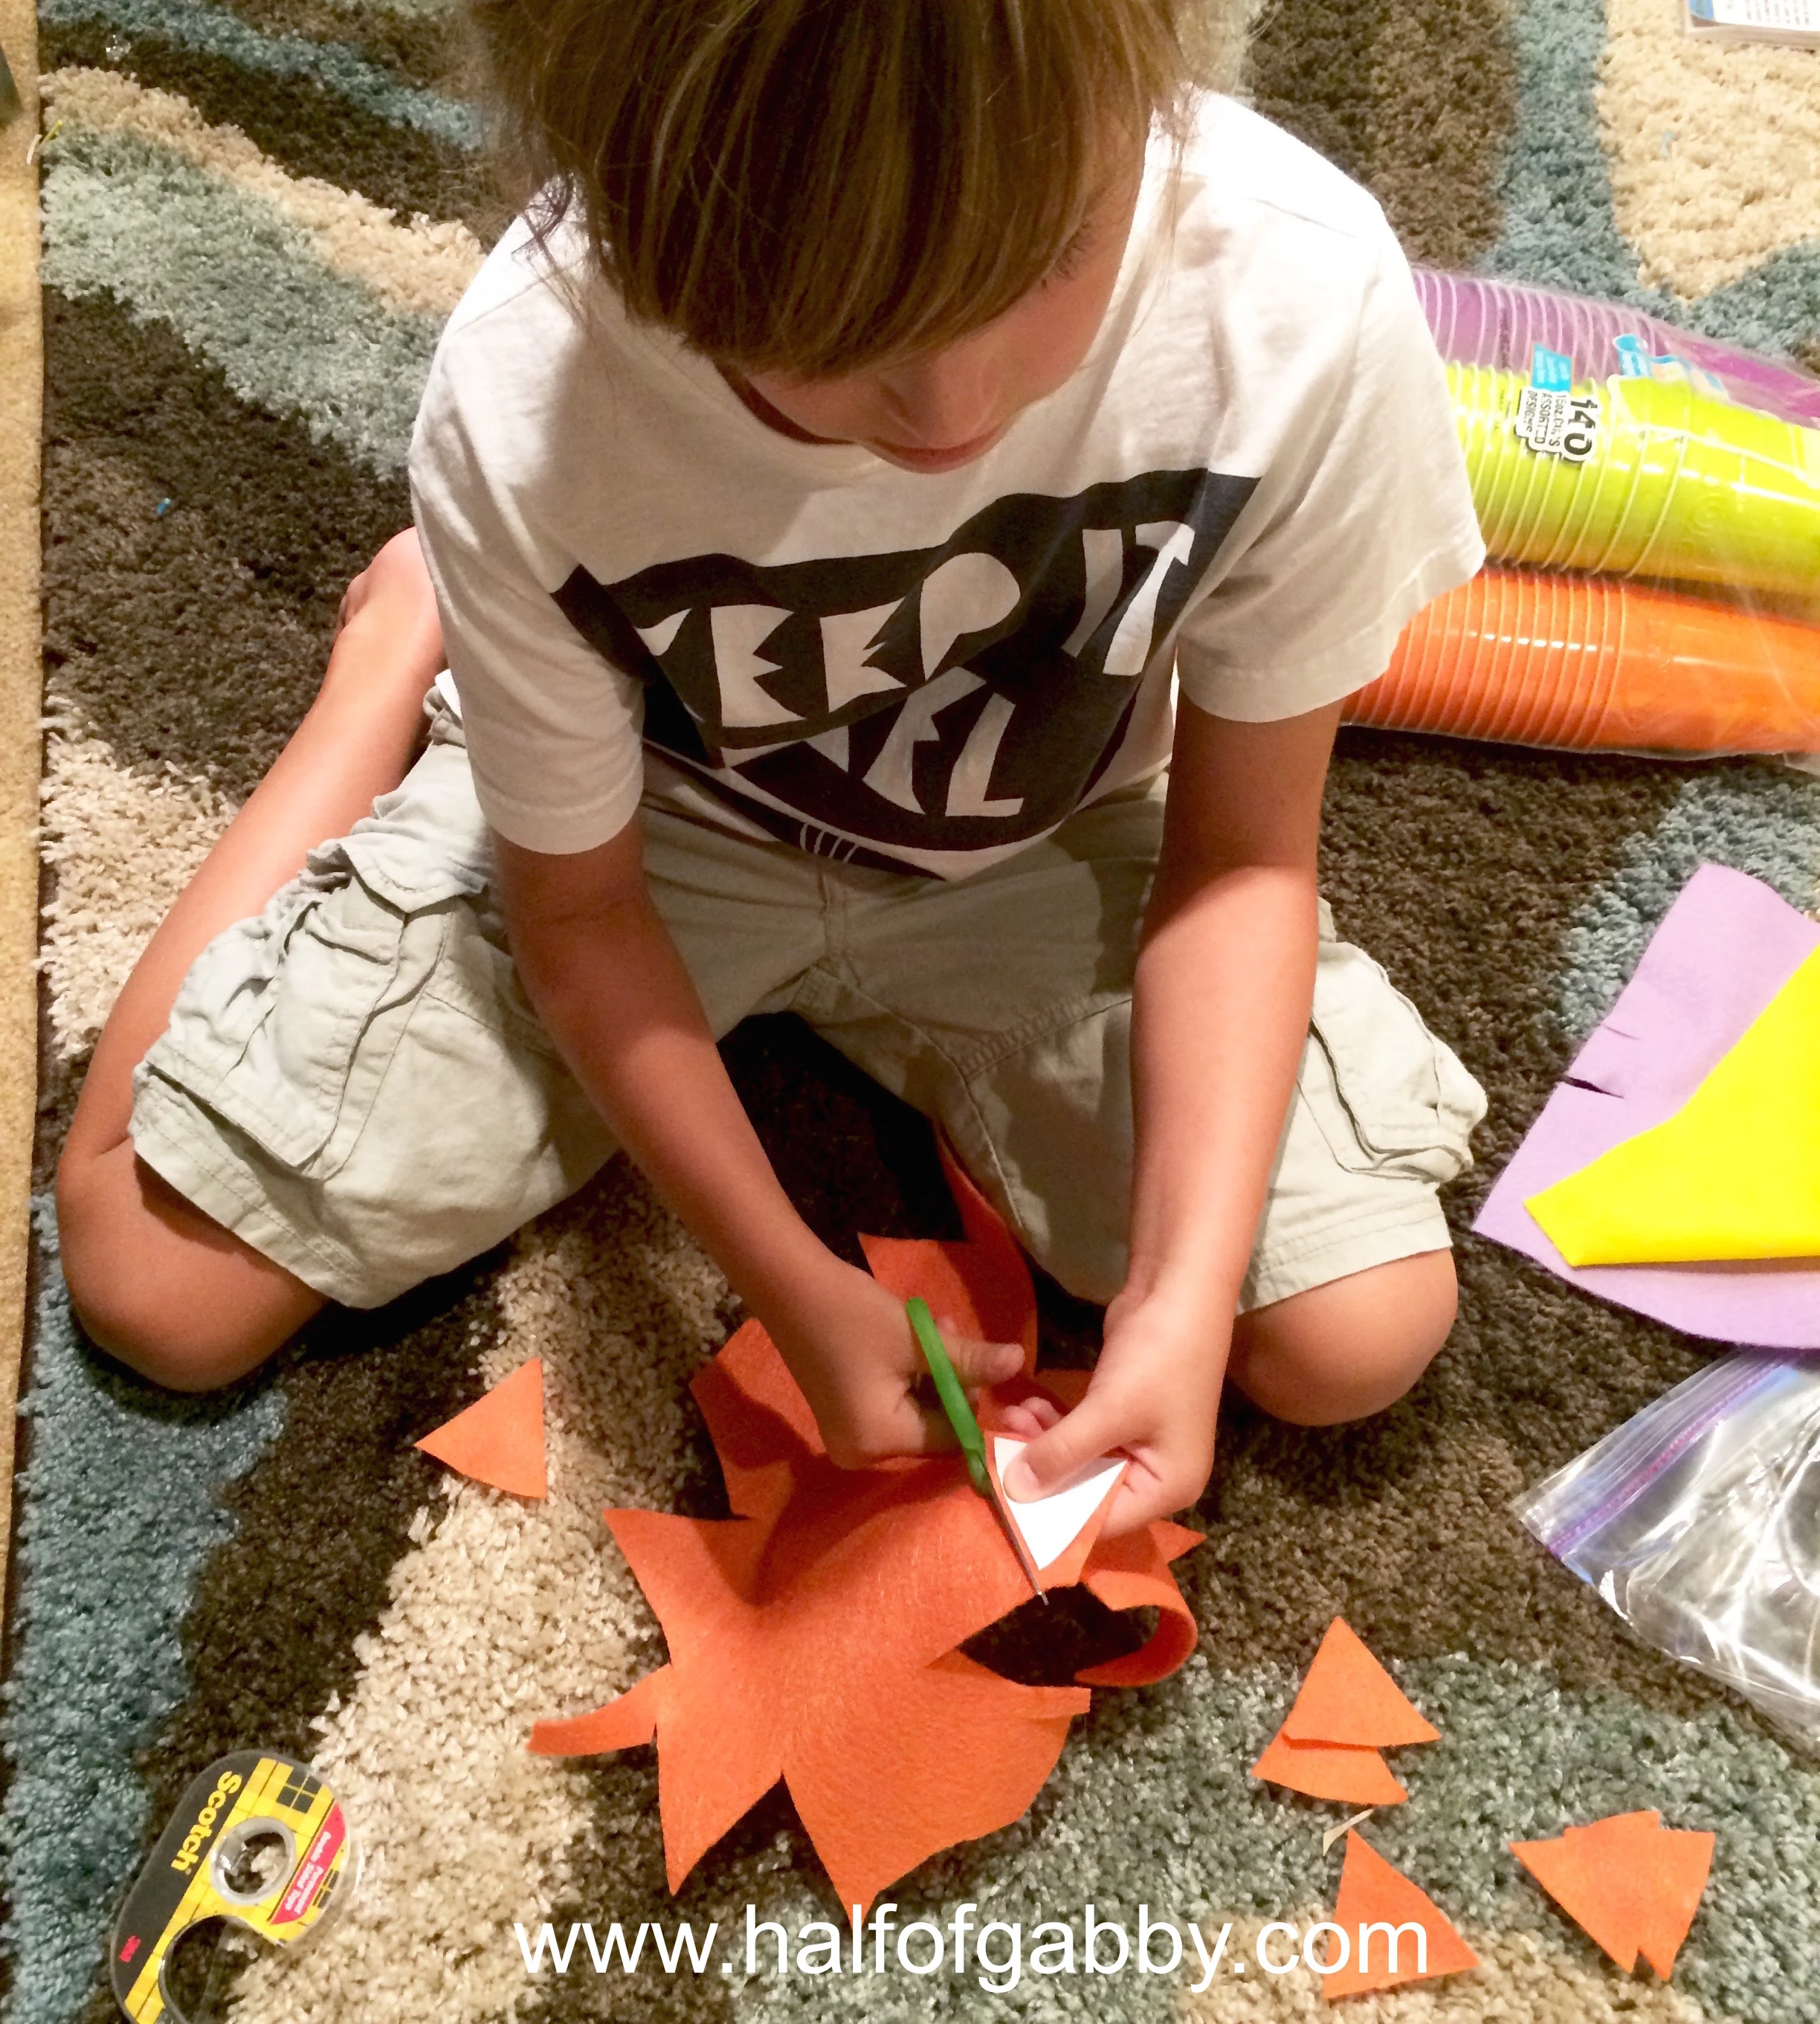
Have your child cut all of the felt spikes. They will be nice and uniform in size by placing the white template on top.
11. Once you have the triangles cut, you will be gluing two triangles together to make one spike.
IMPORTANT:
You must leave an unglued portion on the bottom of the triangles. You will be splitting the bottom of the triangles so that they can be glued to the dragon's spine along the top of the cups.
*Only hot glue where you see the dotted lines!
Leave the bottom unglued so that you can spread the bottom of the triangle onto the cup. This is the only way to adhere the spike so that it sticks straight up.
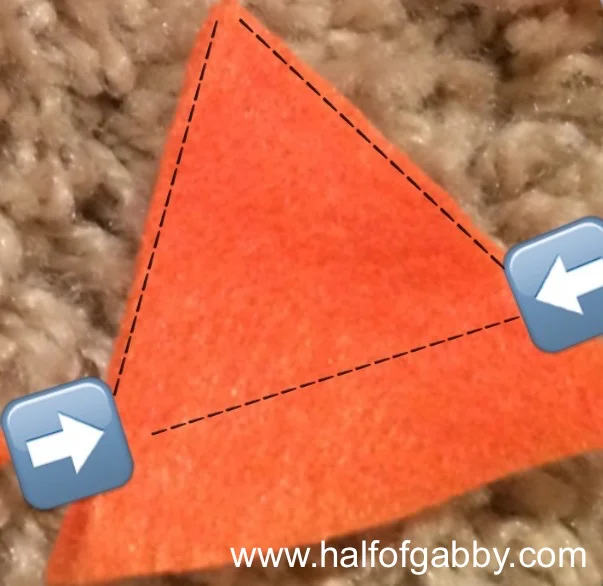
You can see in the below pic how the unglued bottom of the triangles spread open onto the cups.
You will glue the spikes directly on top of the dragon's body, creating his spiky spine.
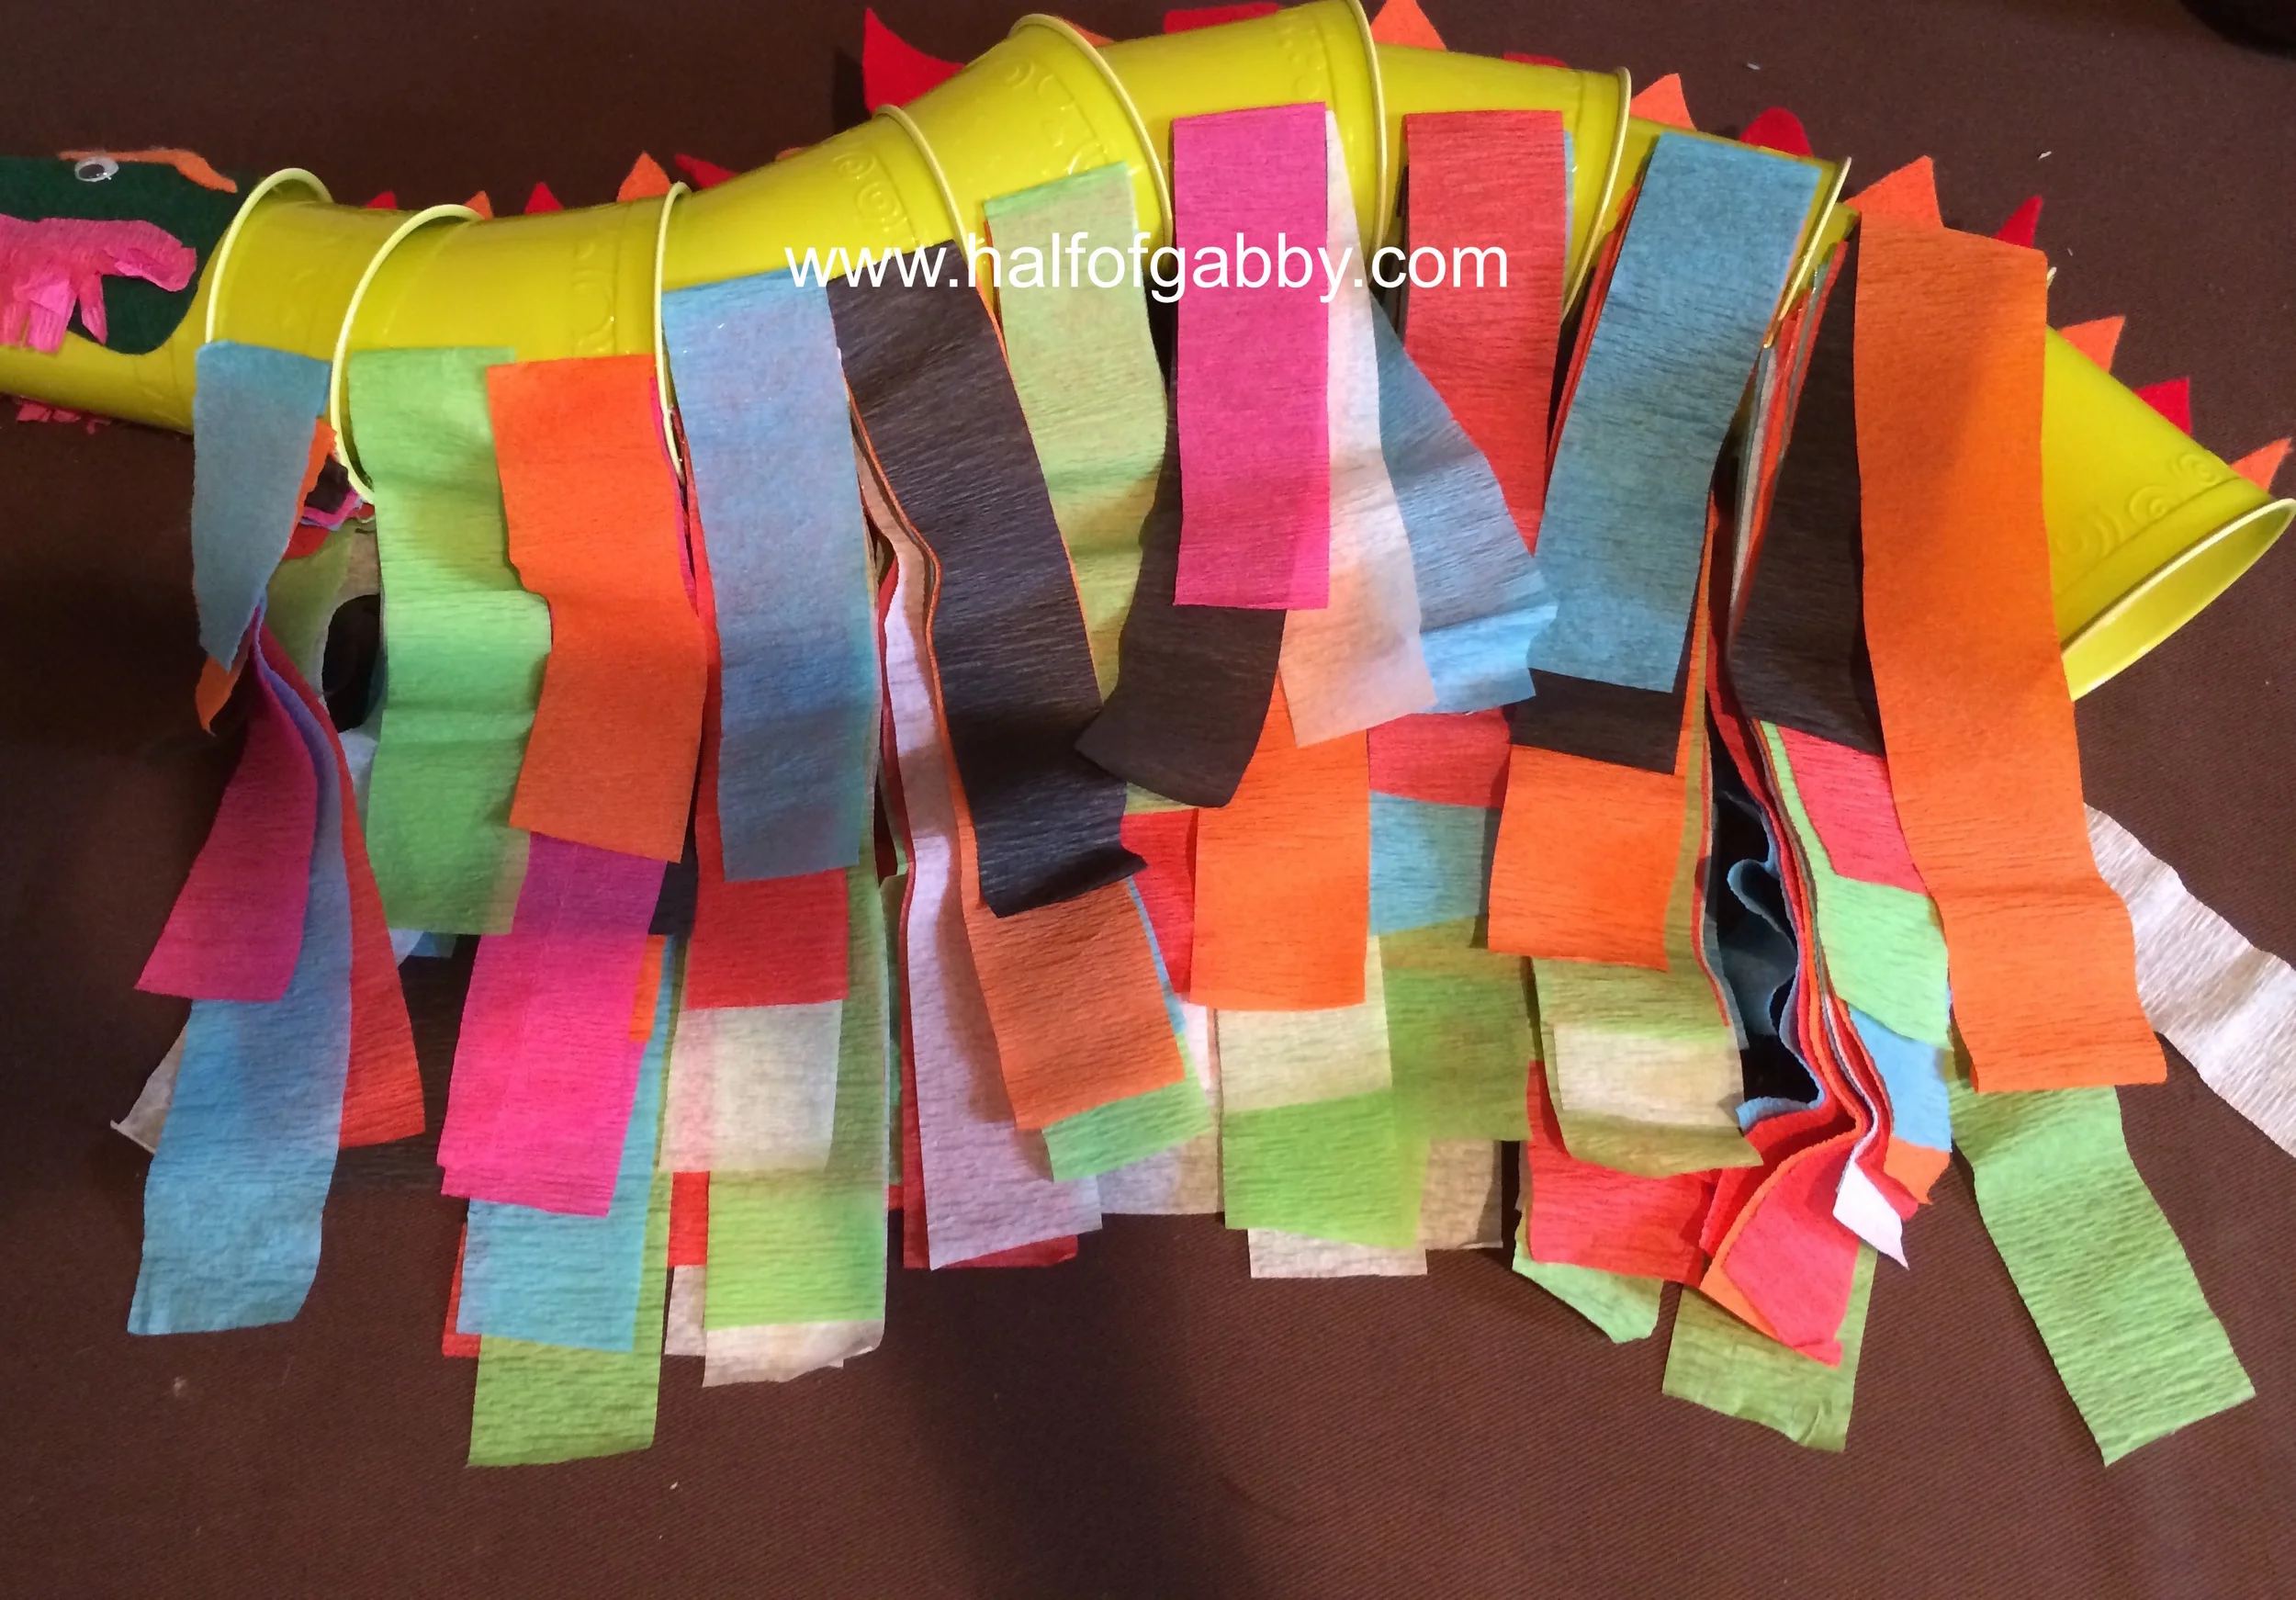
12. Glue all of the streamers on the bottom of the plastic cups. You will need to glue many rows to achieve a cool, layered effect. Start with the second cup (the first cup is the dragon's head). Finish the row of streamers on that cup before moving to the next cup.
Once you get halfway through a row, which will bring you directly in the middle on the underside of the dragon, flip the dragon to the other side. It's easier to start fresh on the other side and work your way again to the middle of the underside where the streamers left off from the other side.
The streamers are the only part of this craft where I let Jossy do a little bit of gluing with the hot glue gun. I sat right beside her holding the dragon and showed her exactly where to put the line of glue, then I placed the streamer on the glue line as soon as she made it. I would NOT recommend letting your child use the hot glue gun for any other portion of this craft and NOT even this portion if you don't feel 100% certain they are old enough and will be able to do so without getting burnt. There is plenty of designing and cutting involved in this craft to keep them more than busy while you are doing all of the hot gluing.
13. Once you have all the streamers glued in place, cut them into different lengths so that all the different colors of all the layers came through. You don't have to measure any of them, just kept cutting and trimming them until it looks really colorful and full of layers.
YAY! Your Epic Dragon Craft is done!
You won't believe how cool it really is until you see it with your own eyes! We hung ours up right in our foyer for everyone to see!

Wanna hang yours too? Simply poke some holes in two of your cups and thread string or wire through them. We used the self-adhesive command hooks on the ceiling and just looped the string around them.
We had so much fun! Plan this craft for a rainy weekend and spend some time with the kiddos that they'll never forget.
~~~
*The information on this site is not intended or implied to be a substitute for professional medical advice, diagnosis or treatment. All content in this article is for general information purposes only. I am not a doctor, nor am I a dietitian. Talk to your physician before making any changes in your diet or exercise regimen. The information found in this article is from various sources which include, but are not limited to, the sites listed above. I encourage you to do your own research and talk with your physician before making any changes in diet or exercise. What has worked for me may not work for you. This information in this article or on this website should never replace or serve as medical advice.
NEVER DISREGARD PROFESSIONAL MEDICAL ADVICE OR DELAY SEEKING MEDICAL TREATMENT BECAUSE OF SOMETHING YOU HAVE READ ON OR HAVE ACCESSED THROUGH THIS WEB SITE.
*Affiliate Disclaimer: As an Amazon Associate, I earn from qualifying purchases. The Federal Trade Commission (FTC) requires all affiliates to put a disclaimer on their website/blog. I will be providing links just as I've always done but now will receive a very small commission, at no cost to you, if you purchase an item through the affiliate link that I provide. An affiliate link is simply a link that brings you to a place where you can buy that product. I will not earn a commission by you simply clicking on the link, you must actually purchase the item(s) within 24 hours of putting it in your Amazon cart. Prices are exactly the same for you if you purchase through an affiliate link on Half of Gabby. You will NOT pay more by clicking through the link. My promise to you is that I will never recommend a product that I don’t fully 100% believe in and/or use myself and recommend to close friends and family.